Create a Script for Approval/Decline Actions
Creating an action with inputs and scripts in ServiceNow's Action Designer allows you to define custom actions that can be triggered within a flow. This functionality is particularly useful for automating specific tasks that require custom logic or interaction with other systems. Here’s a step-by-step guide to creating such an action:
Step 1: Access the Action Designer
- Log In: Sign into your ServiceNow instance with an administrator account or an account that has been granted access to the Flow Designer and Action Designer.
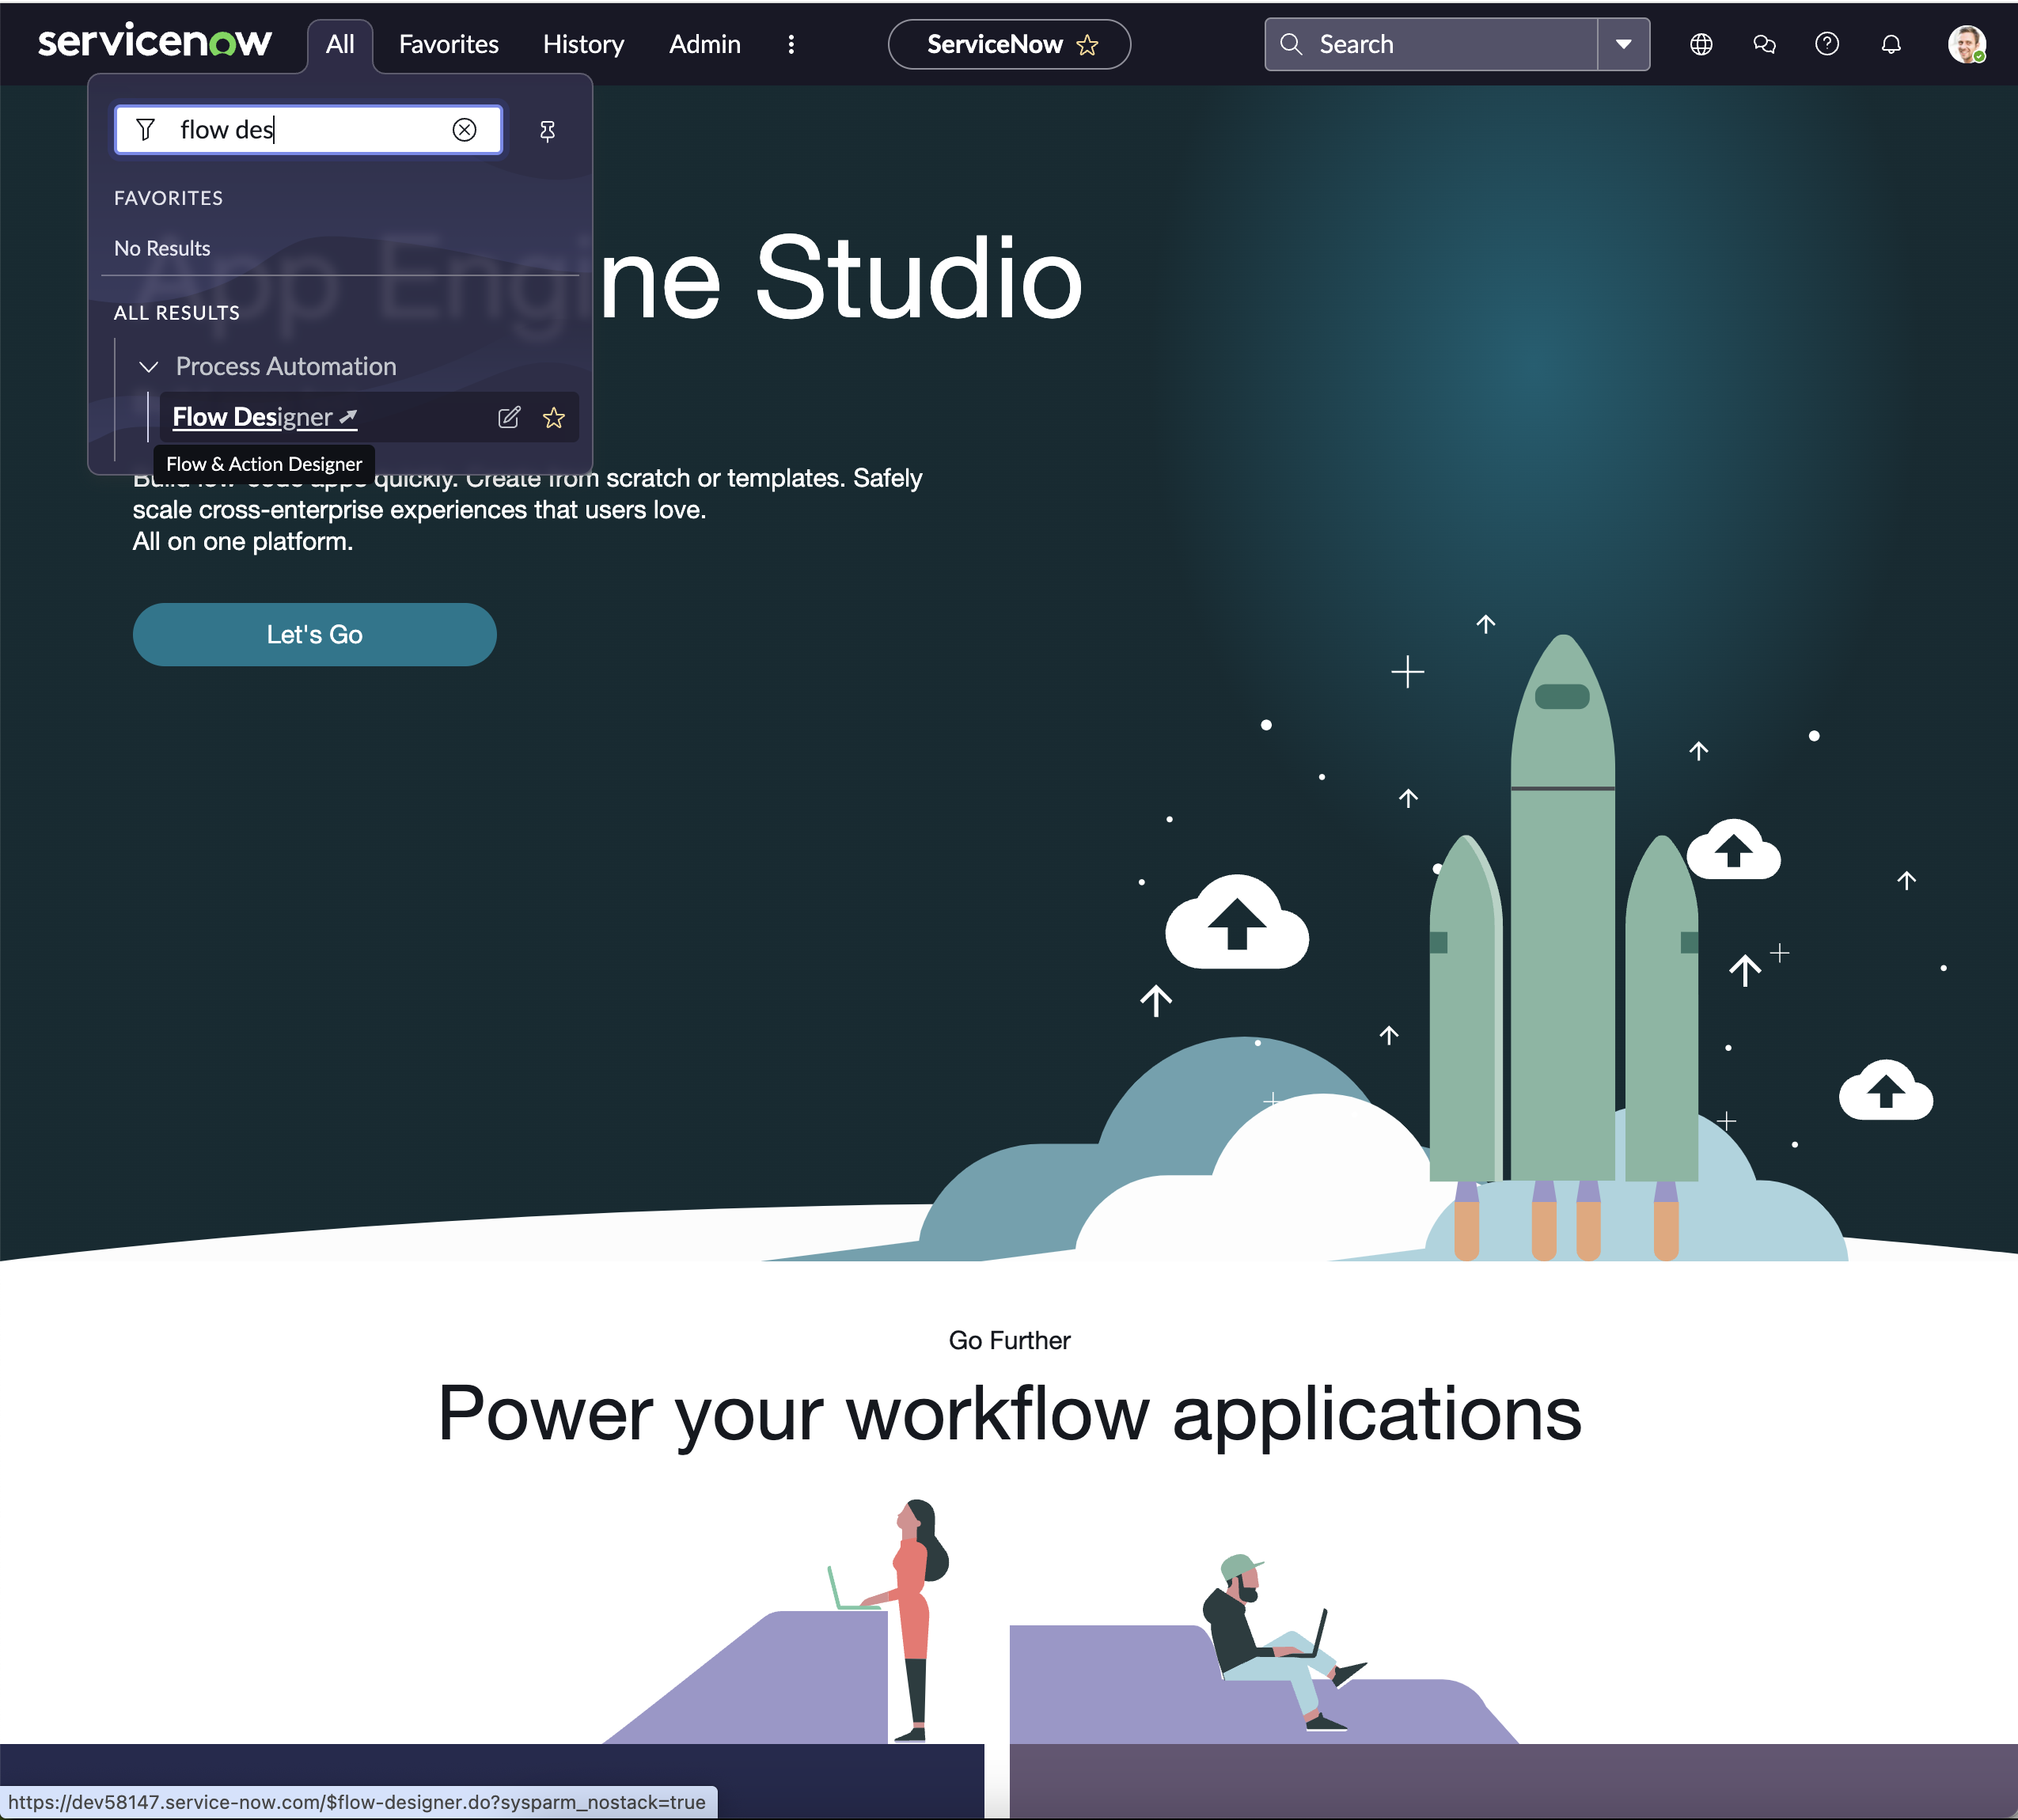
- Navigate to Action Designer: In the Application Navigator on the left side of the screen, type “Action Designer” and select it from the search results to open the Action Designer interface.
Step 2: Create a New Action
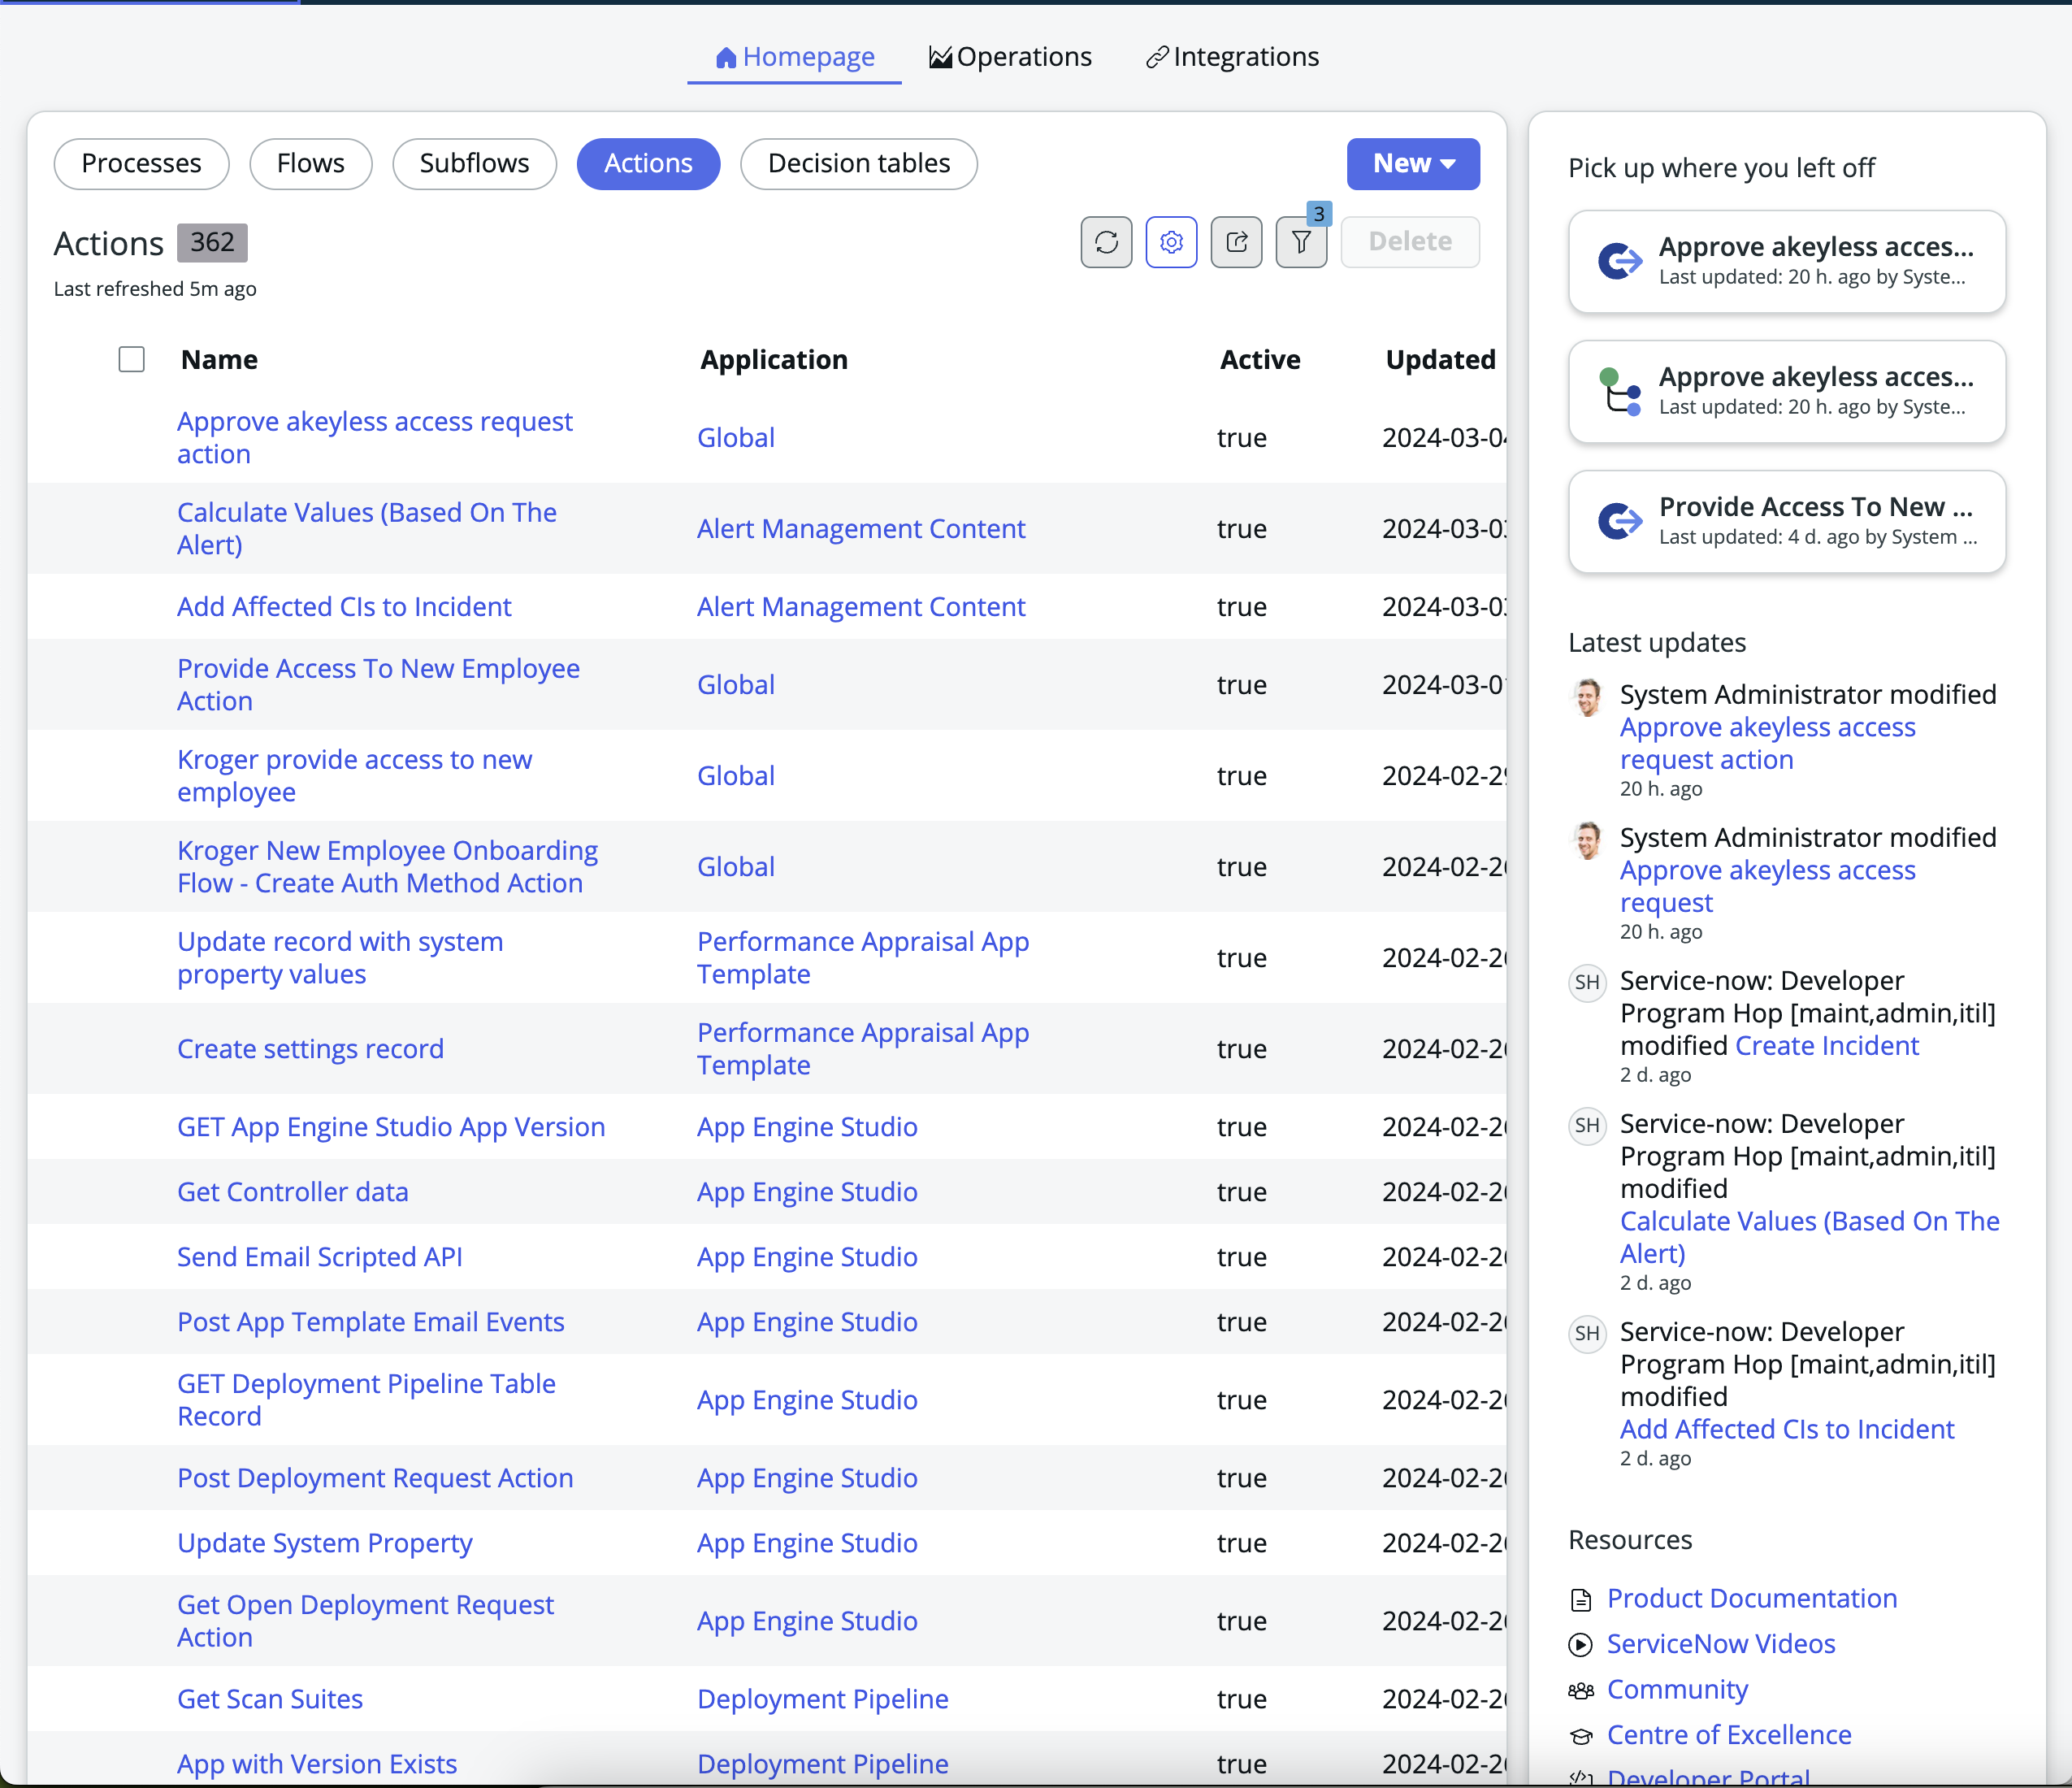
- Start a New Action: Look for a button or option to create a new action, which might be labeled “New,” “Create Action,” or “+ Action.” Click on it to begin the process.
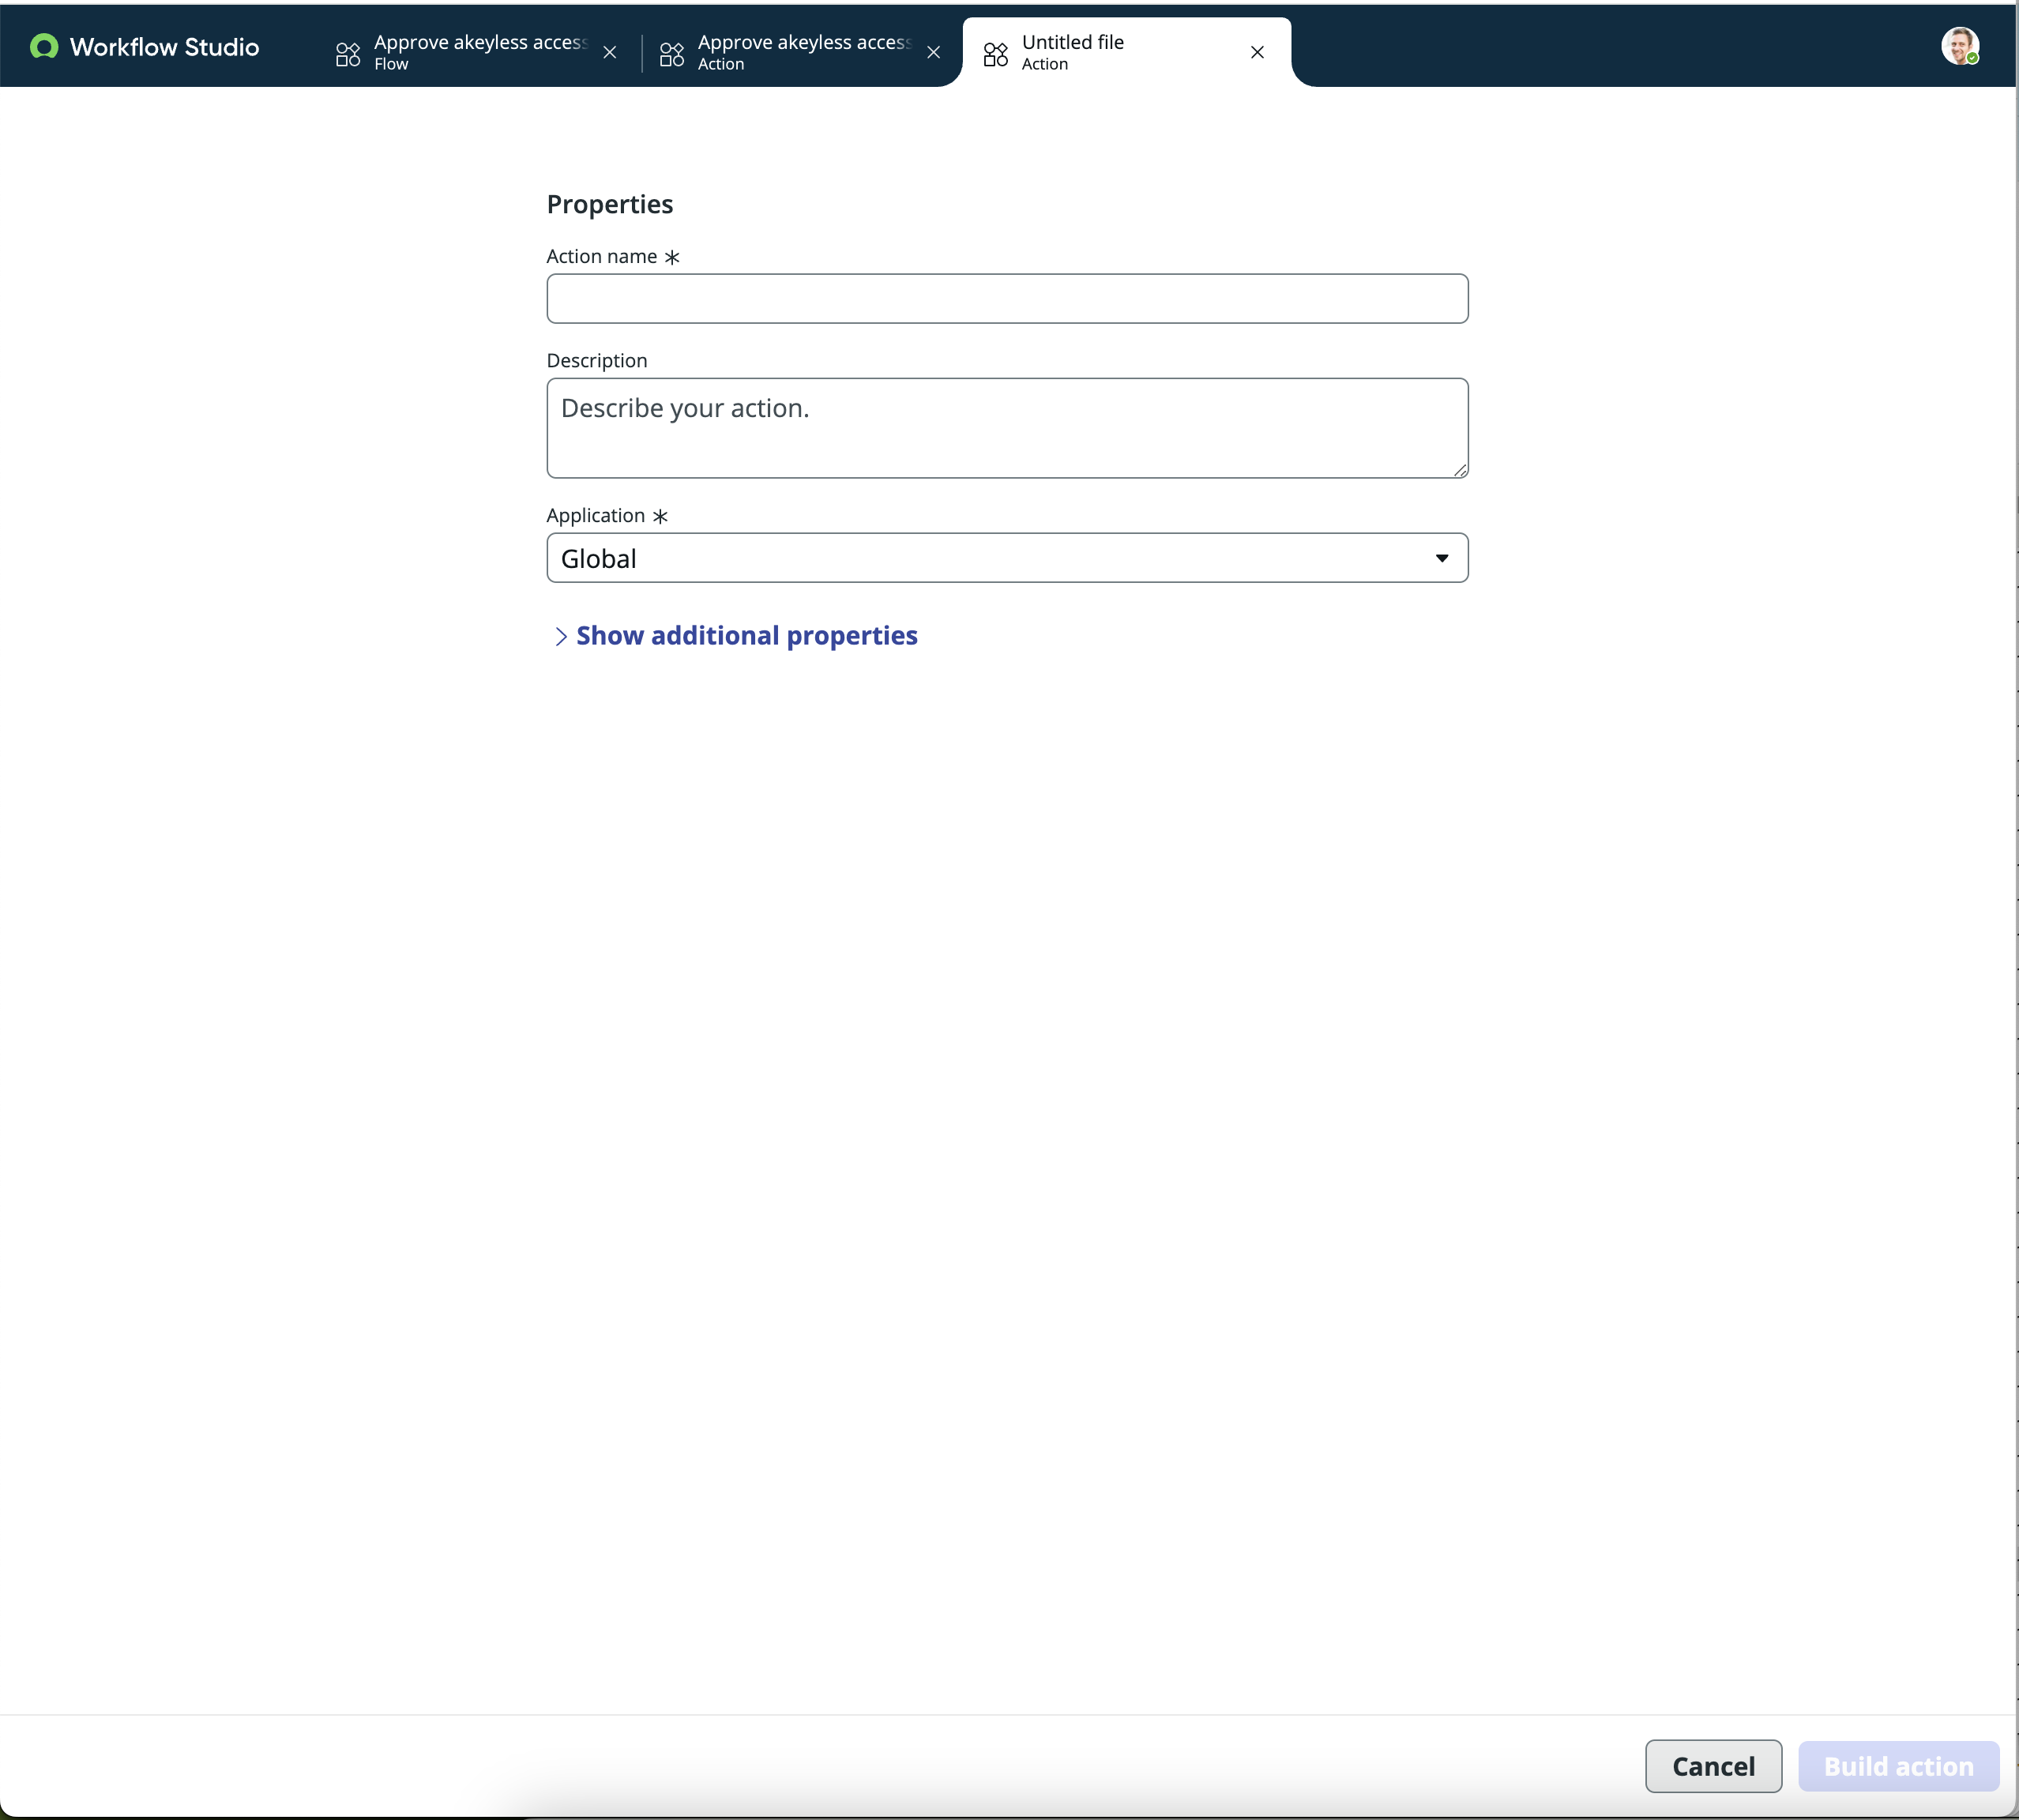
- Define Basic Information: You will be prompted to enter basic information for your action, such as the name and description. Choose a descriptive name that clearly indicates the action’s purpose.
Step 3: Define Inputs
- Add Inputs: Actions can have inputs that allow them to receive data from the flow that triggers them. To add an input, look for an option labeled “Add Input,” “New Input,” or similar. Click on it to define a new input.
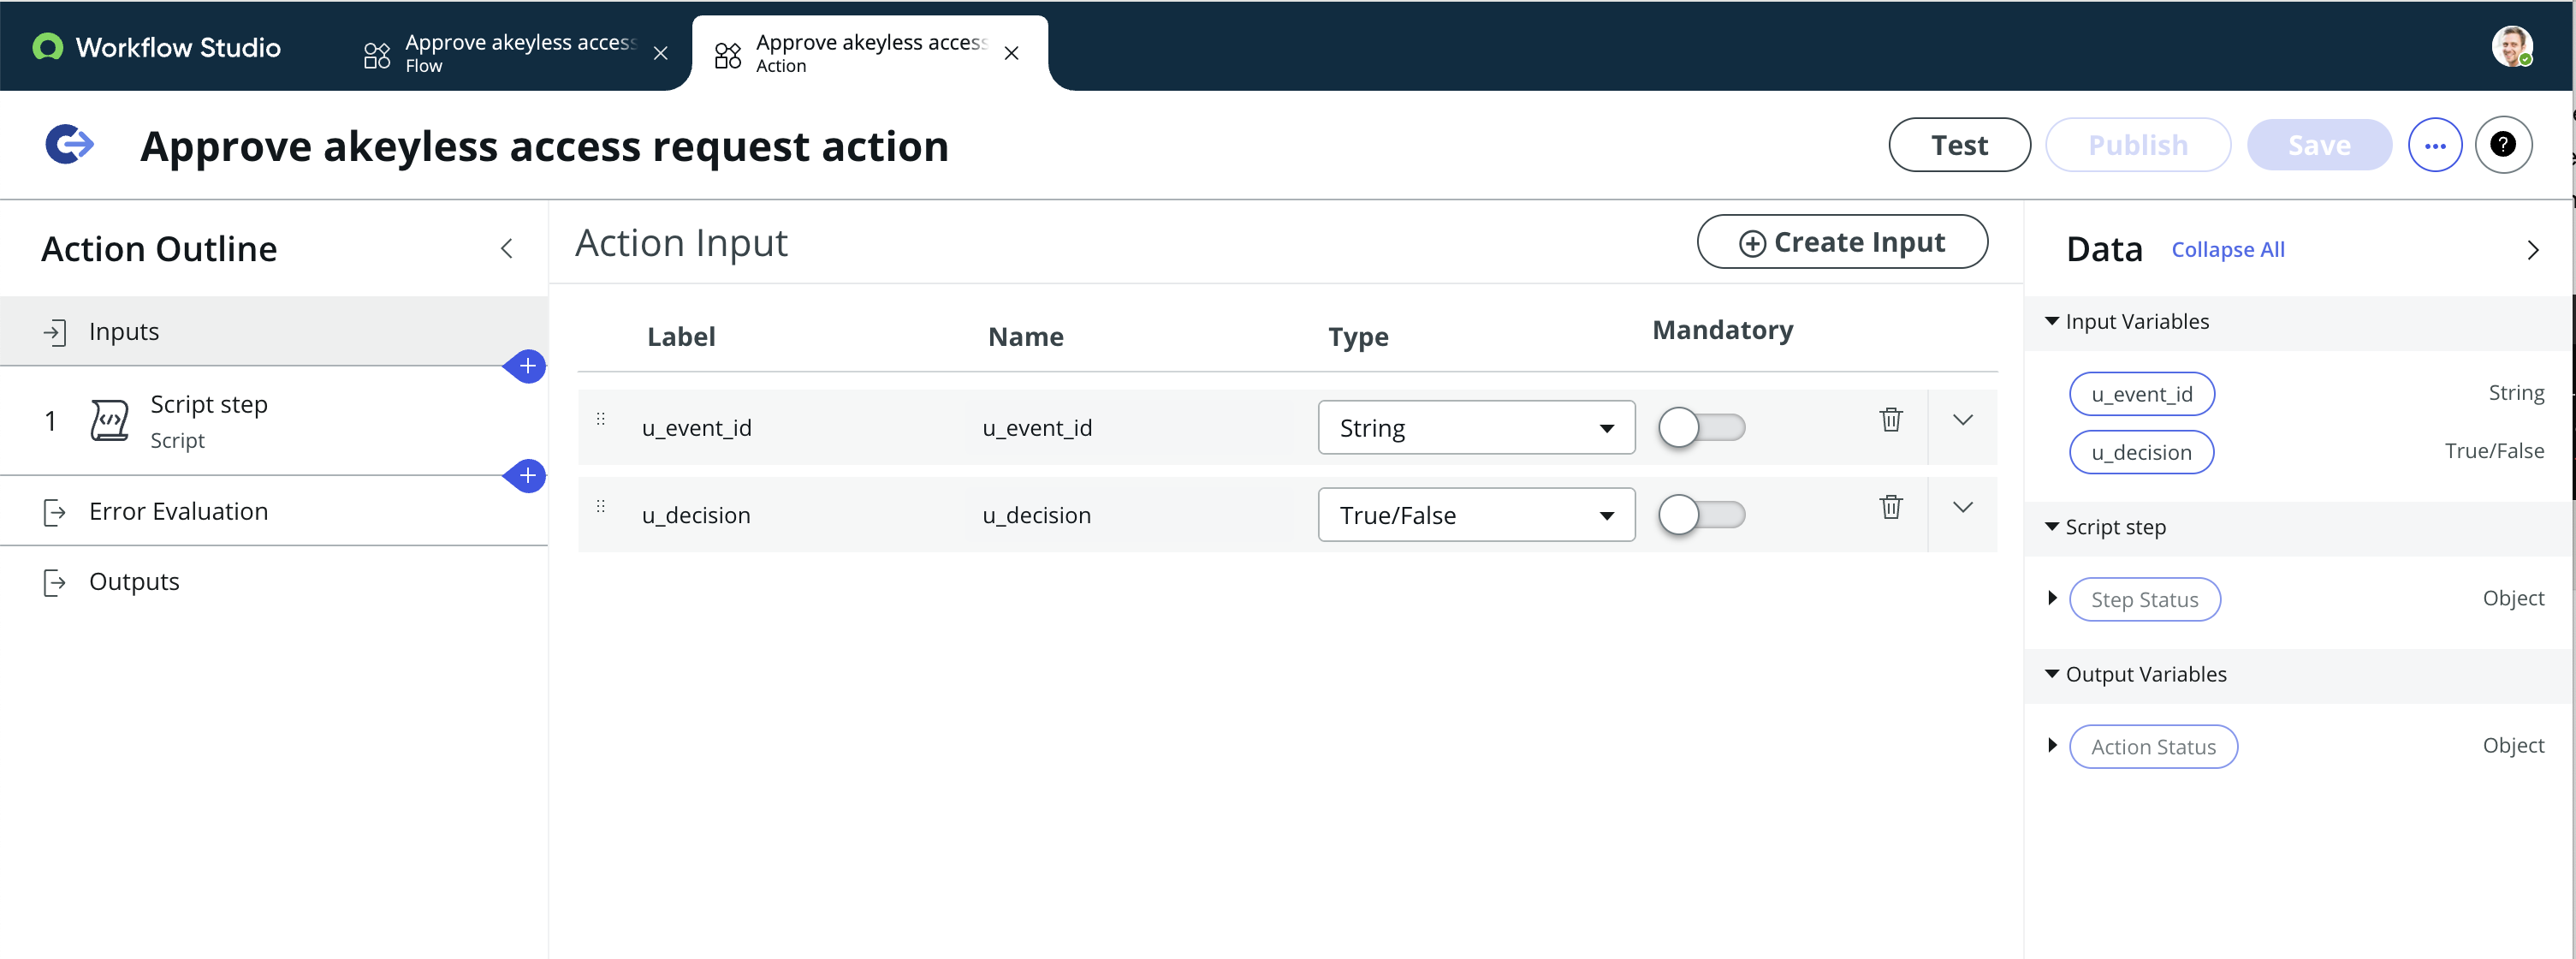
- Configure Input Properties: For each input, specify its name, data type (such as string, number, or boolean), and whether it is mandatory. Provide a descriptive name that indicates the input's purpose.
Step 4: Write the Script
- Access the Scripting Area: In the action configuration, there should be a section or tab for scripting. This is where you will write the custom logic for your action.
- Write Your Script: Using JavaScript, write the script that defines what the action will do. Use the inputs you defined earlier in the script to make your action dynamic and adaptable to different data passed from the flow.
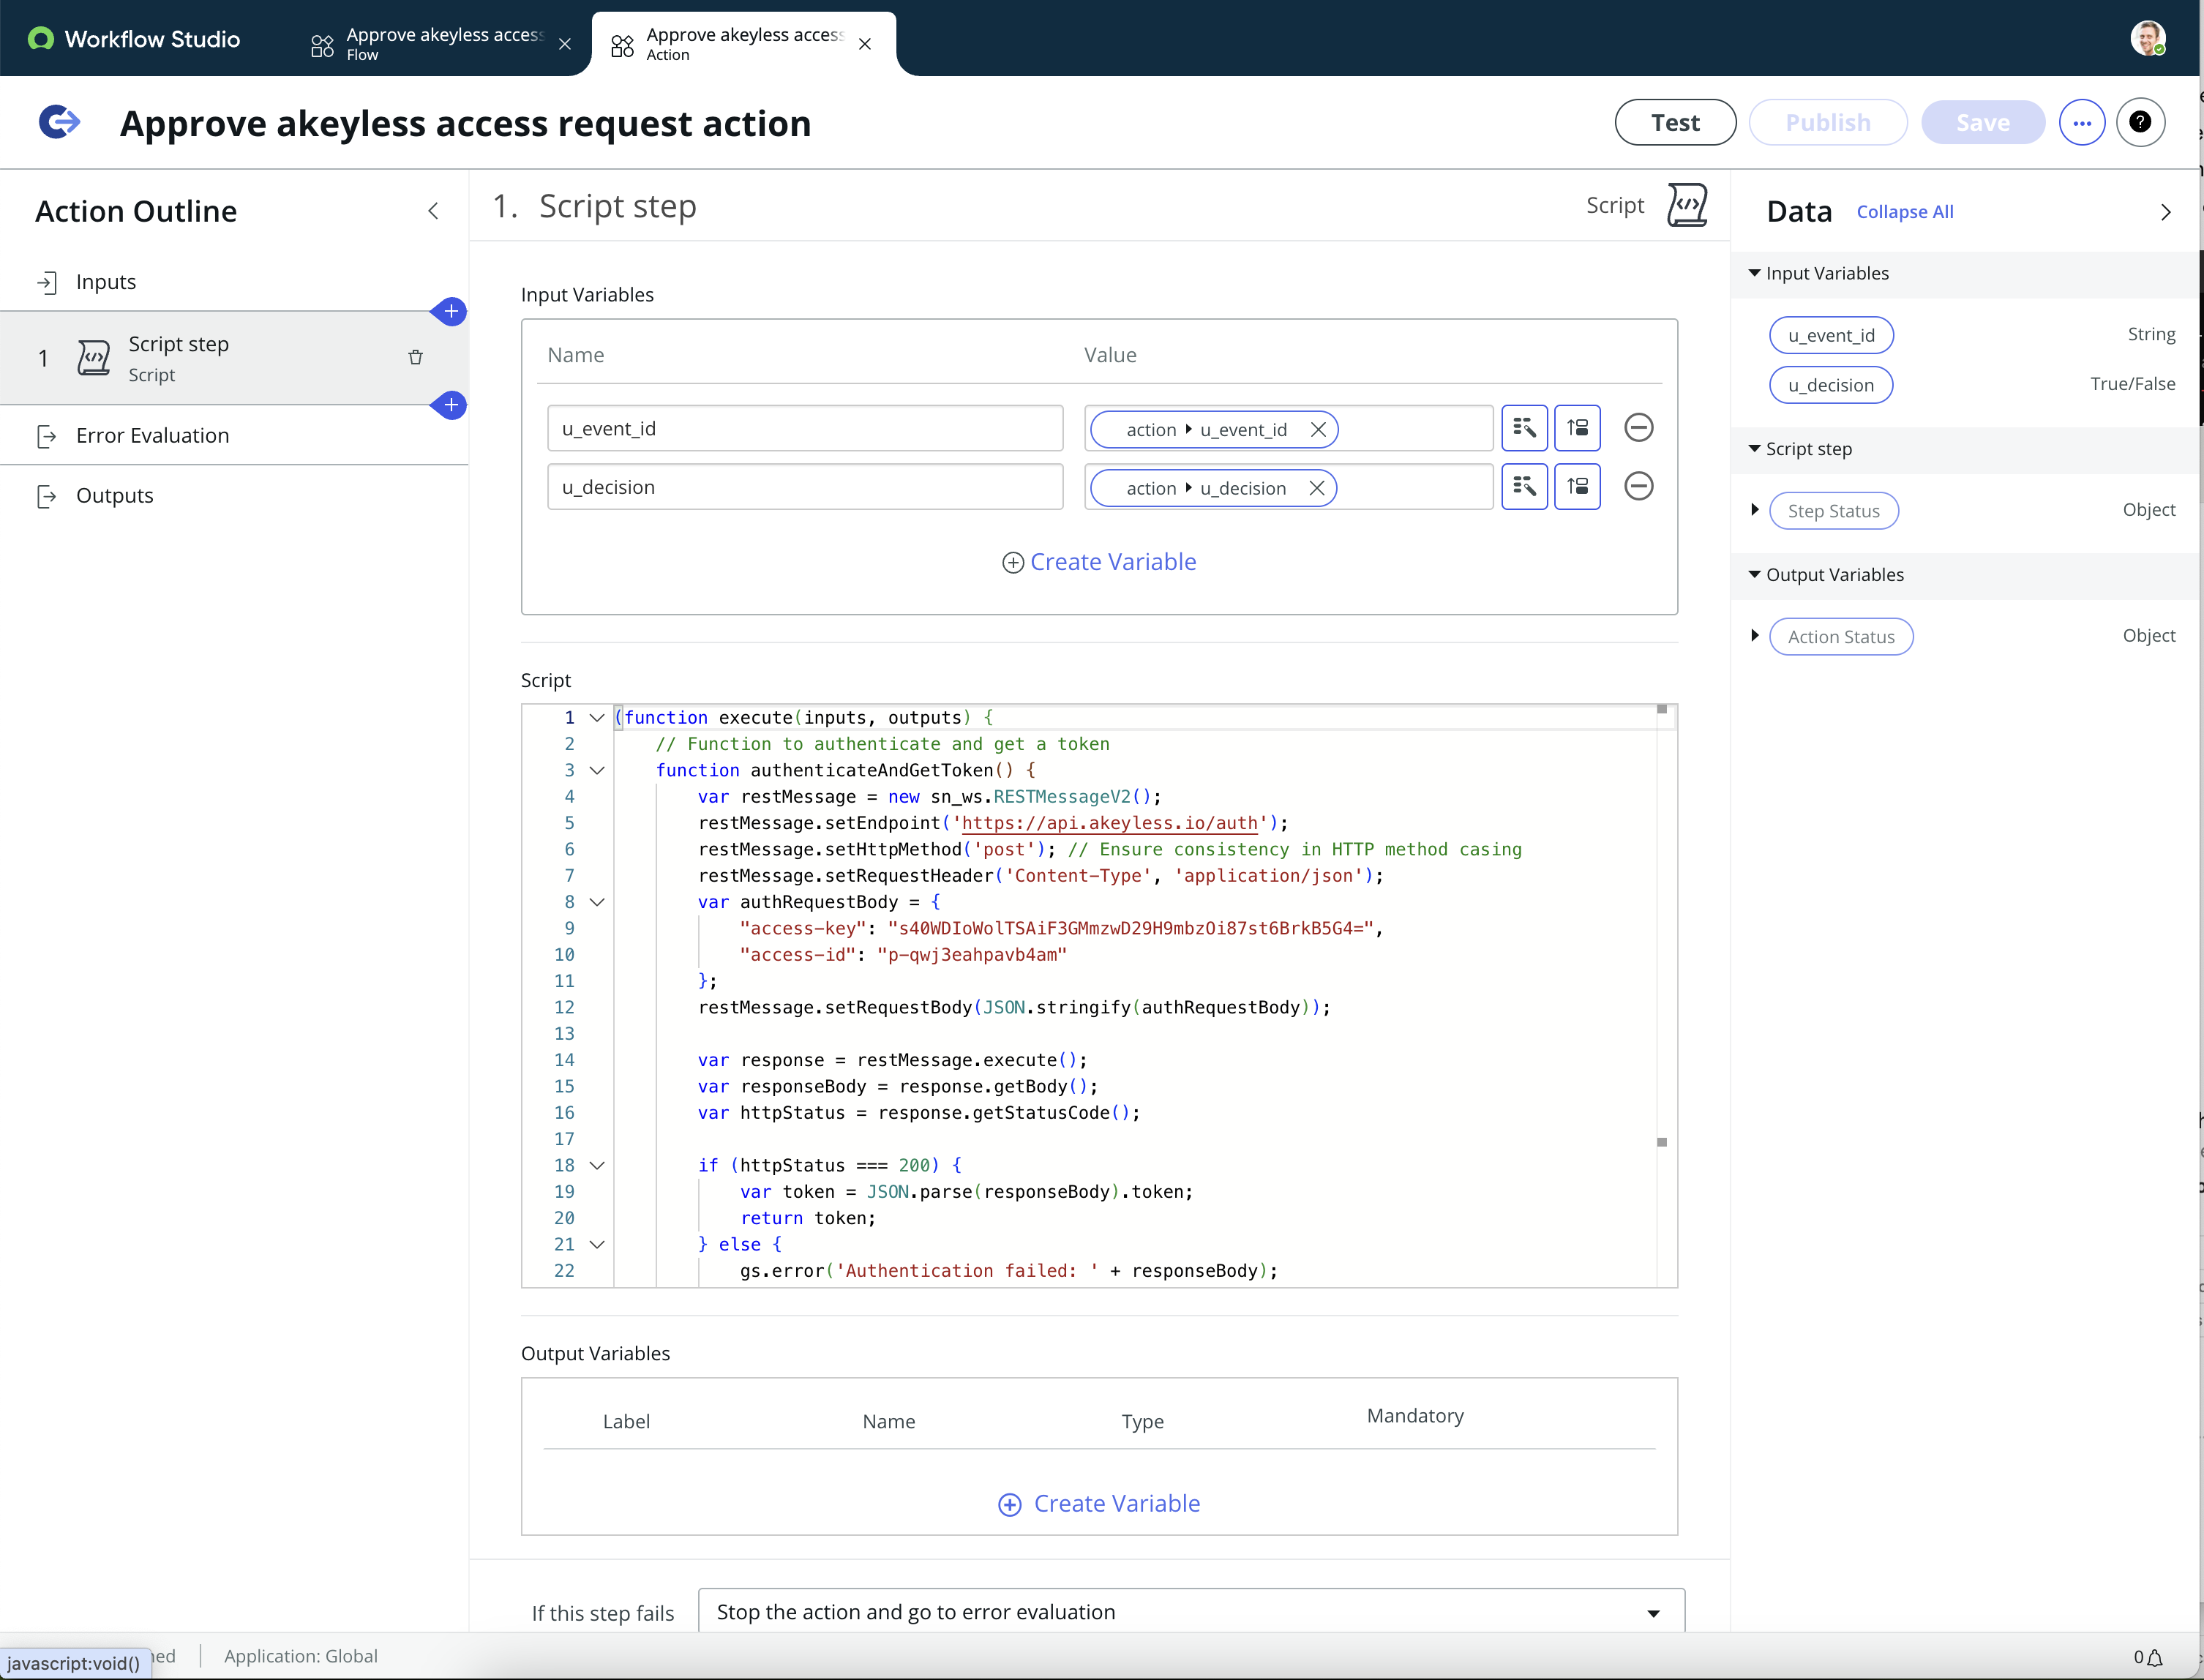
- For our use case the script is going to take the u_event_id and the u_decision values from our event table previously created
- Script example
(function execute(inputs, outputs) {
    // Function to authenticate and get a token
    function authenticateAndGetToken() {
        var restMessage = new sn_ws.RESTMessageV2();
        restMessage.setEndpoint('<YOUR_AUTH_ENDPOINT>'); // Replace with your authentication endpoint
        restMessage.setHttpMethod('post');
        restMessage.setRequestHeader('Content-Type', 'application/json');
        var authRequestBody = {
            "access-key": "<YOUR_ACCESS_KEY>", // Replace with your access key
            "access-id": "<YOUR_ACCESS_ID>" // Replace with your access ID
        };
        restMessage.setRequestBody(JSON.stringify(authRequestBody));

        var response = restMessage.execute();
        var responseBody = response.getBody();
        var httpStatus = response.getStatusCode();

        if (httpStatus === 200) {
            var token = JSON.parse(responseBody).token;
            return token;
        } else {
            gs.error('Authentication failed: ' + responseBody);
            return null;
        }
    }

    // Authenticate and get the token
    var token = authenticateAndGetToken();
    if (!token) {
        outputs.result = 'Error in authentication';
        return;
    }

    // Proceed with the event action using the obtained token
    function sendEventAction(token, actionValue, eventId) {
        var restMessage = new sn_ws.RESTMessageV2();
        restMessage.setEndpoint('<YOUR_EVENT_ACTION_ENDPOINT>'); // Replace with your event action endpoint
        restMessage.setHttpMethod('post');
        restMessage.setRequestHeader('Content-Type', 'application/json');
        restMessage.setRequestHeader('Authorization', 'Bearer ' + token); // Use the token for authorization

        var eventRequestBody = {
            "event-id": parseInt(eventId, 10), // Ensure event ID is properly formatted
            "action": actionValue, // The action to be taken ('approve' or 'deny')
            "token": token // Include the token if required by your endpoint
        };
        restMessage.setRequestBody(JSON.stringify(eventRequestBody));

        var response = restMessage.execute();
        var responseBody = response.getBody();
        var httpStatus = response.getStatusCode();

        if (httpStatus === 200) {
            gs.info('Event Action Success: ' + responseBody);
            outputs.result = 'Success';
        } else {
            gs.error('Event Action Failed: ' + responseBody);
            outputs.result = 'Error';
        }
    }

    // Determine the action based on a decision field from inputs
    var actionValue = inputs.u_decision ? "approve" : "deny";

    // Call the function to send event action
    sendEventAction(token, actionValue, inputs.u_event_id);

})(inputs, outputs);
Step 5: Save and Test the Action
- Save Your Action: After writing your script and configuring the action’s inputs, save your action. Look for a “Save” button.
- Test the Action: Before using your action in a flow, it’s important to test it to ensure it works as expected. ServiceNow might offer a testing feature within the Action Designer or you may need to test it by incorporating it into a flow and running the flow in a test environment.
Step 6: Use the Action in a Flow
- Incorporate Your Action: Once your action is tested and ready, you can use it in a flow. In the Flow Designer, add an action to your flow and select the custom action you created. Pass the necessary inputs to the action based on the flow’s logic.
Step 7: Publish the Action
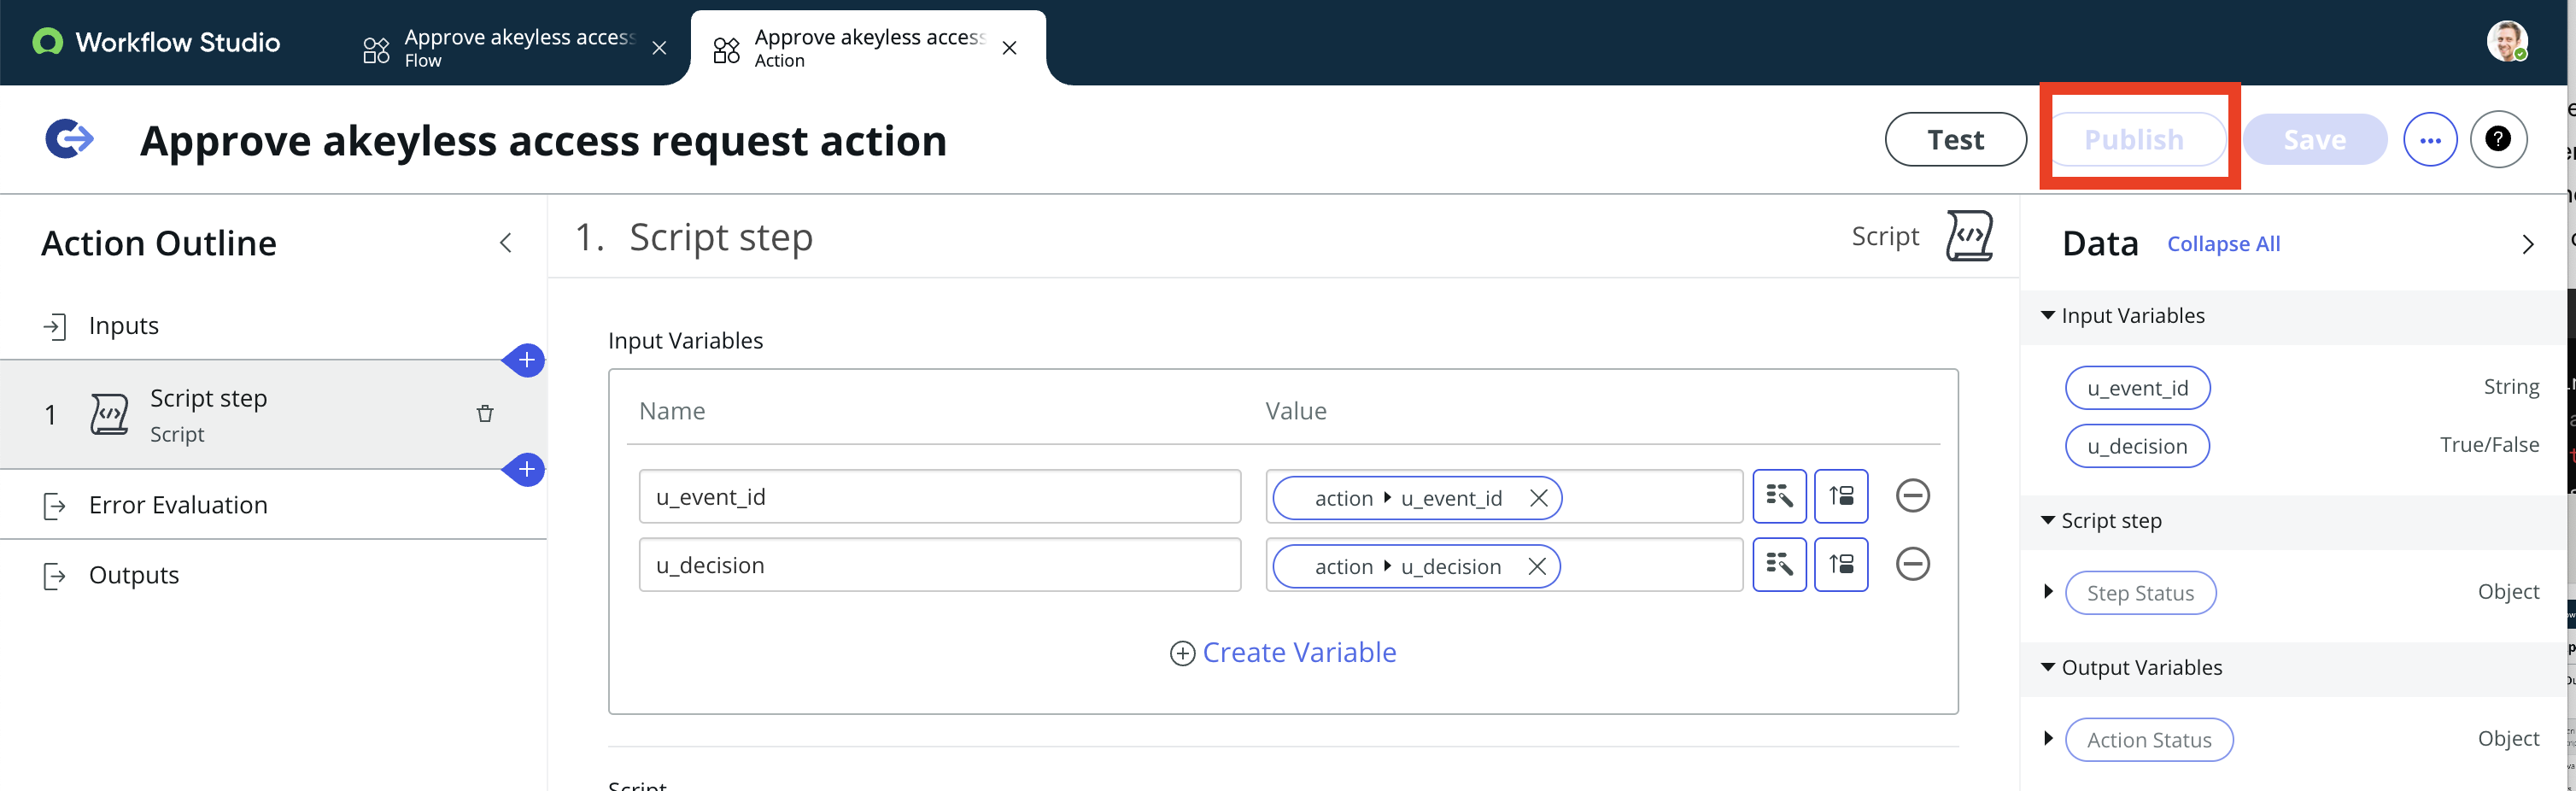
Updated 3 months ago
Did this page help you?