Create a Table Form for New Record Entries
Creating a form in ServiceNow to add new records to a table simplifies data entry and ensures that users can efficiently input information into the system. Here’s a straightforward guide to creating a form for your table:
Step 1: Access the Table Configuration
- Navigate to the ServiceNow Dashboard: Log in to your ServiceNow instance.
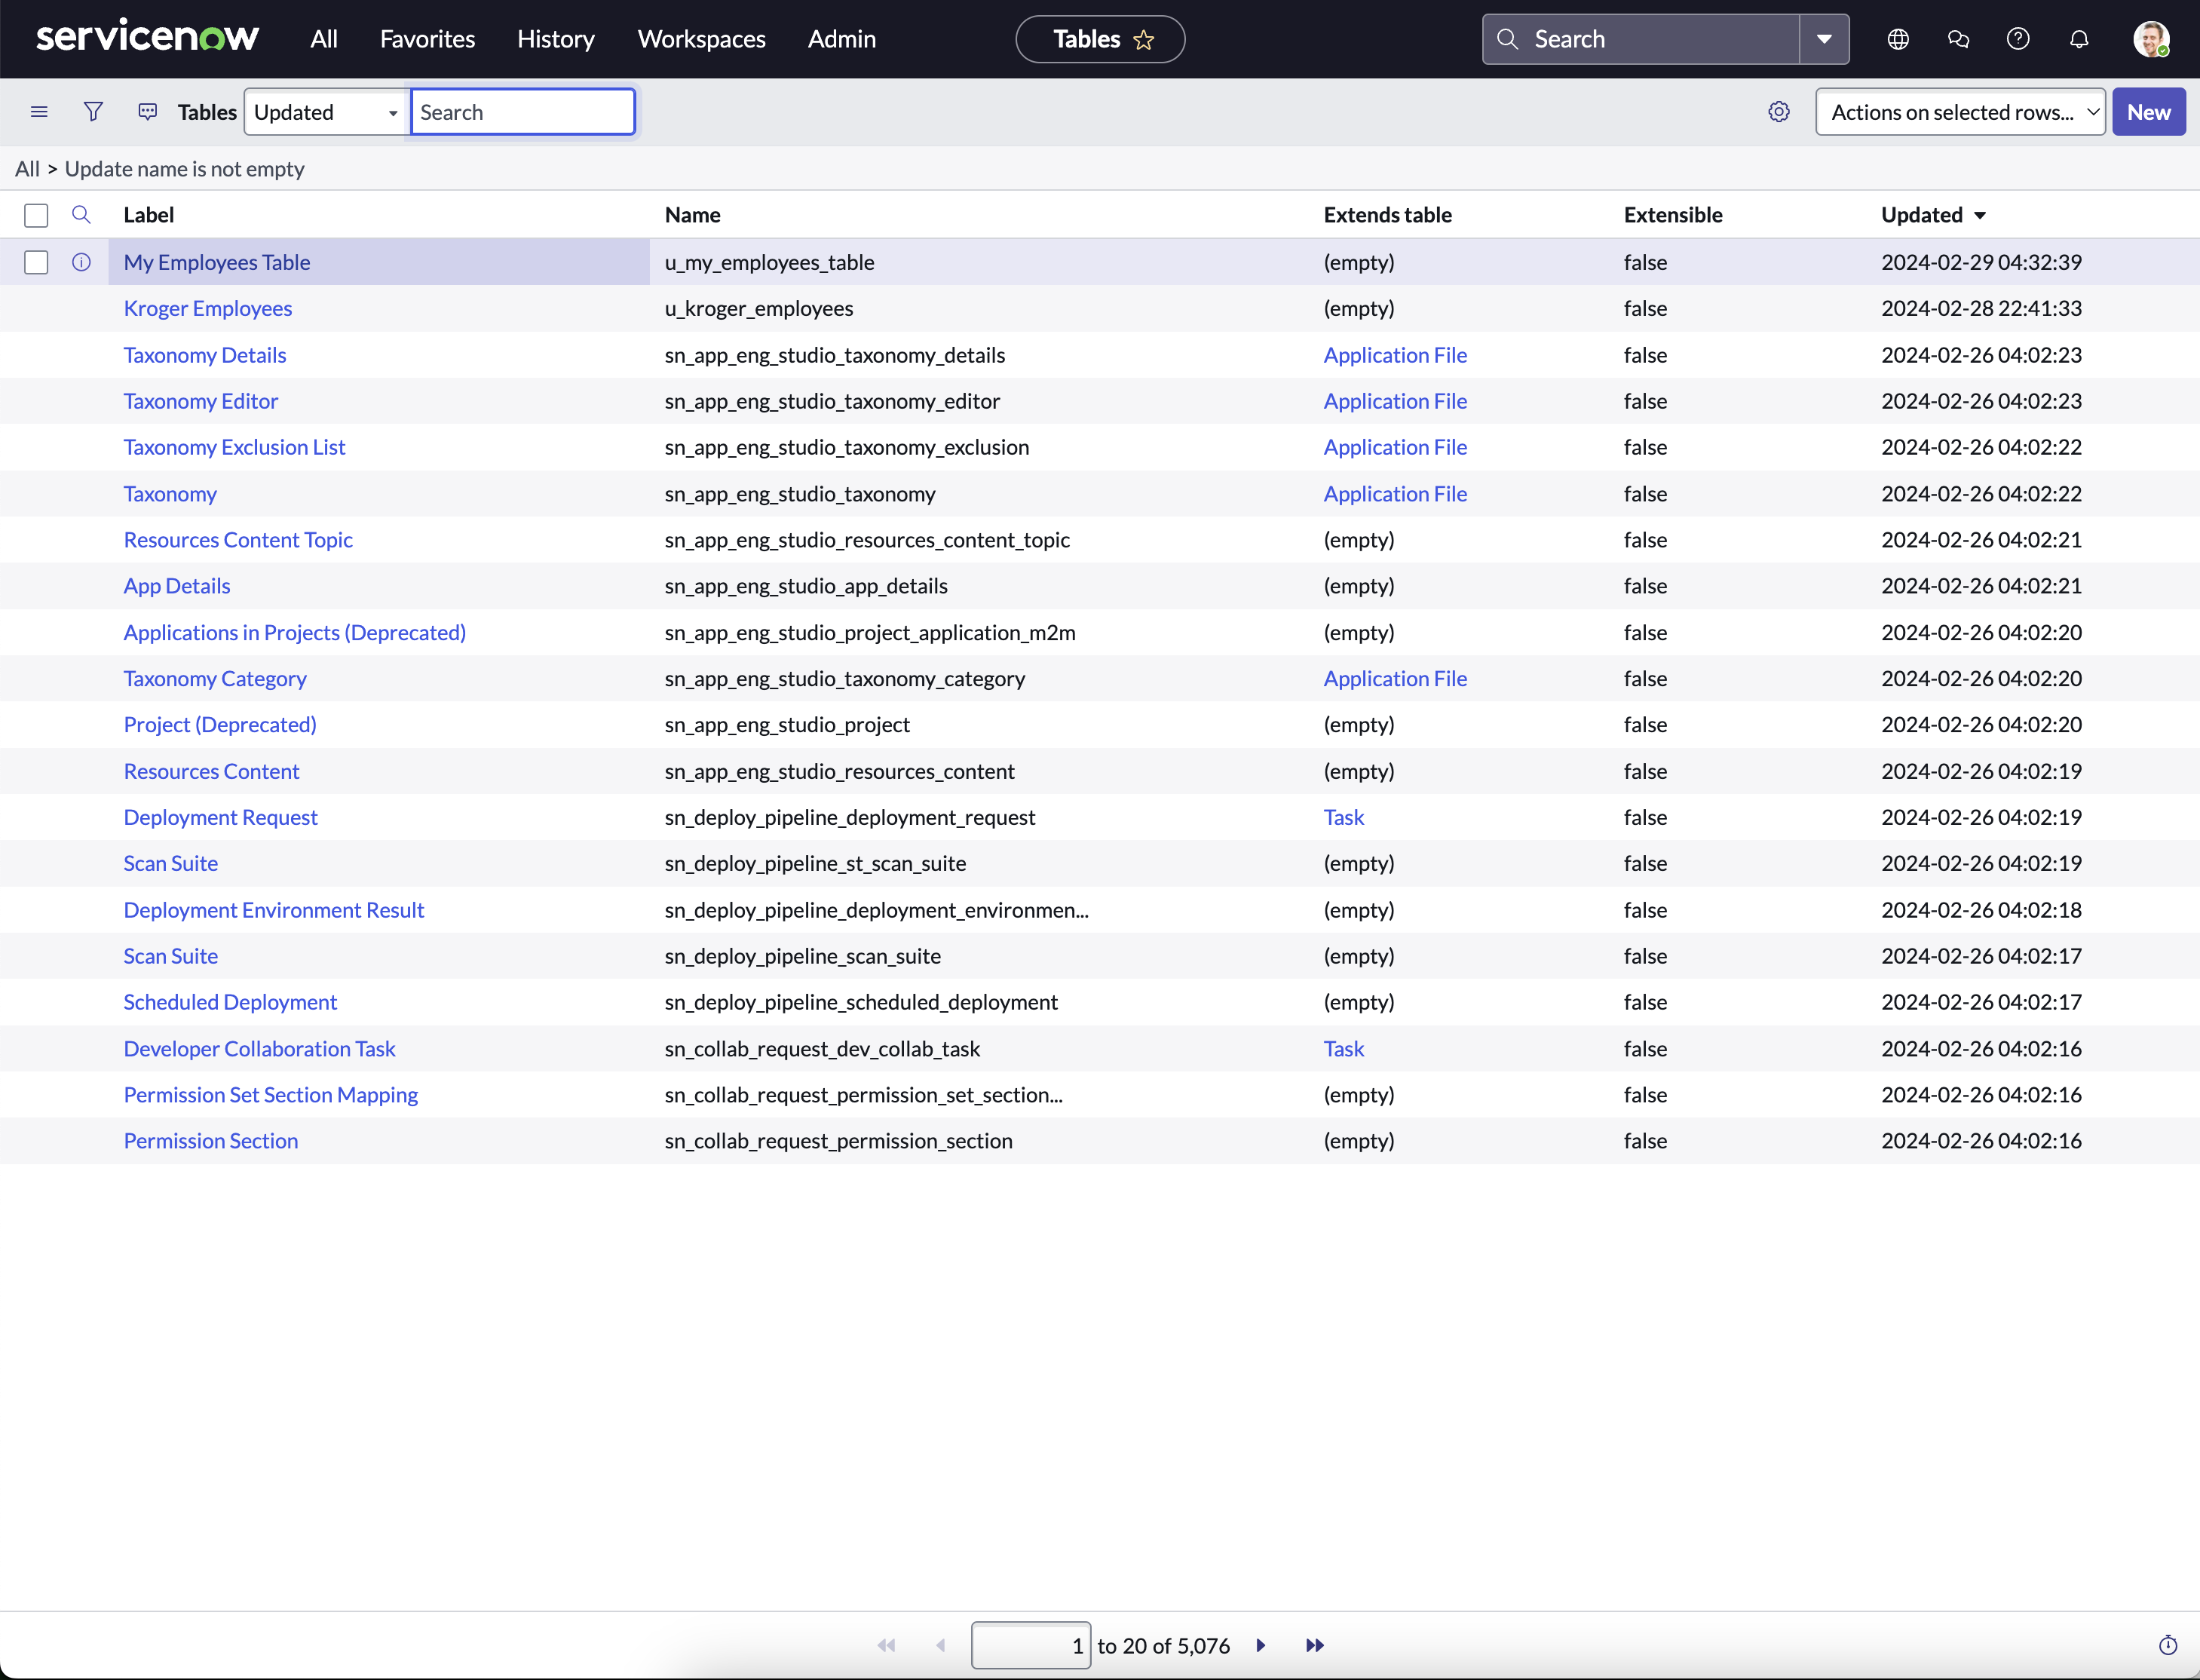
- Open the Table: Go to System Definition > Tables, and search for the table you've created, for example, the "Employee Records" table. Click on the table name to access its configuration.

Step 2: Create or Modify a Form Layout
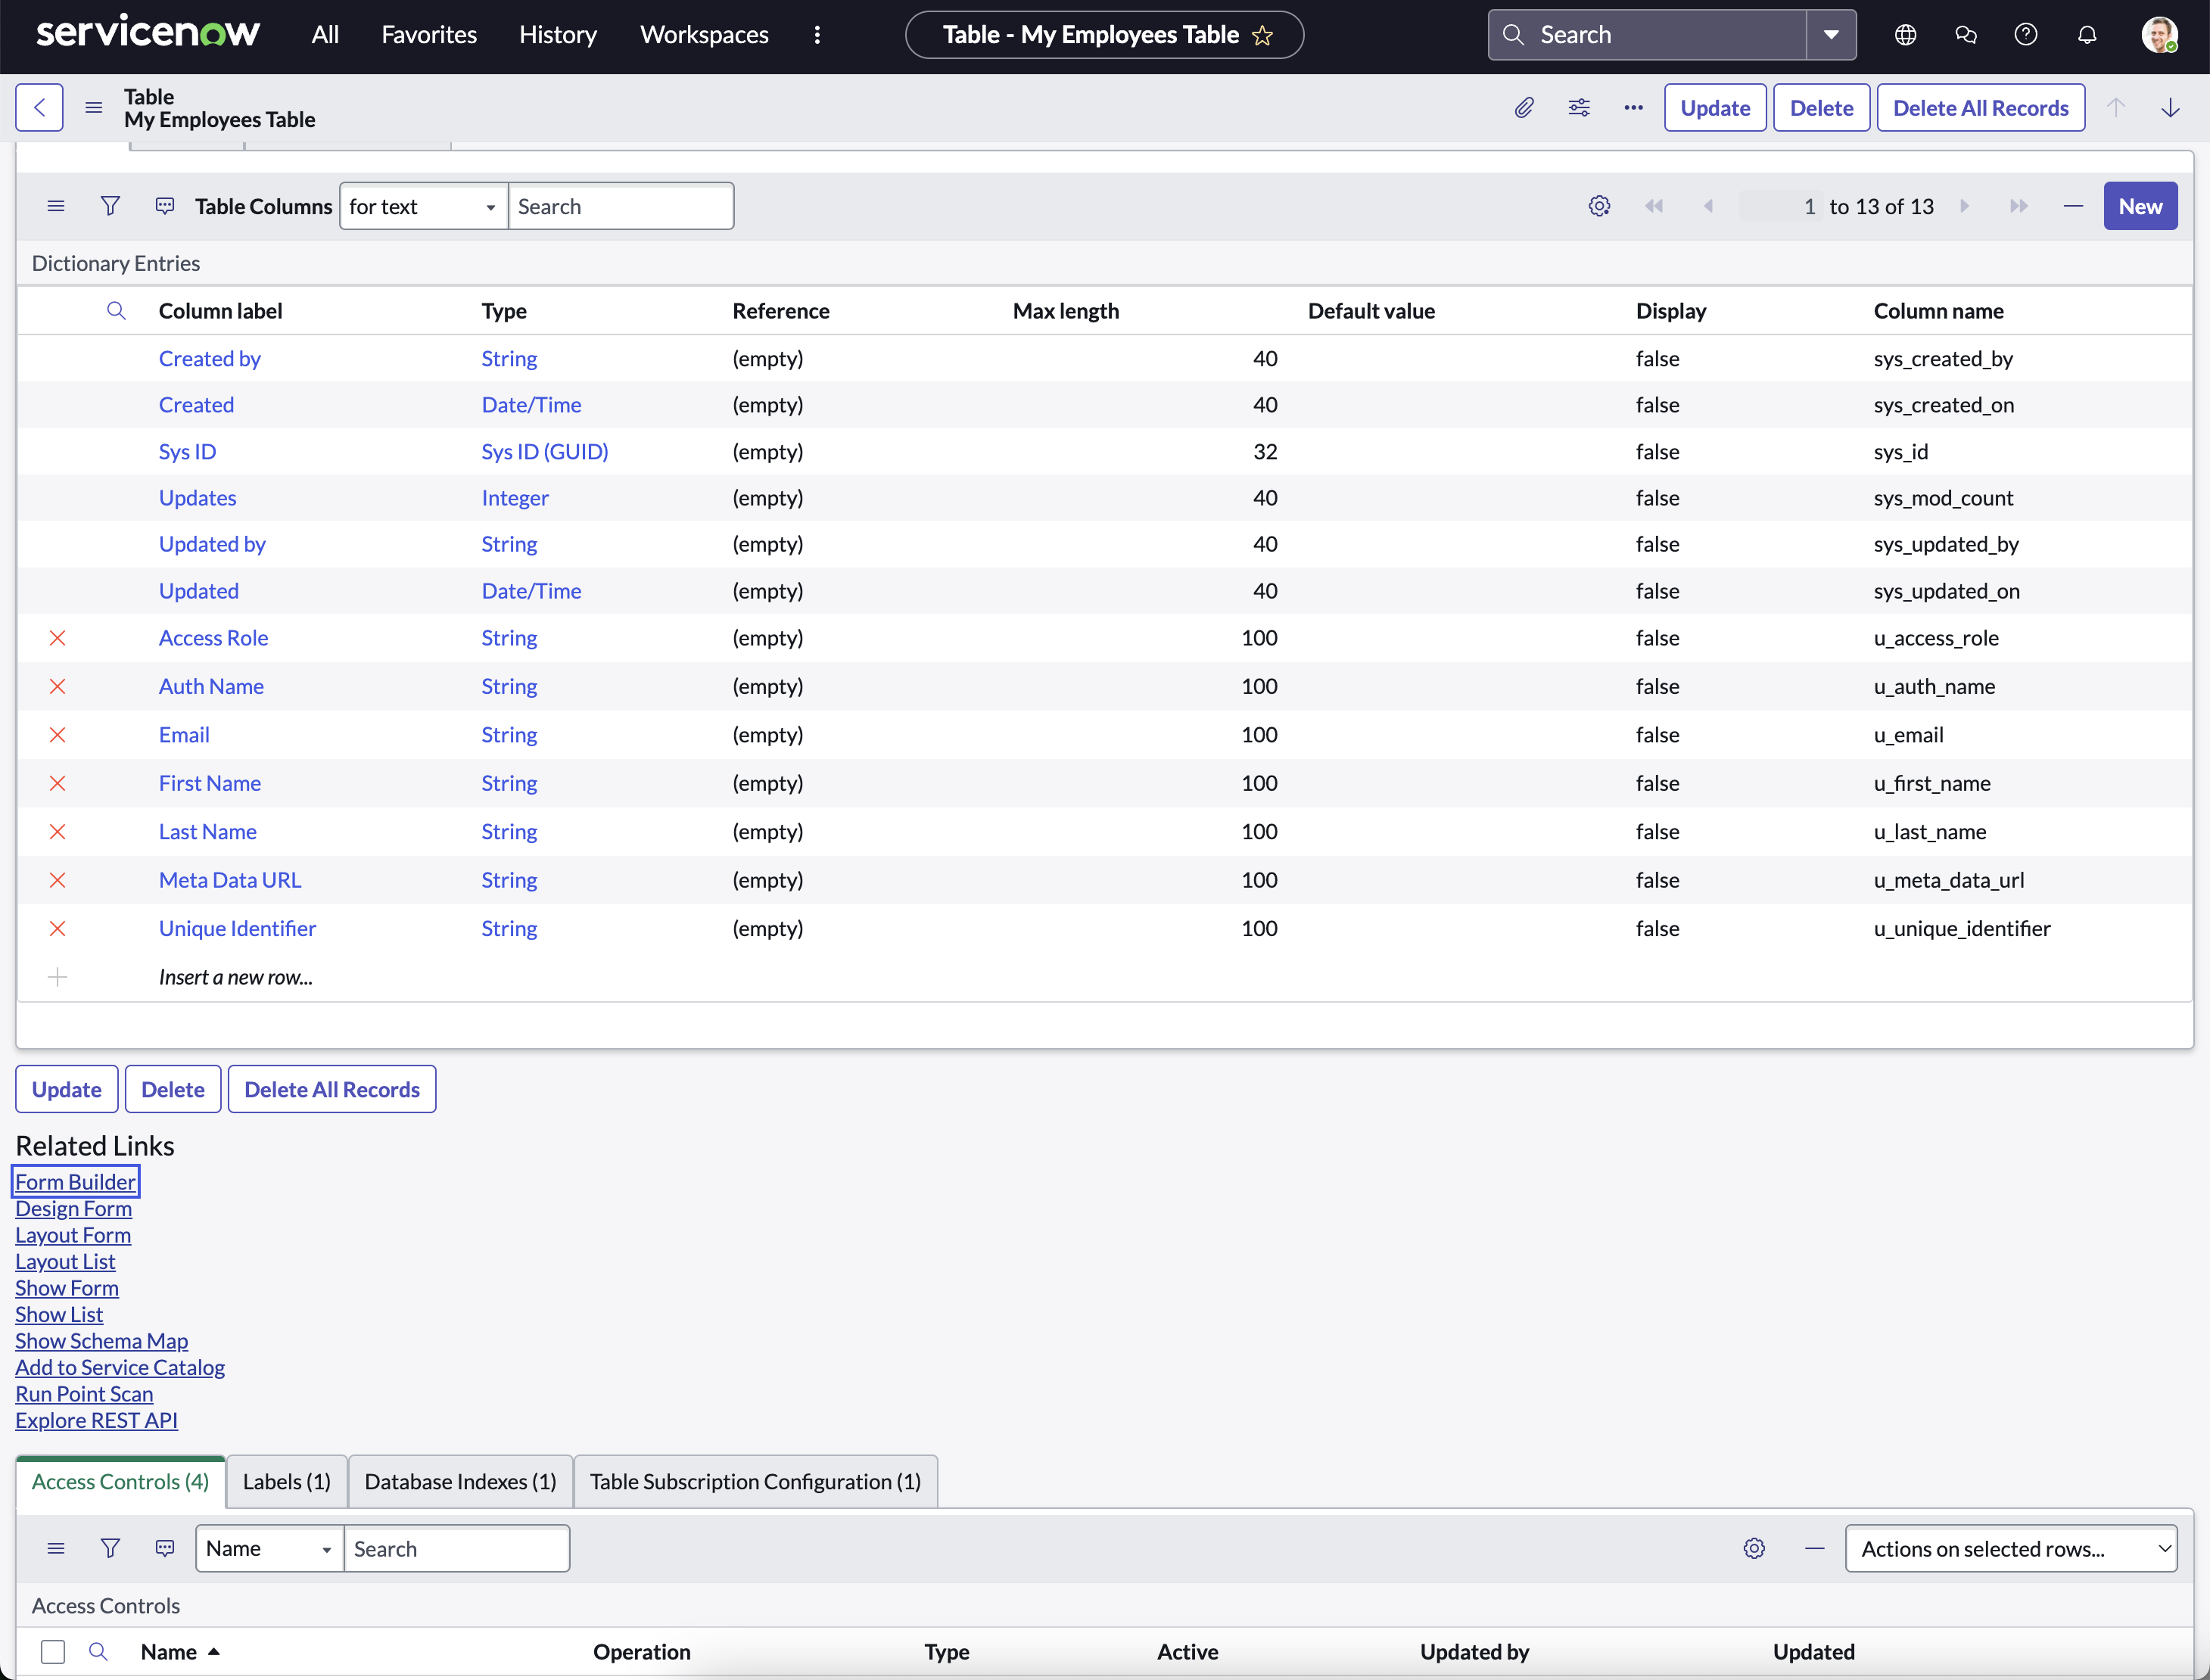
- Access Form Layouts: Within the table configuration, find the Form Layout or Form Design option. This feature allows you to configure what fields appear on the form and how they are arranged.
- Edit or Create New Form: If a form already exists for your table, you can choose to edit it. To create a new form layout, click on the New button or the option to create a new form layout.
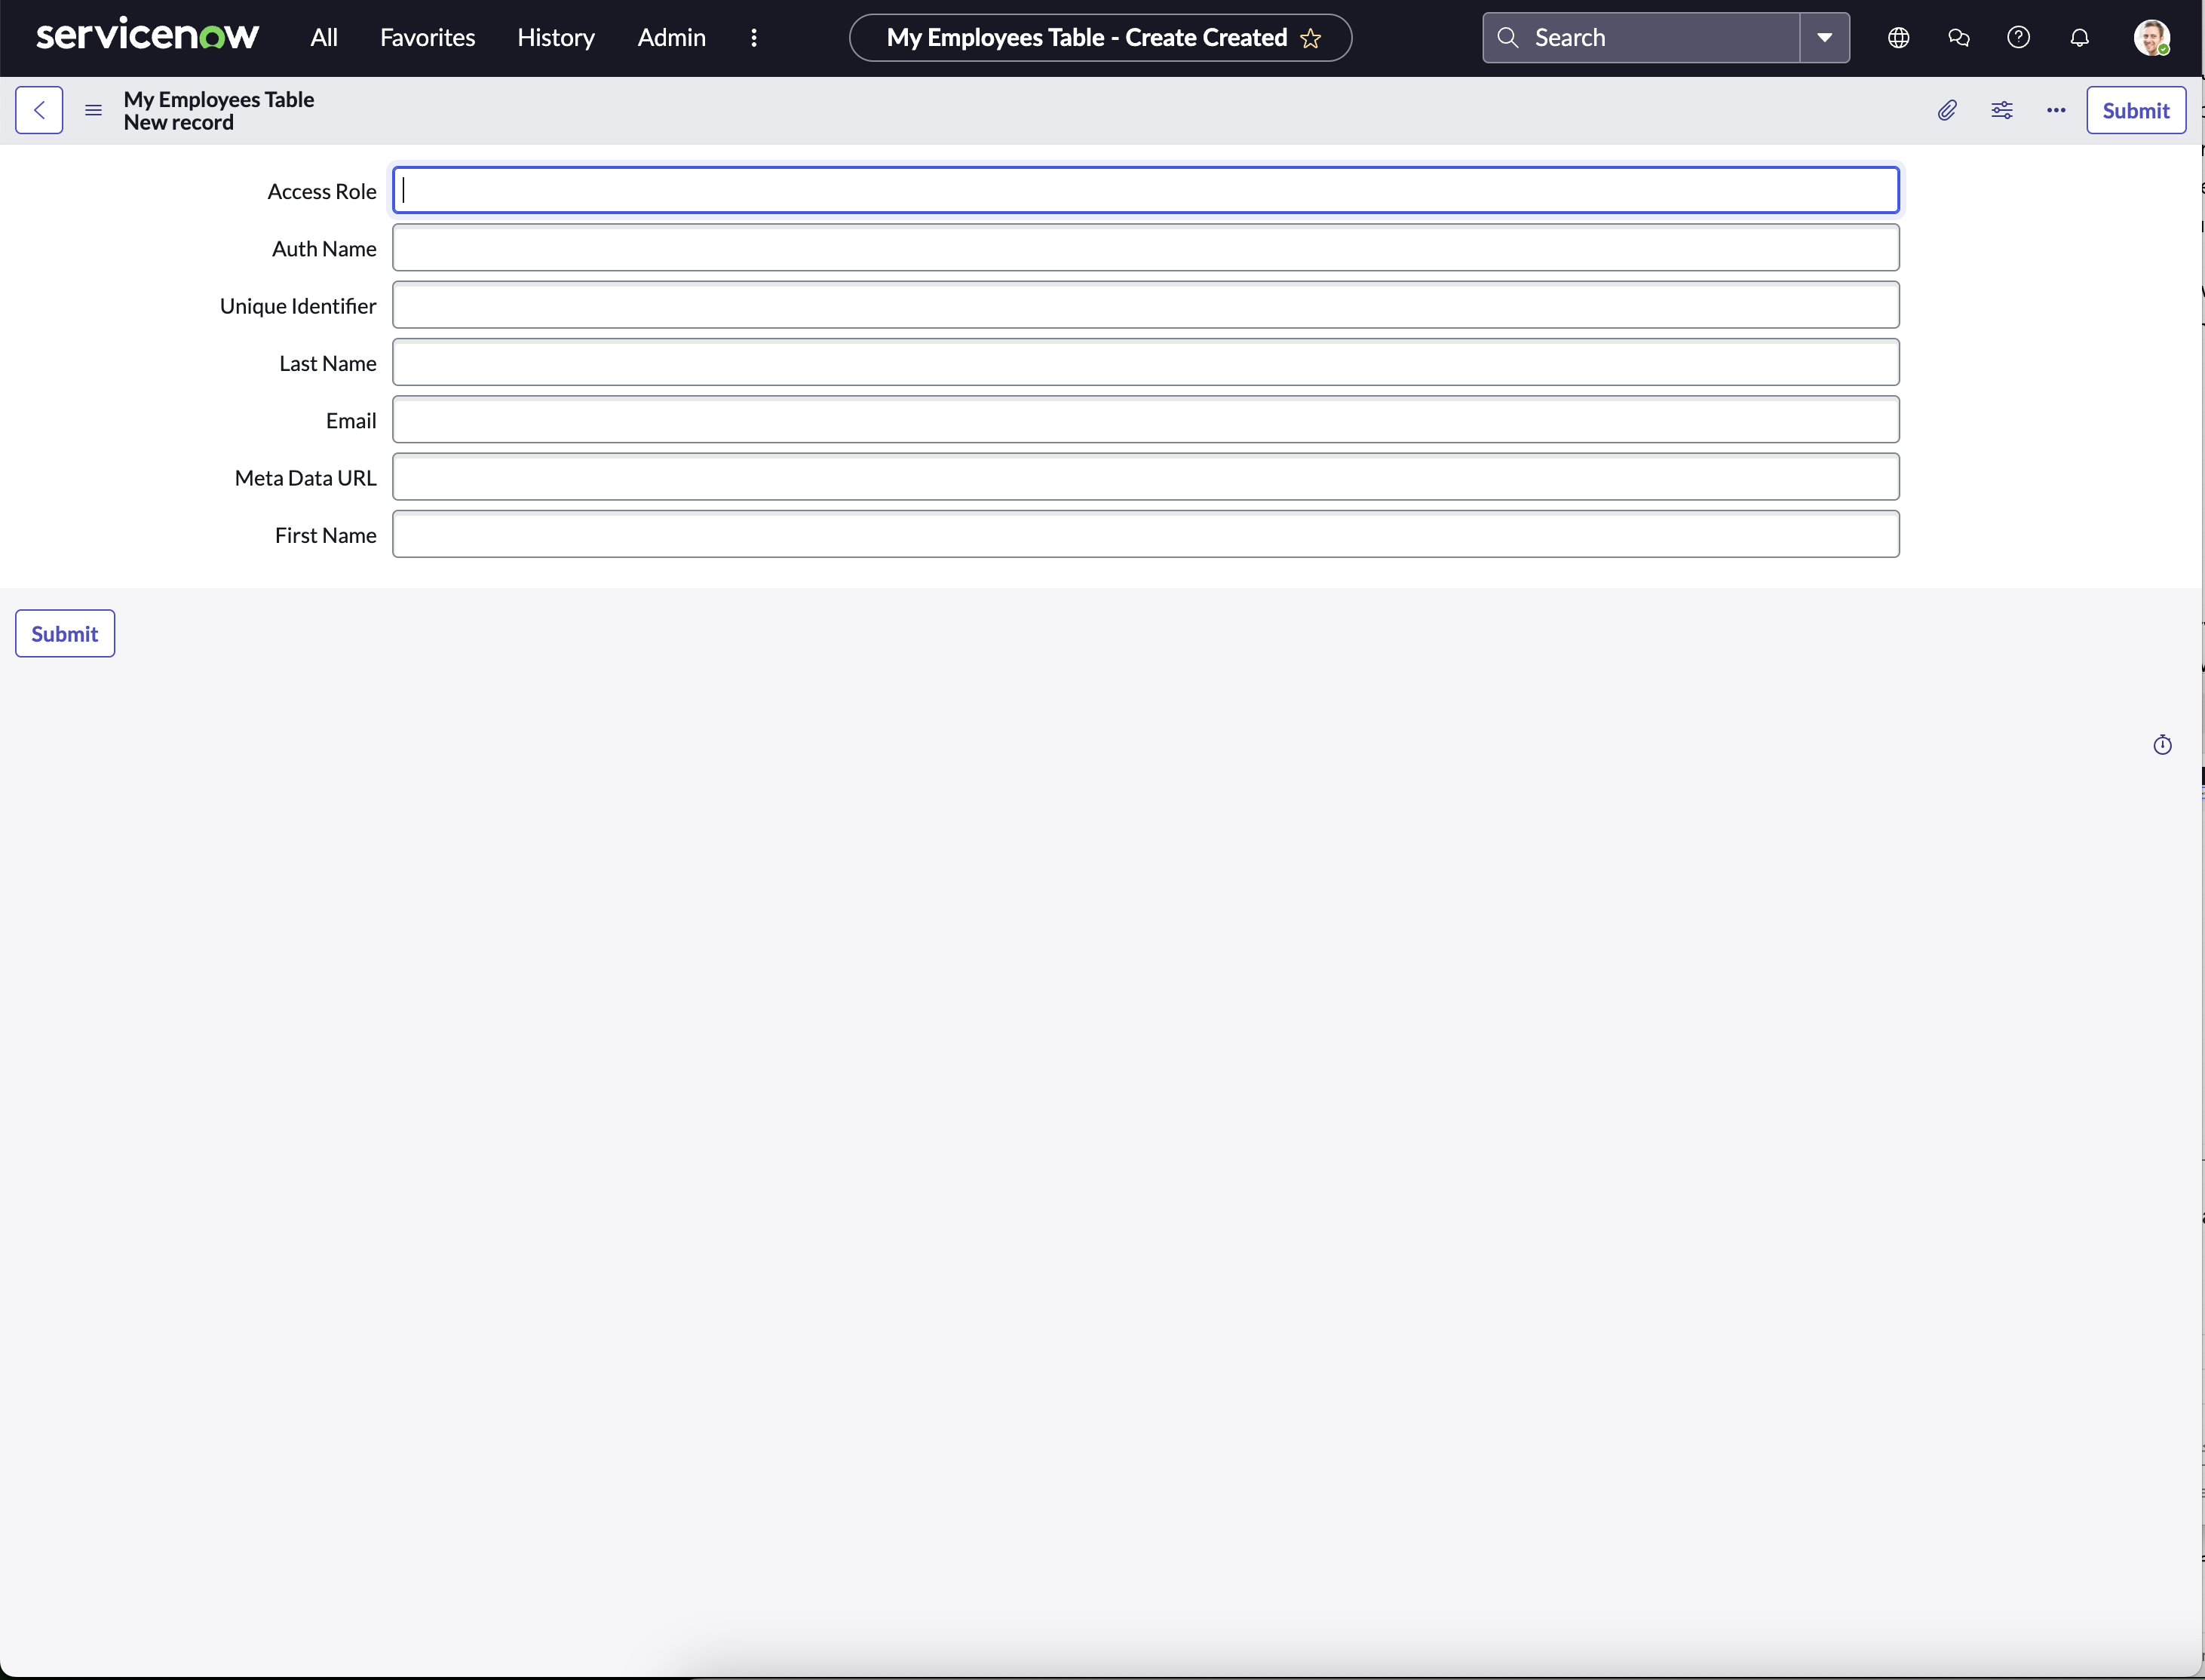
Step 3: Add Fields to the Form
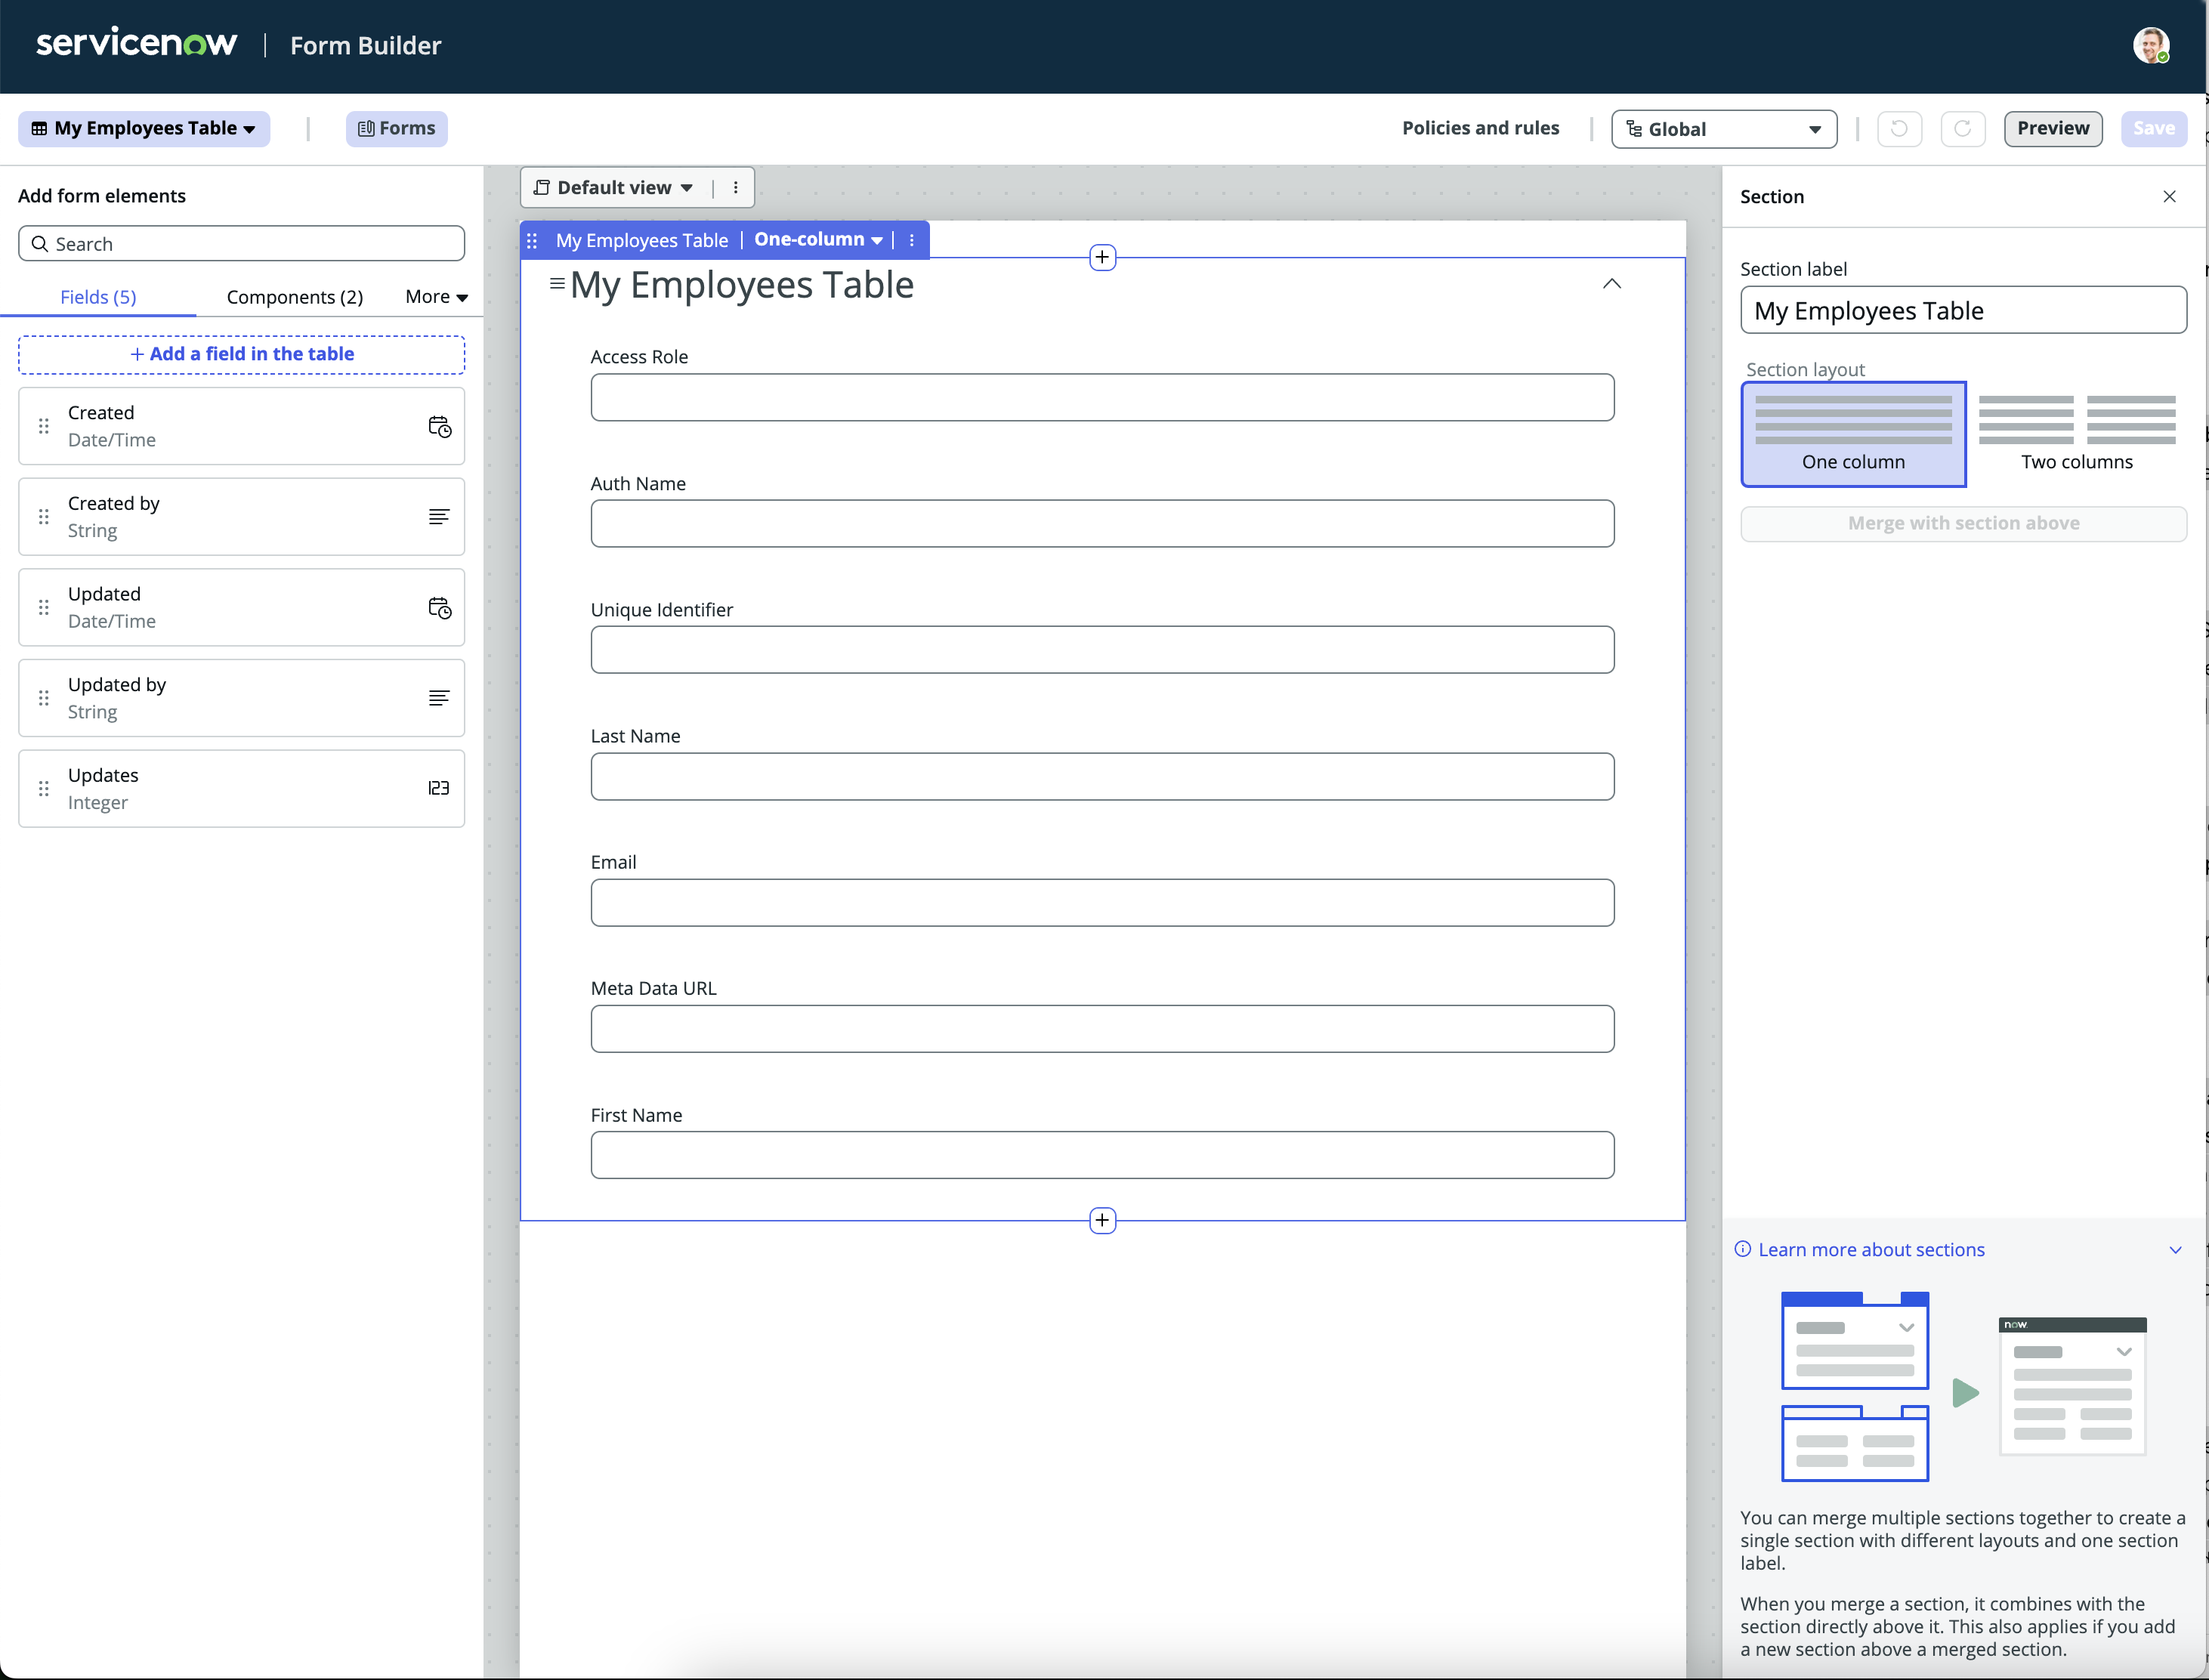
- Select Fields: In the form layout editor, you'll see a list of available fields on one side of the screen. These are the fields you've defined for your table, such as "First Name," "Last Name," "Email," and so on.
- Drag and Drop Fields: To add fields to your form, drag them from the list of available fields to the form layout. Arrange them in the order you want them to appear on the form.
- Configure Field Properties: As you add each field to the form, you can configure its properties. For example, you might set certain fields as mandatory, define default values, or add help text to guide users in filling out the form.
Step 4: Organize the Form Layout
- Section and Tabs: For better organization, you can divide your form into sections or tabs. This is especially useful if your form is lengthy or contains groups of related fields.
- Adjust Field Order and Layout: Ensure the fields are logically ordered to make the form intuitive to use. You can adjust the layout by moving fields around within the form editor.
Step 5: Save and Test the Form
- Save Changes: Once you are satisfied with the form layout, save your changes. The form is now configured to allow users to add new records to the table.
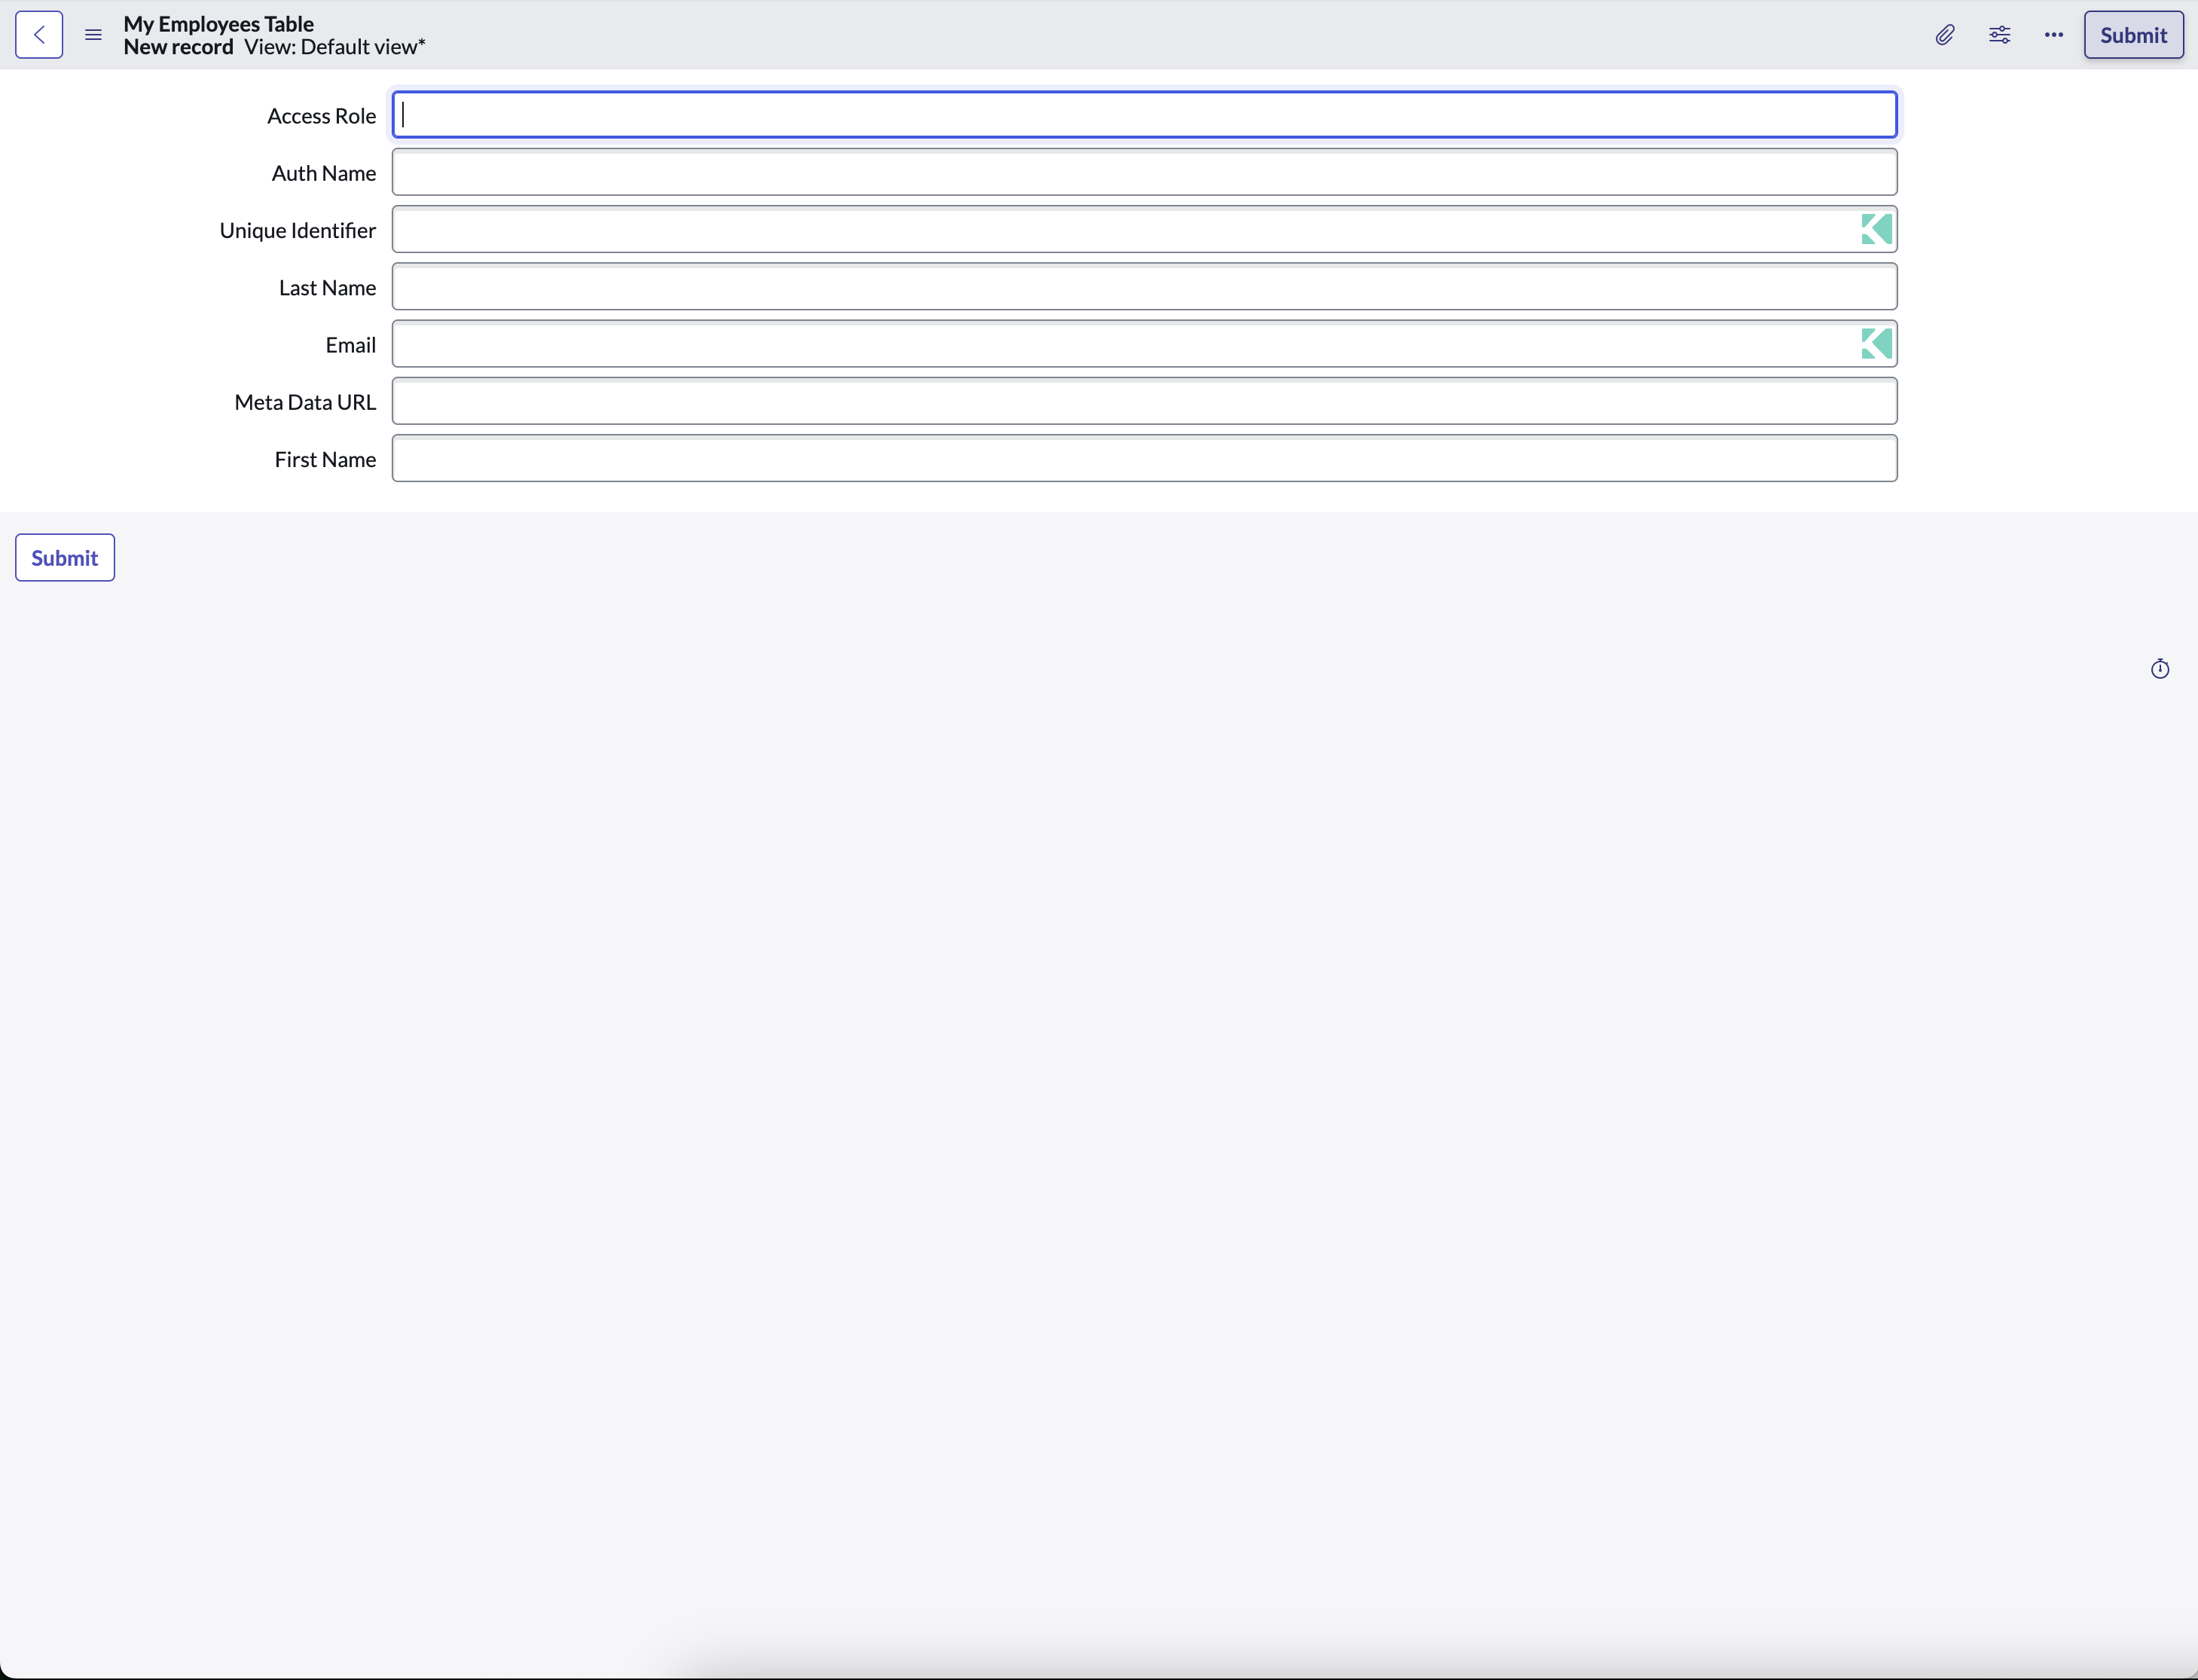
- Test the Form: It’s important to test the form by attempting to add a new record. Navigate to the section of ServiceNow where your table records are displayed, and use the form to add a new record. Check that all fields function as expected and that the record is correctly added to the table.
- Step 1: Identify the Table Linked to Your Form
- Every form in ServiceNow is associated with a specific table. Recall the name of the table for which you created the form. This could be a custom table you created (For example, "New Employee Onboarding") or a standard ServiceNow table (For example, "Incident").

- Step 2: Navigate to the Table's Module
- Step3: Click New
Updated 5 months ago
Did this page help you?