Create a Table in ServiceNow
Creating a table in ServiceNow involves defining a new data structure to store information relevant to your business processes. ServiceNow tables can hold data for various purposes, such as tracking incidents, managing assets, or custom applications data. Here's a step-by-step guide to creating a table in ServiceNow:
Step 1: Access Table Creation
- Log in to your ServiceNow instance as an administrator or with a role that has permissions to create and manage tables.
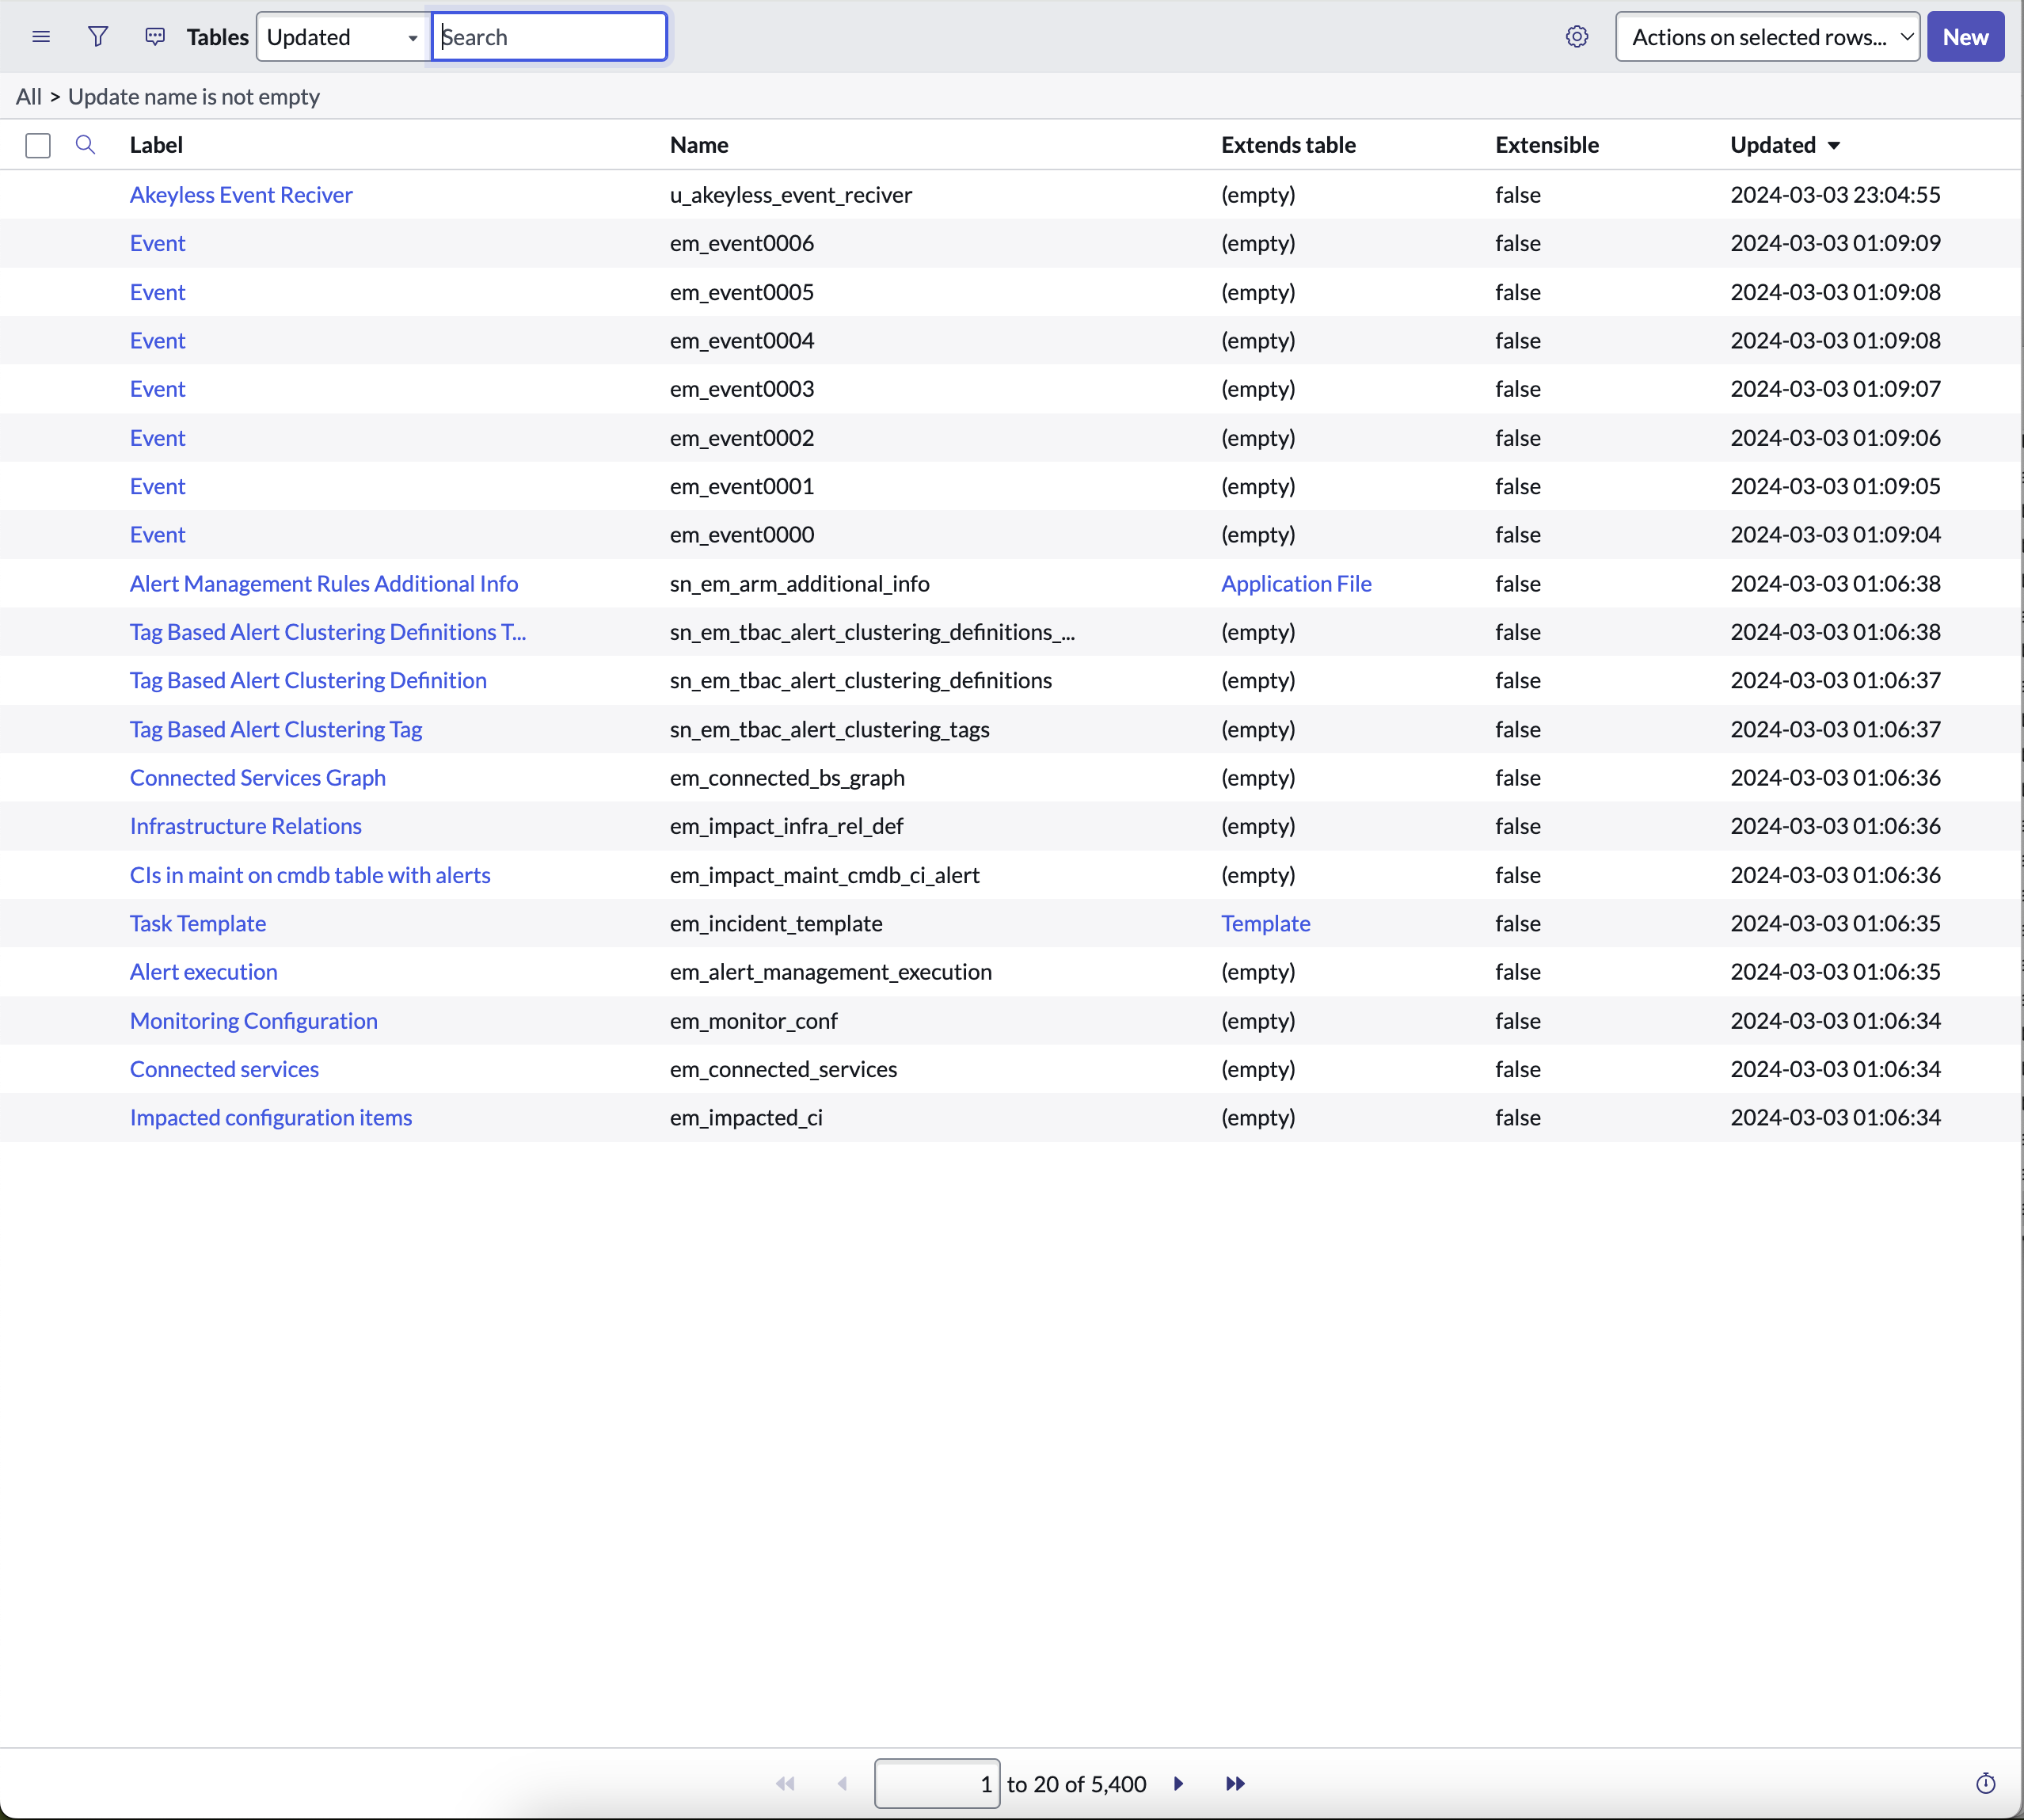
- Navigate to System Definition > Tables in the Application Navigator on the left side of the screen.

Step 2: Create New Table
- Click on the New button to start creating a new table.
- You will be presented with a form to fill out details for your new table.
Step 3: Define Table Details
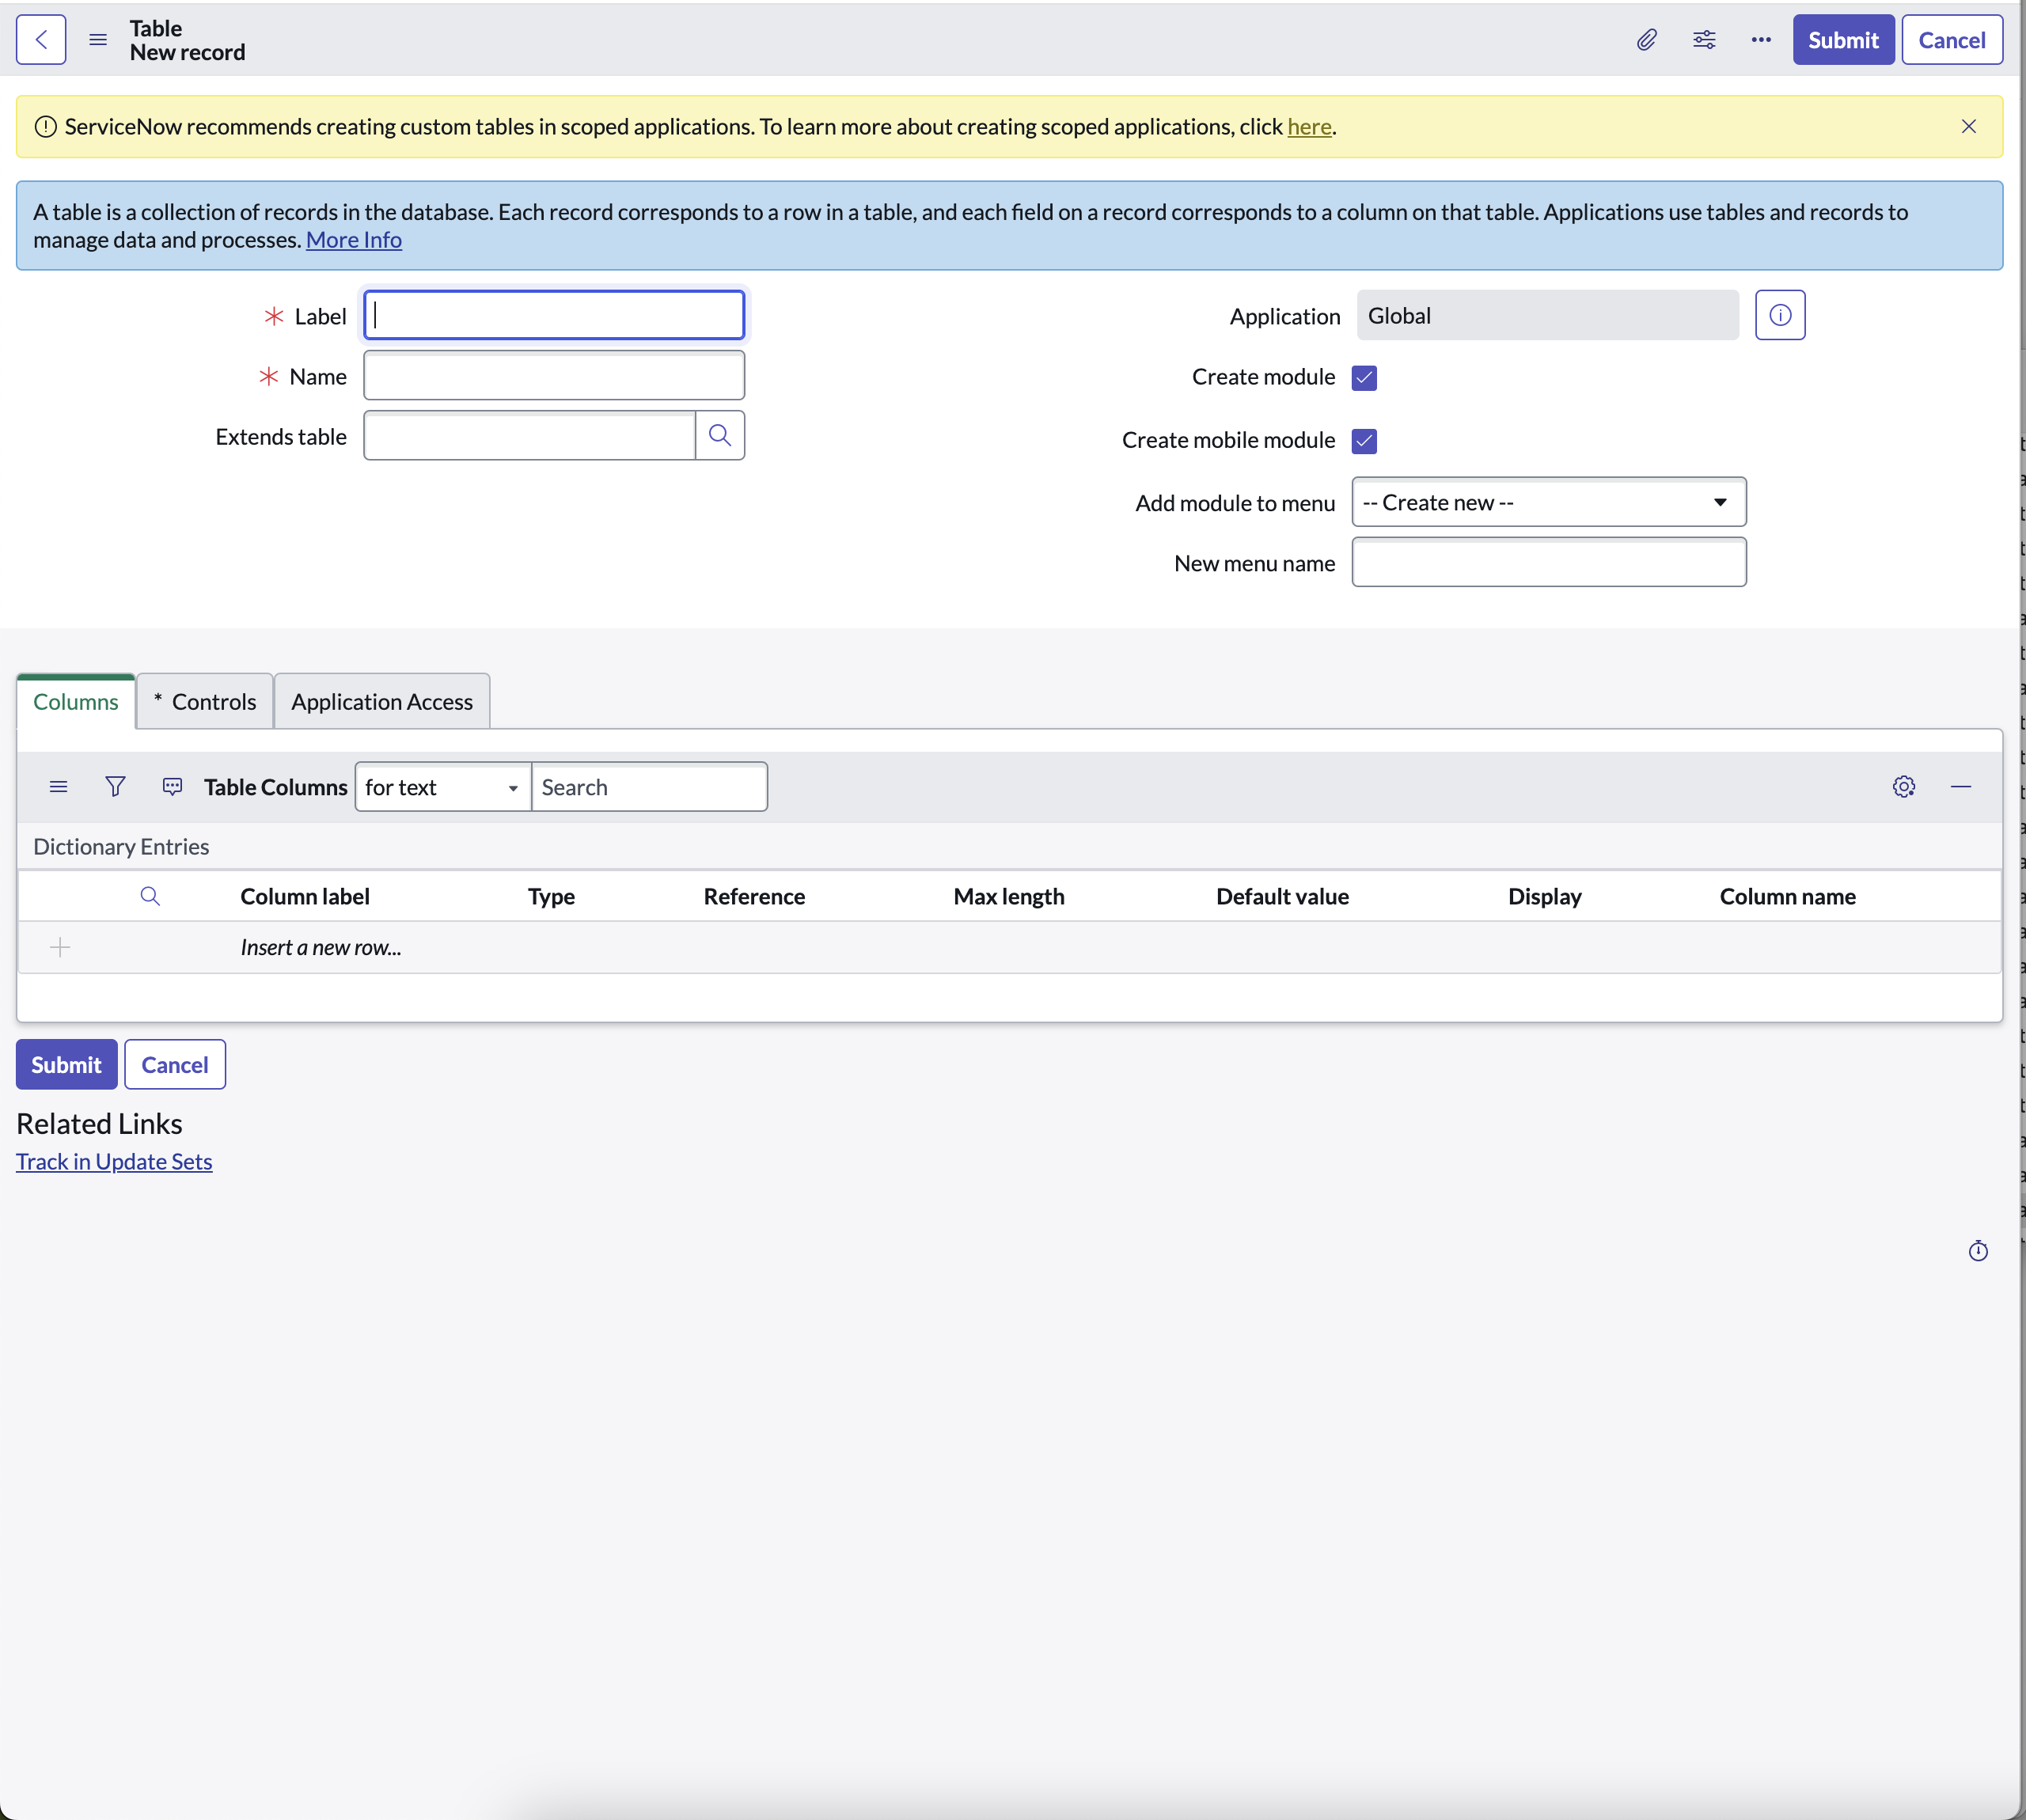
Step 4: Configure Table Columns (Fields)
- After defining the basic table details, you'll need to add fields (columns) to your table. Each field represents a piece of information you want to store in each record.
- You can add fields by clicking on the Add Column button and specifying the field type (For example, string, choice, reference, date/time), name, and other properties.

Step 5: Save the Table
- Once you've configured your table and added the desired fields, click the Submit button to save your new table.
Your new table will now be created in the database, and you can start adding or importing records.
Step 6: Accessing and Using Your New Table
- If you opted to create a module for the table, you would find it in the Application Navigator under the application you specified during creation.
- You can access the table to add, view, or modify records. Additionally, you can configure form layouts, create business rules, and set up access controls to manage how data in the table is used and accessed.