ServiceNow Integration
Introduction
Note:These instructions were created using the Vancouver release of ServiceNow. Newer versions may have a different UI.
Centralized Access Request Record
Each access request triggers the creation of a dedicated record in ServiceNow Akeyless Application. This record captures essential details such as the requestor's identity and the specific item for which access is sought, providing admins with a comprehensive overview of each request and the ability to approve or decline the access request by way of ServiceNow instance.
Download Akeyless Access Manager from the ServiceNow Store.
Prompt Admin Notification
System administrators receive immediate email or notification alerts upon new access requests. This notification mechanism ensures that requests are promptly reviewed and evaluated, minimizing delays in access provisioning.
Note: Notifications will need to be configured by ServiceNow Admin on the instance level for recorded addition or record update of the Akeyless ServiceNow application "access request" table.
Streamlined Approval/Decline Process
Admins can conveniently view, evaluate, and take action on access requests directly within the ServiceNow instance. The approval or decline decision can be made with a single click, streamlining the approval process.
Granular Control With Termination Option
Administrators maintain complete control over access requests, with the ability to terminate requests at any time. This termination option enhances security by ensuring that access privileges are revoked when they are no longer required.
Automated Temporary Access Creation
Upon approval, ServiceNow Akeyless integration seamlessly generates temporary access for the specific item.
Comprehensive Requestor Notification
Requestors receive timely notifications regarding the status of their access requests. This communication keeps users informed and enhances their overall experience with the access management process.
Note: Notifications will need to be configured by ServiceNow Admin on the instance level for recorded addition or record update of the Akeyless ServiceNow application "access request" table.
Required Akeyless Configuration
To use the Akeyless ServiceNow App, an Access Role must be created. This guide (Role-Based Access Control (RBAC)) outlines the steps for creating an Access Role in Akeyless.
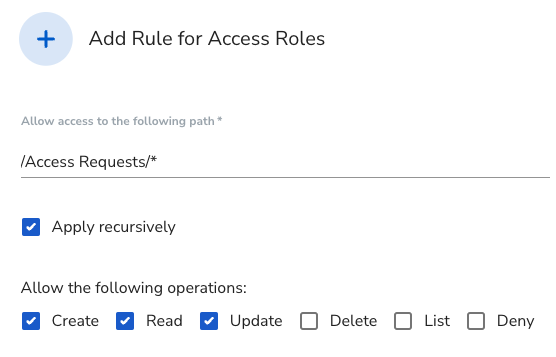
Please configure the following permissions:
- Create/Read/Update role under
/Access Requests/*
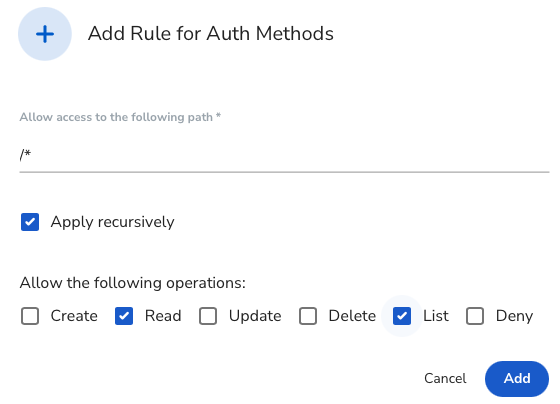
- List/Read for Auth methods under
/*
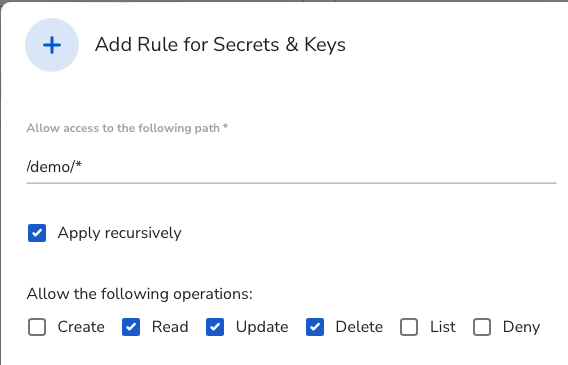
- Read/Update/Delete (this is a set of actions that the user can request access for) for Static Secrets/targets under the path that item exists that the user can request access for (note, that path is case-sensitive)
Required ServiceNow Configuration
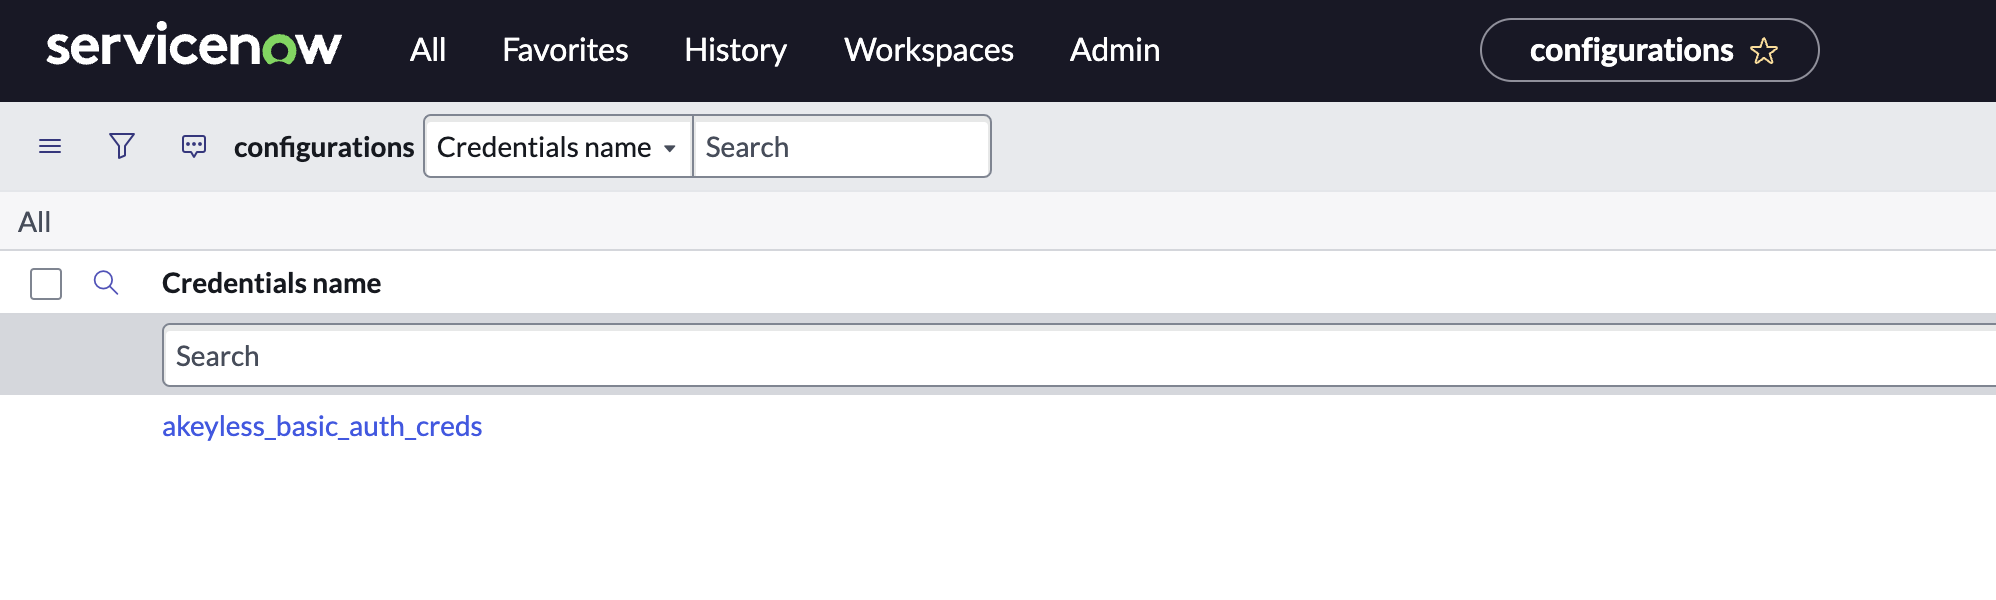
Creating basic auth credentials by way of ServiceNow instance.
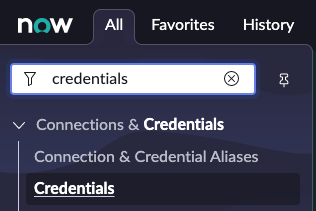
- Locate credentials in ServiceNow instance "All" menu
- Click on "All" and enter "credentials" in the search field
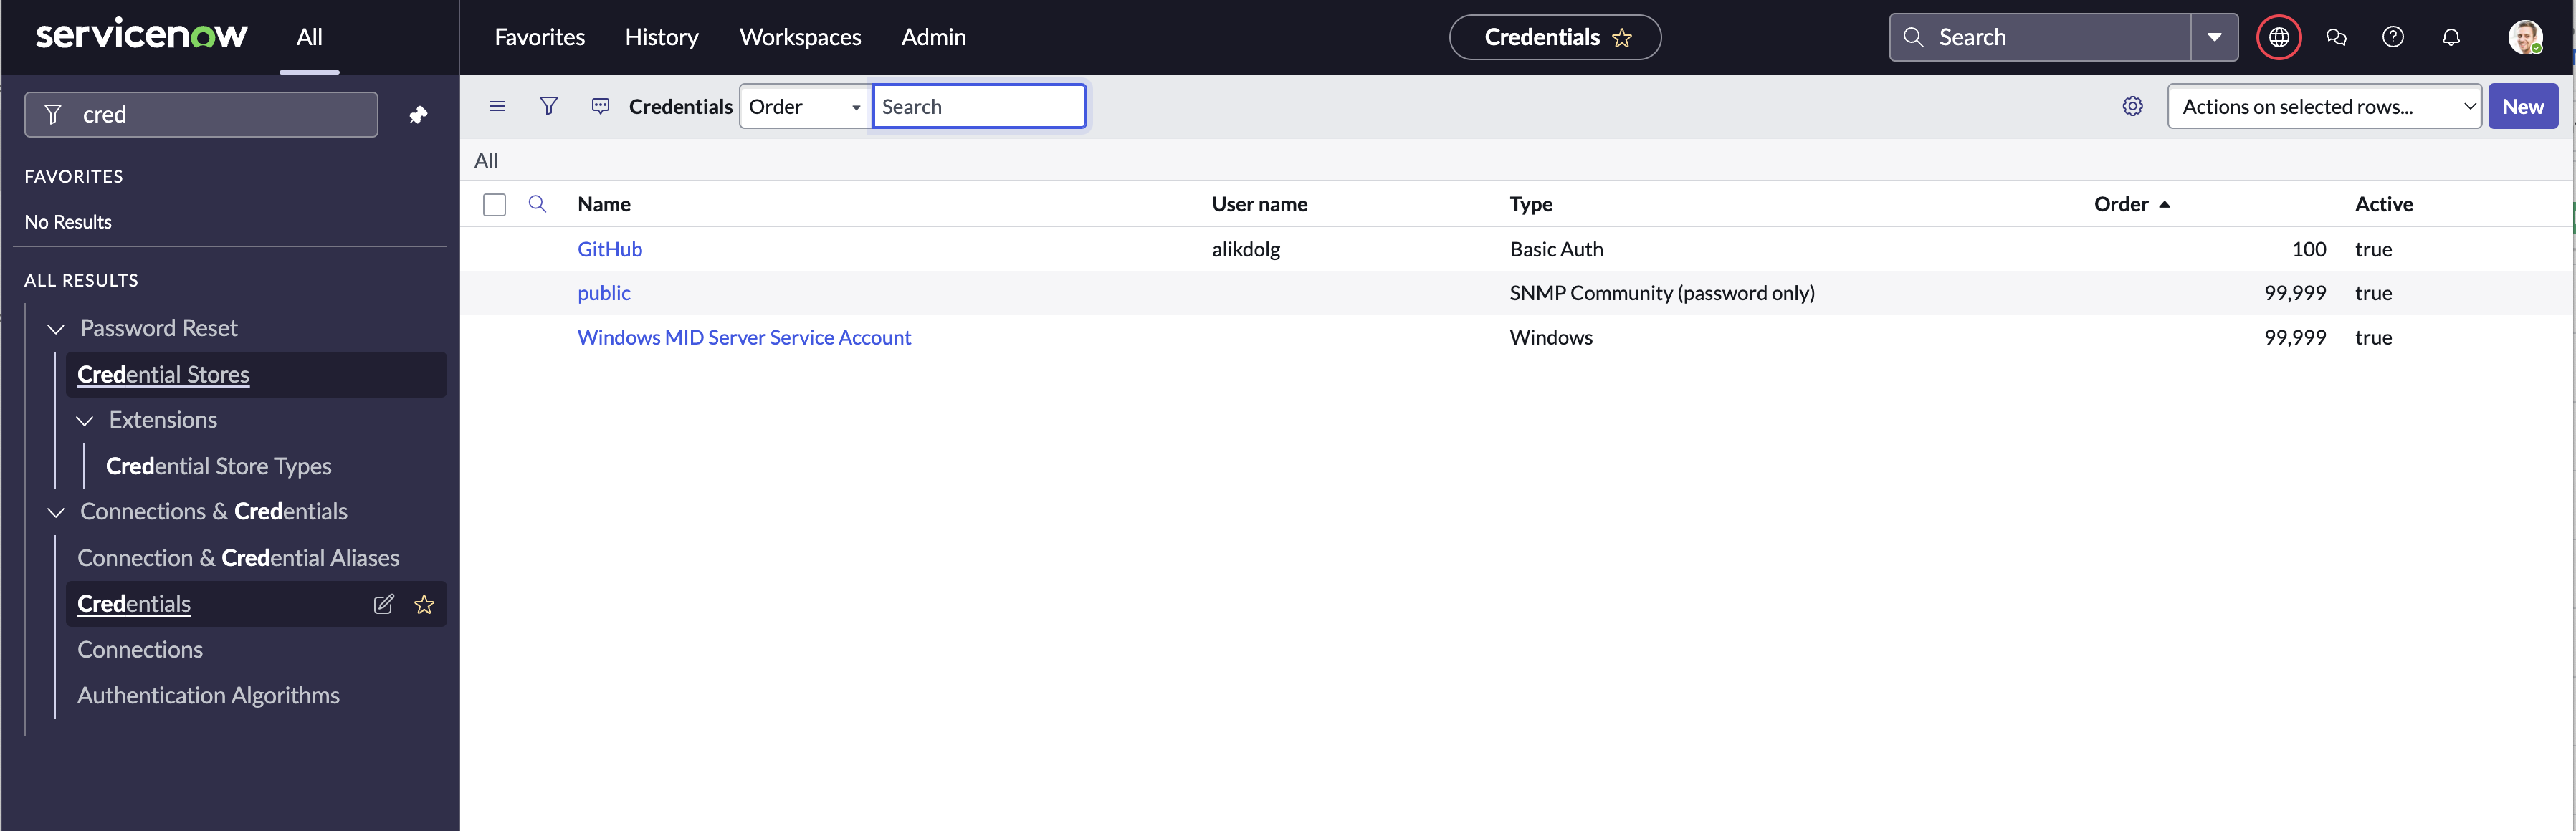
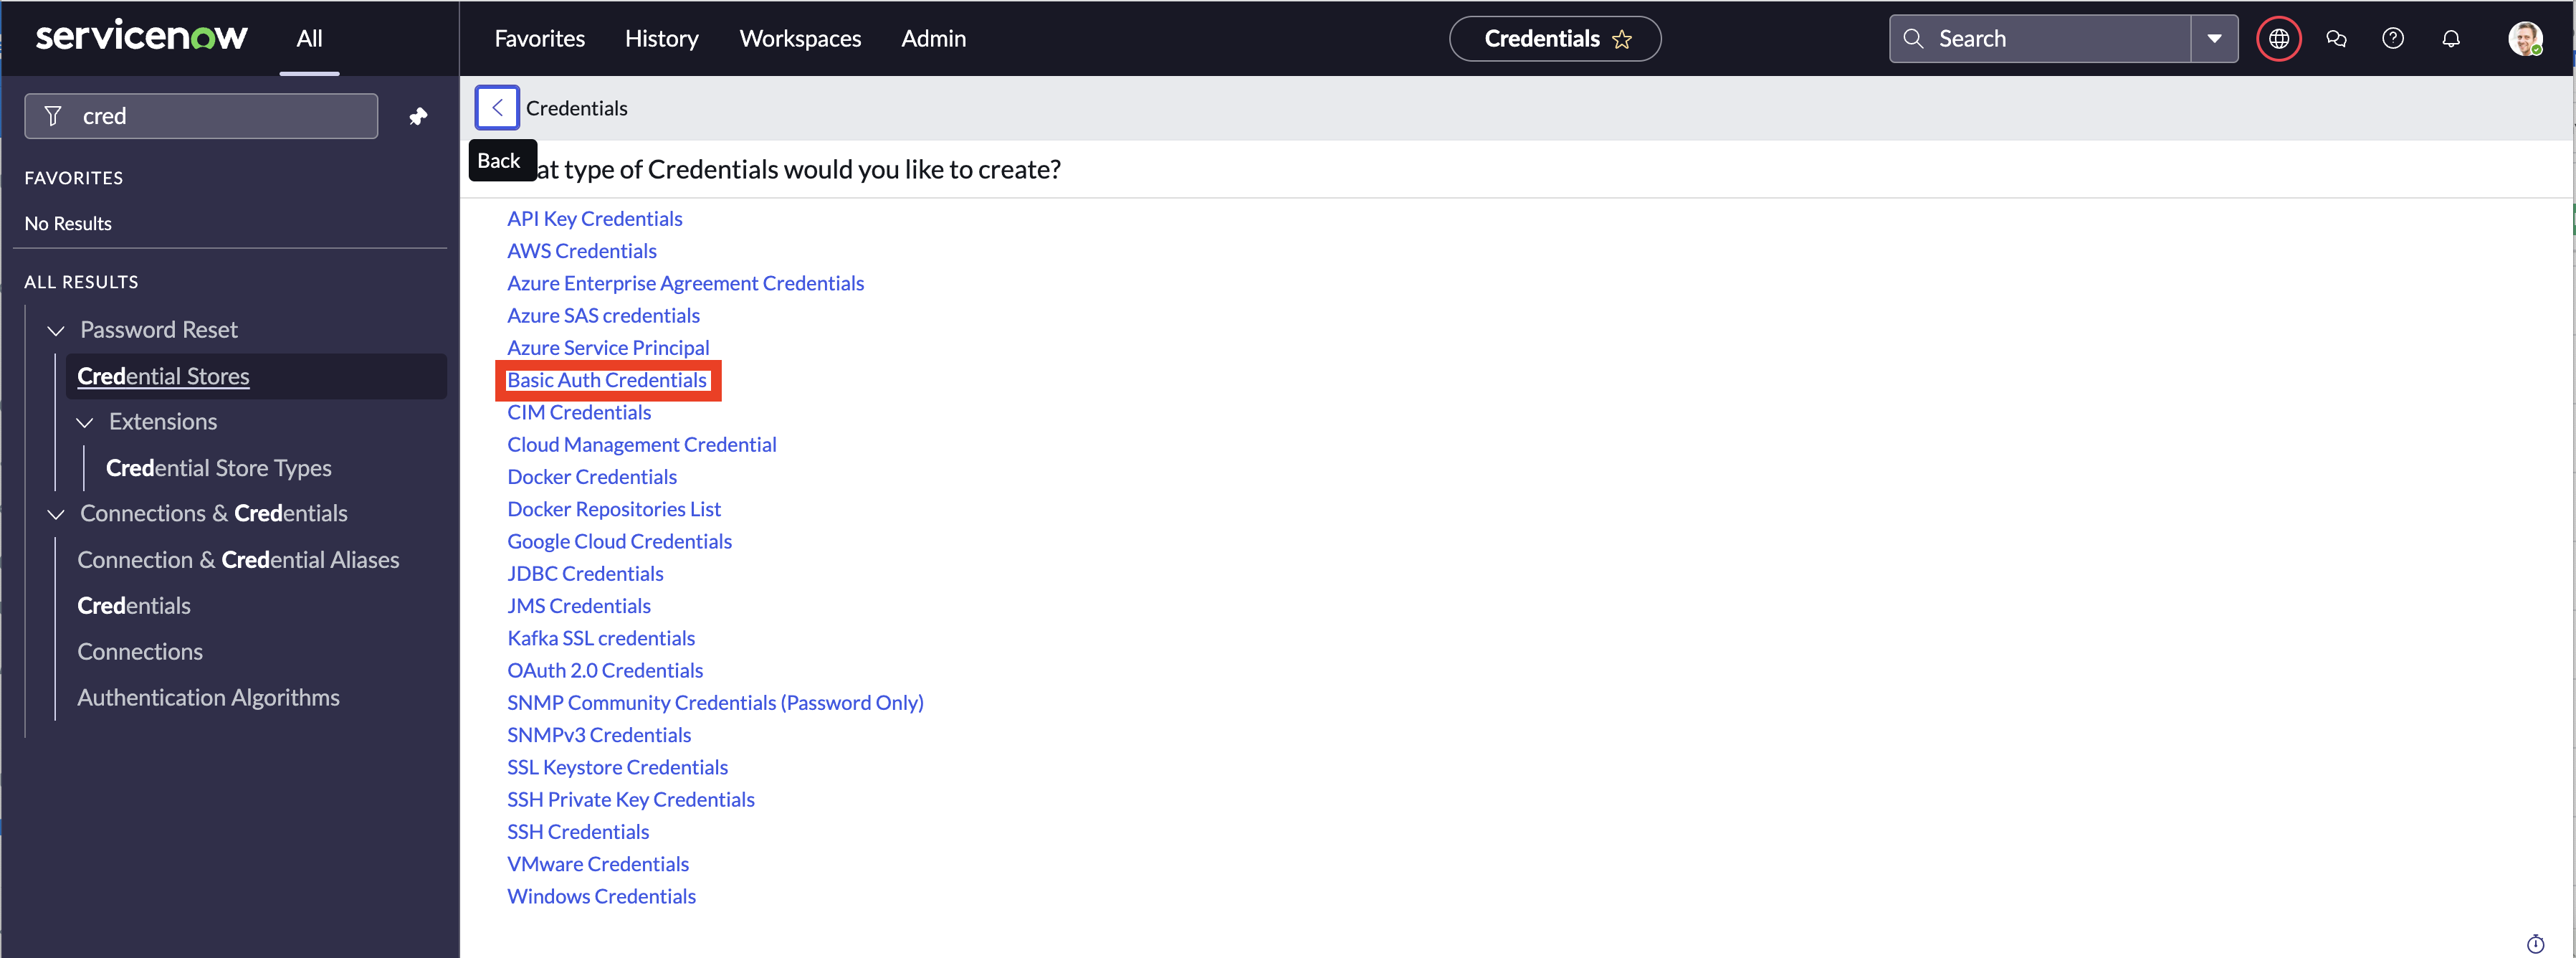
- Click "New" and locate the "Basic Auth Credentials" option
- In “Basic Auth Credentials” Form, insert a name (for example,
akeyless_basic_auth_creds), insert theaccess-idas the User name, and theaccess-keyas the Password, and submit:
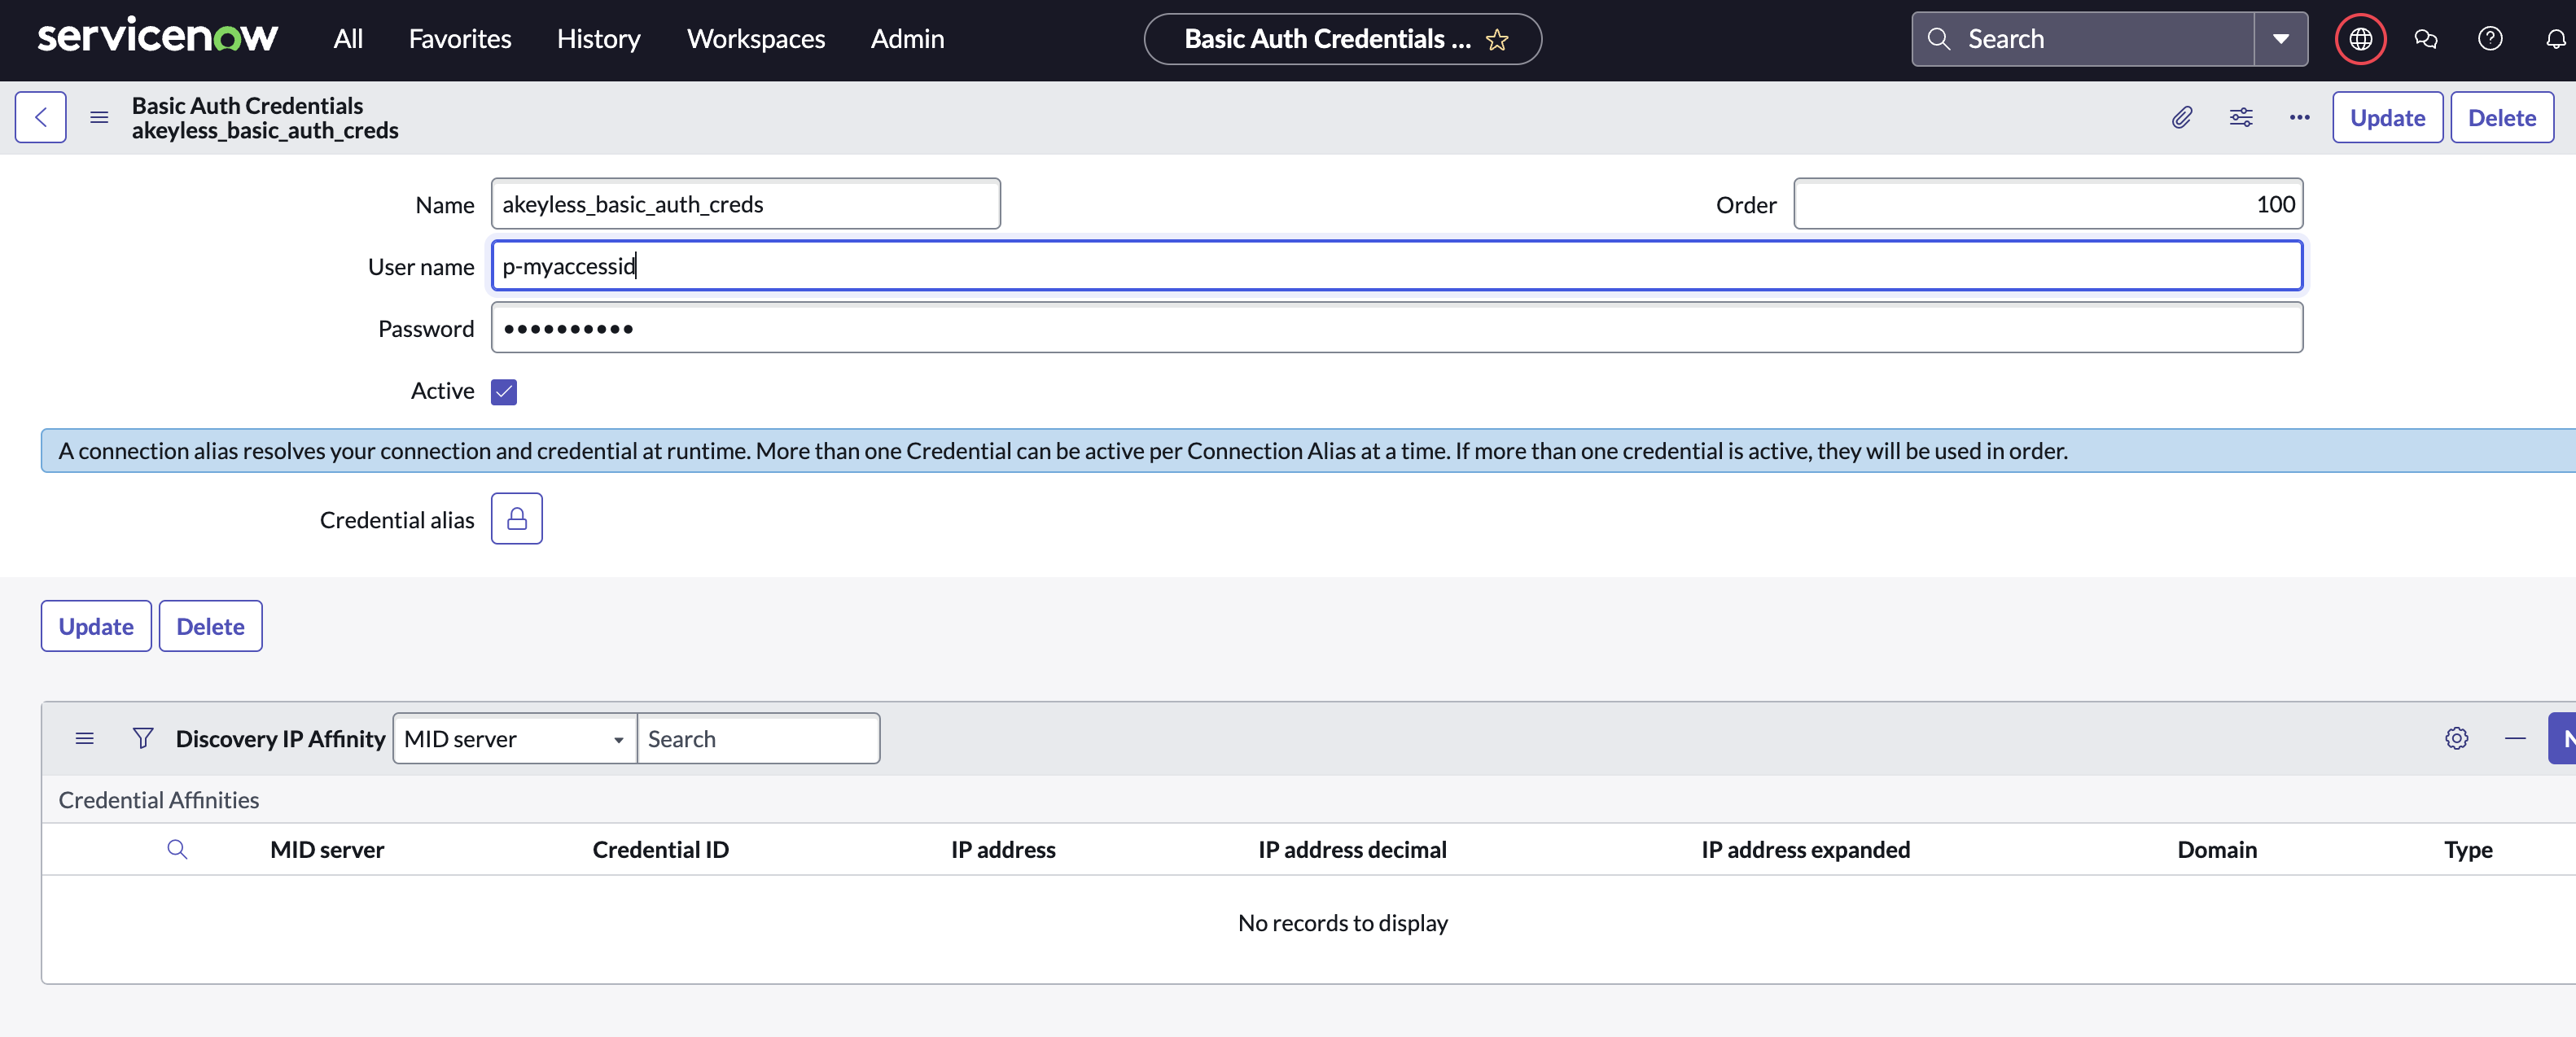
- In the Name field write
akeyless_basic_auth_creds - Add User Name & Password or API Key credentials.
Add JWT authentication in ServiceNow:
-
Create certificate.
(example: openssl req -new -x509 -key service_now.pem -out service_now_cert.pem -days 30) -
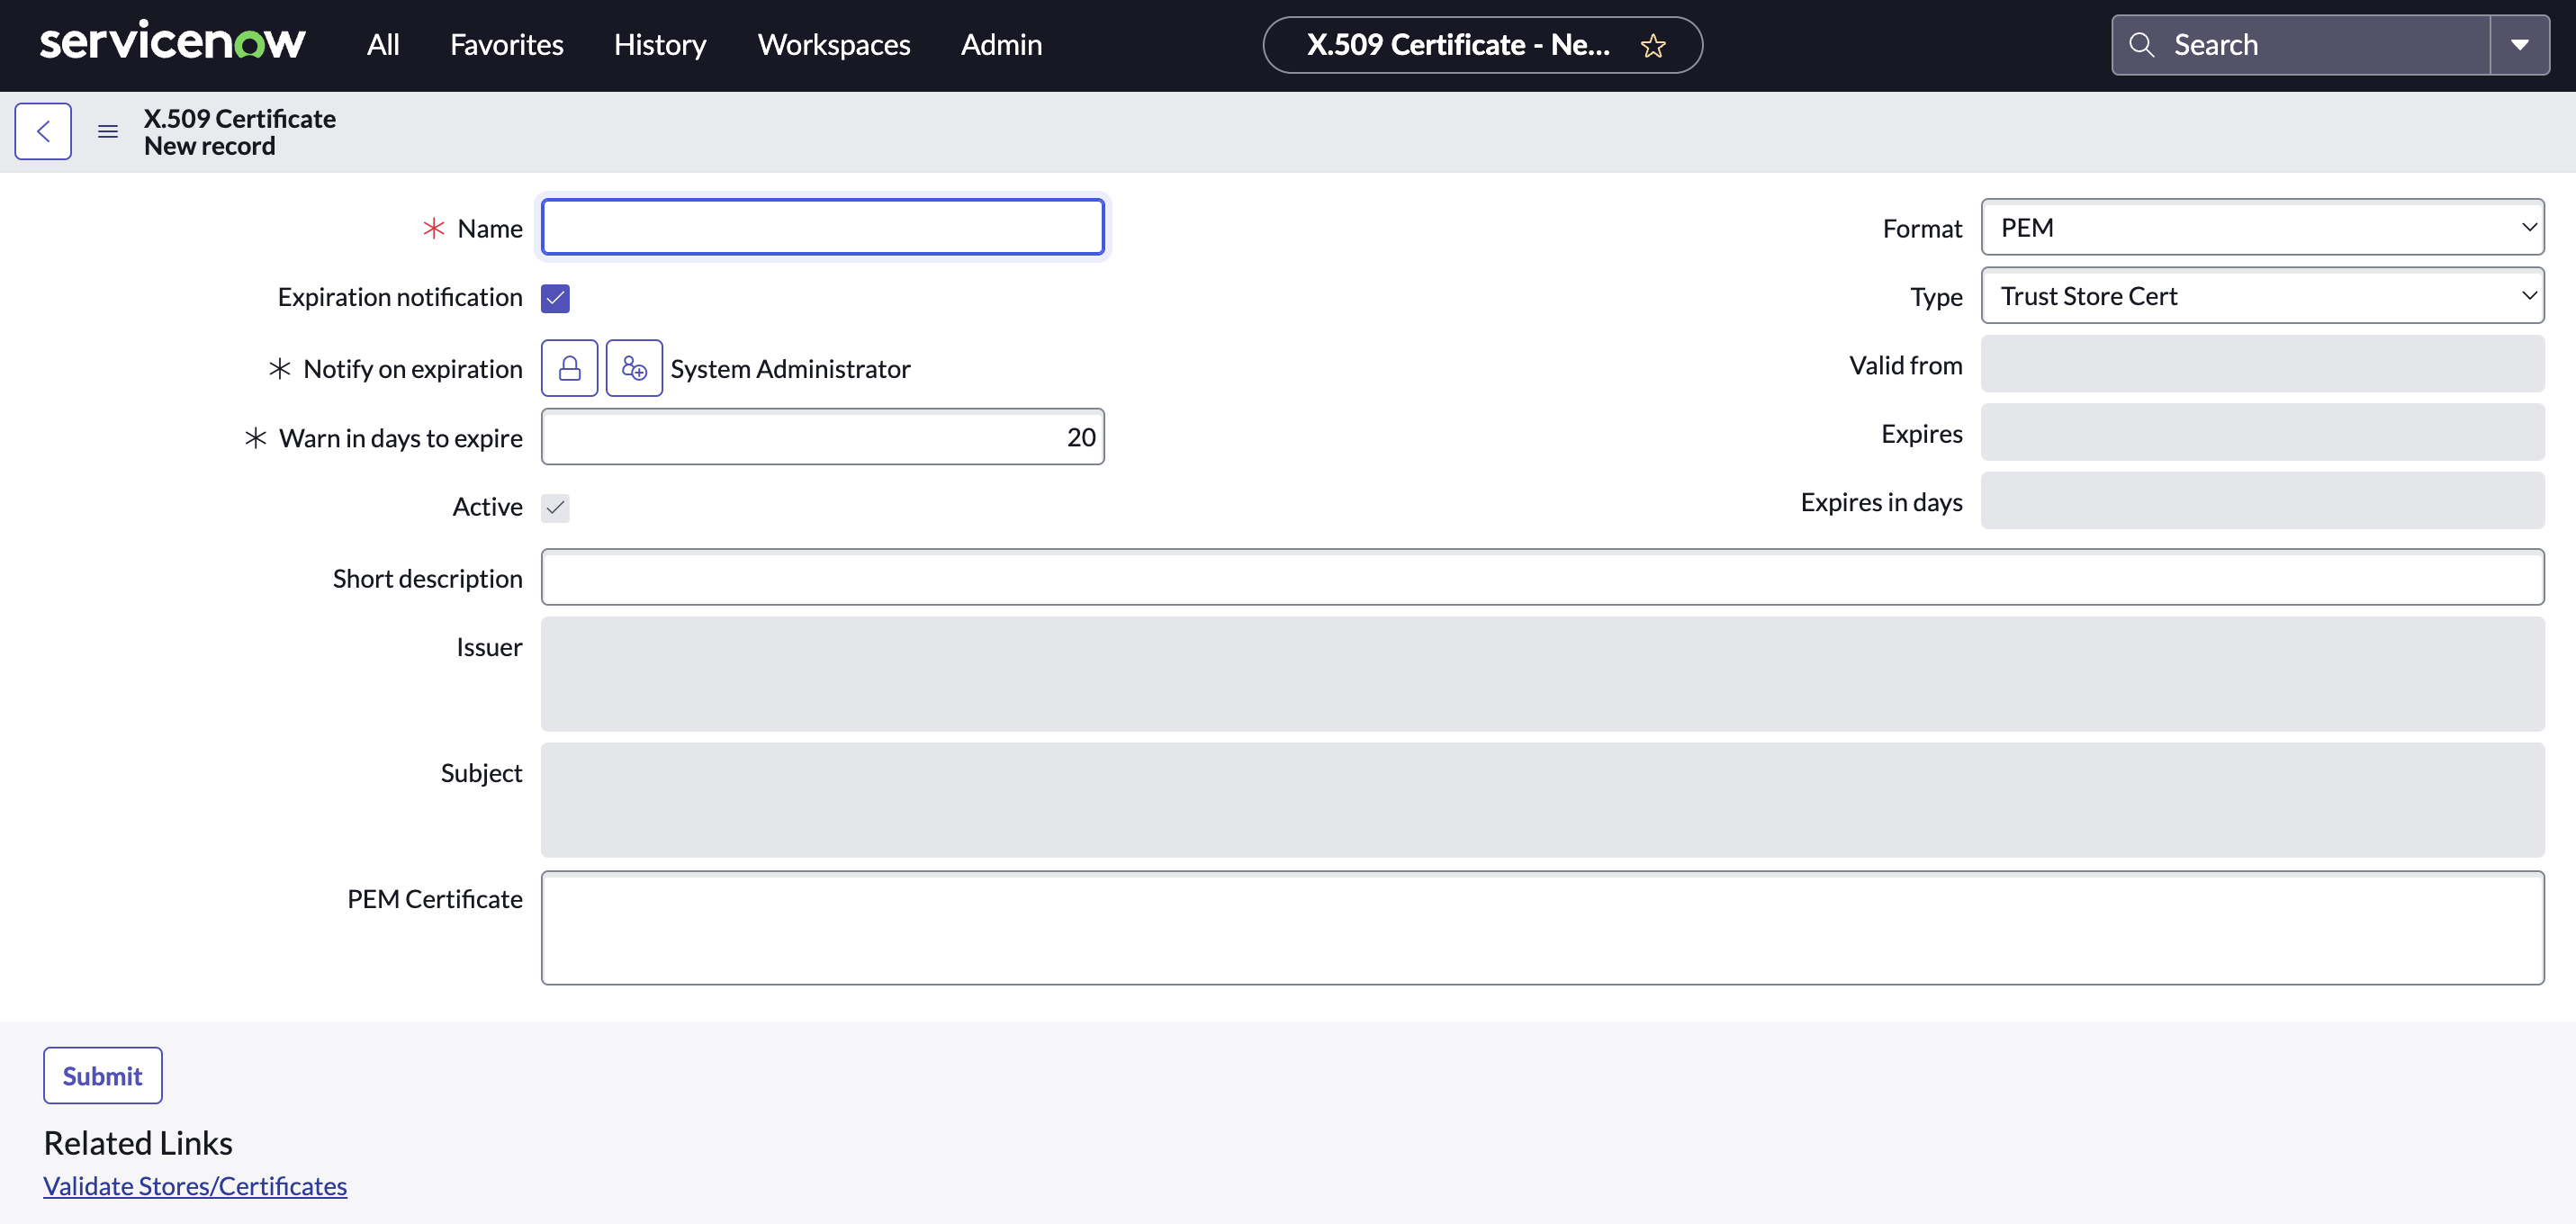
Store the certificate in ServiceNow:
- Open “X.509 Certificate” table.
- Insert name, paste the certificate in field “PEM Certificate”, ensure “Active” is set, and Submit.
-
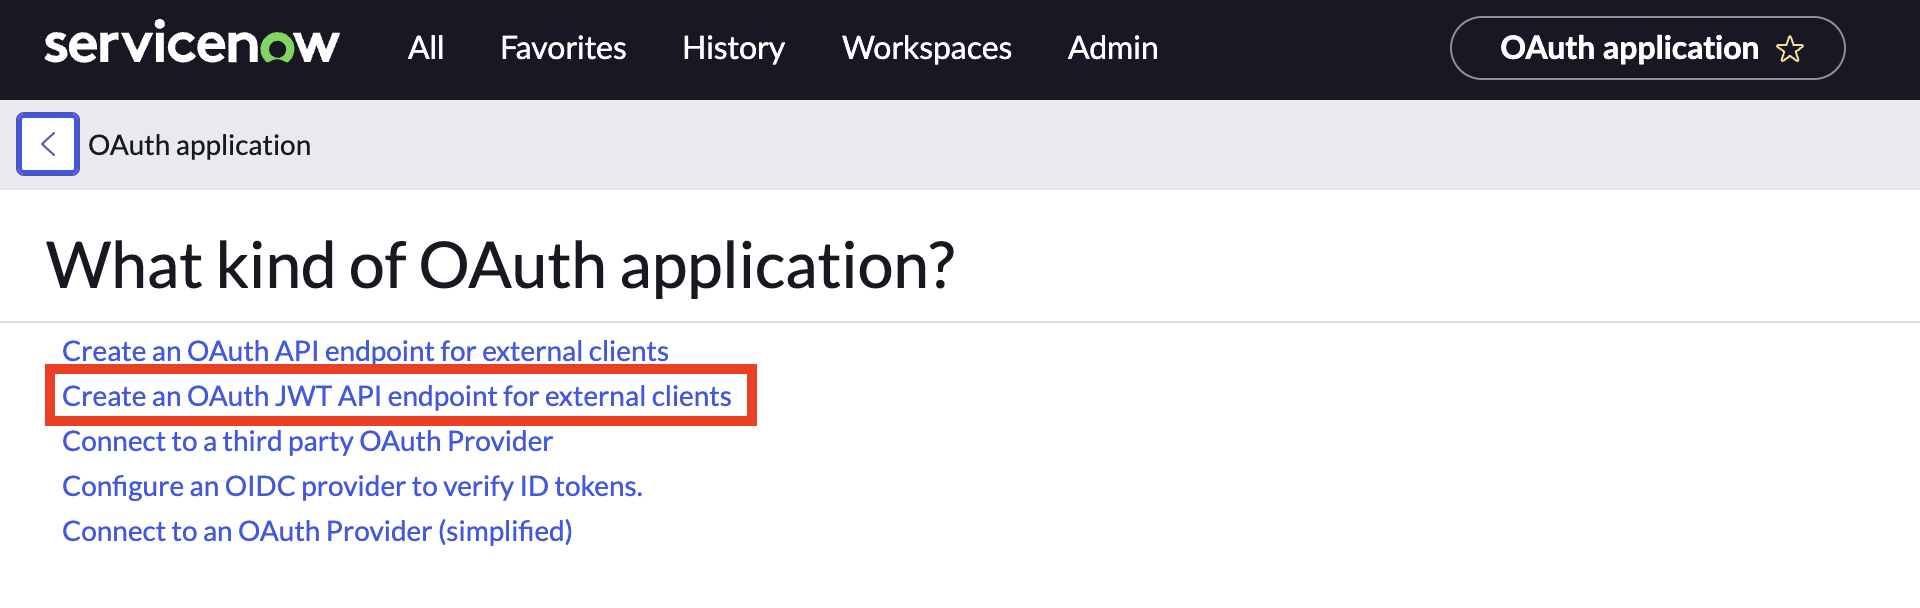
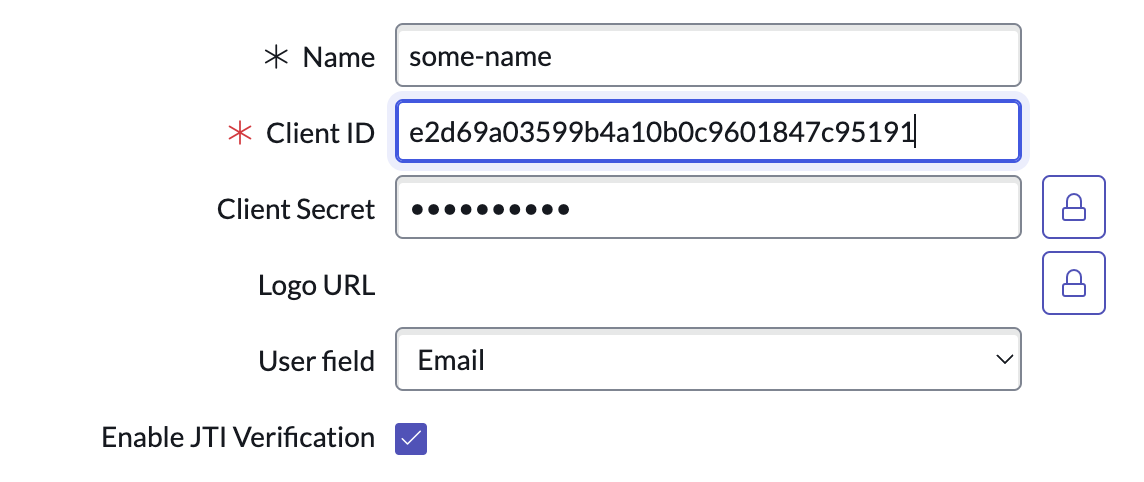
Create OAuth Application Registry:
- Choose the option "Create an OAuth JWT API endpoint for external clients":
- Insert name, choose “User field” (email is default), ensure “Active” and “Enable JTI Verification“ are set, and Submit.
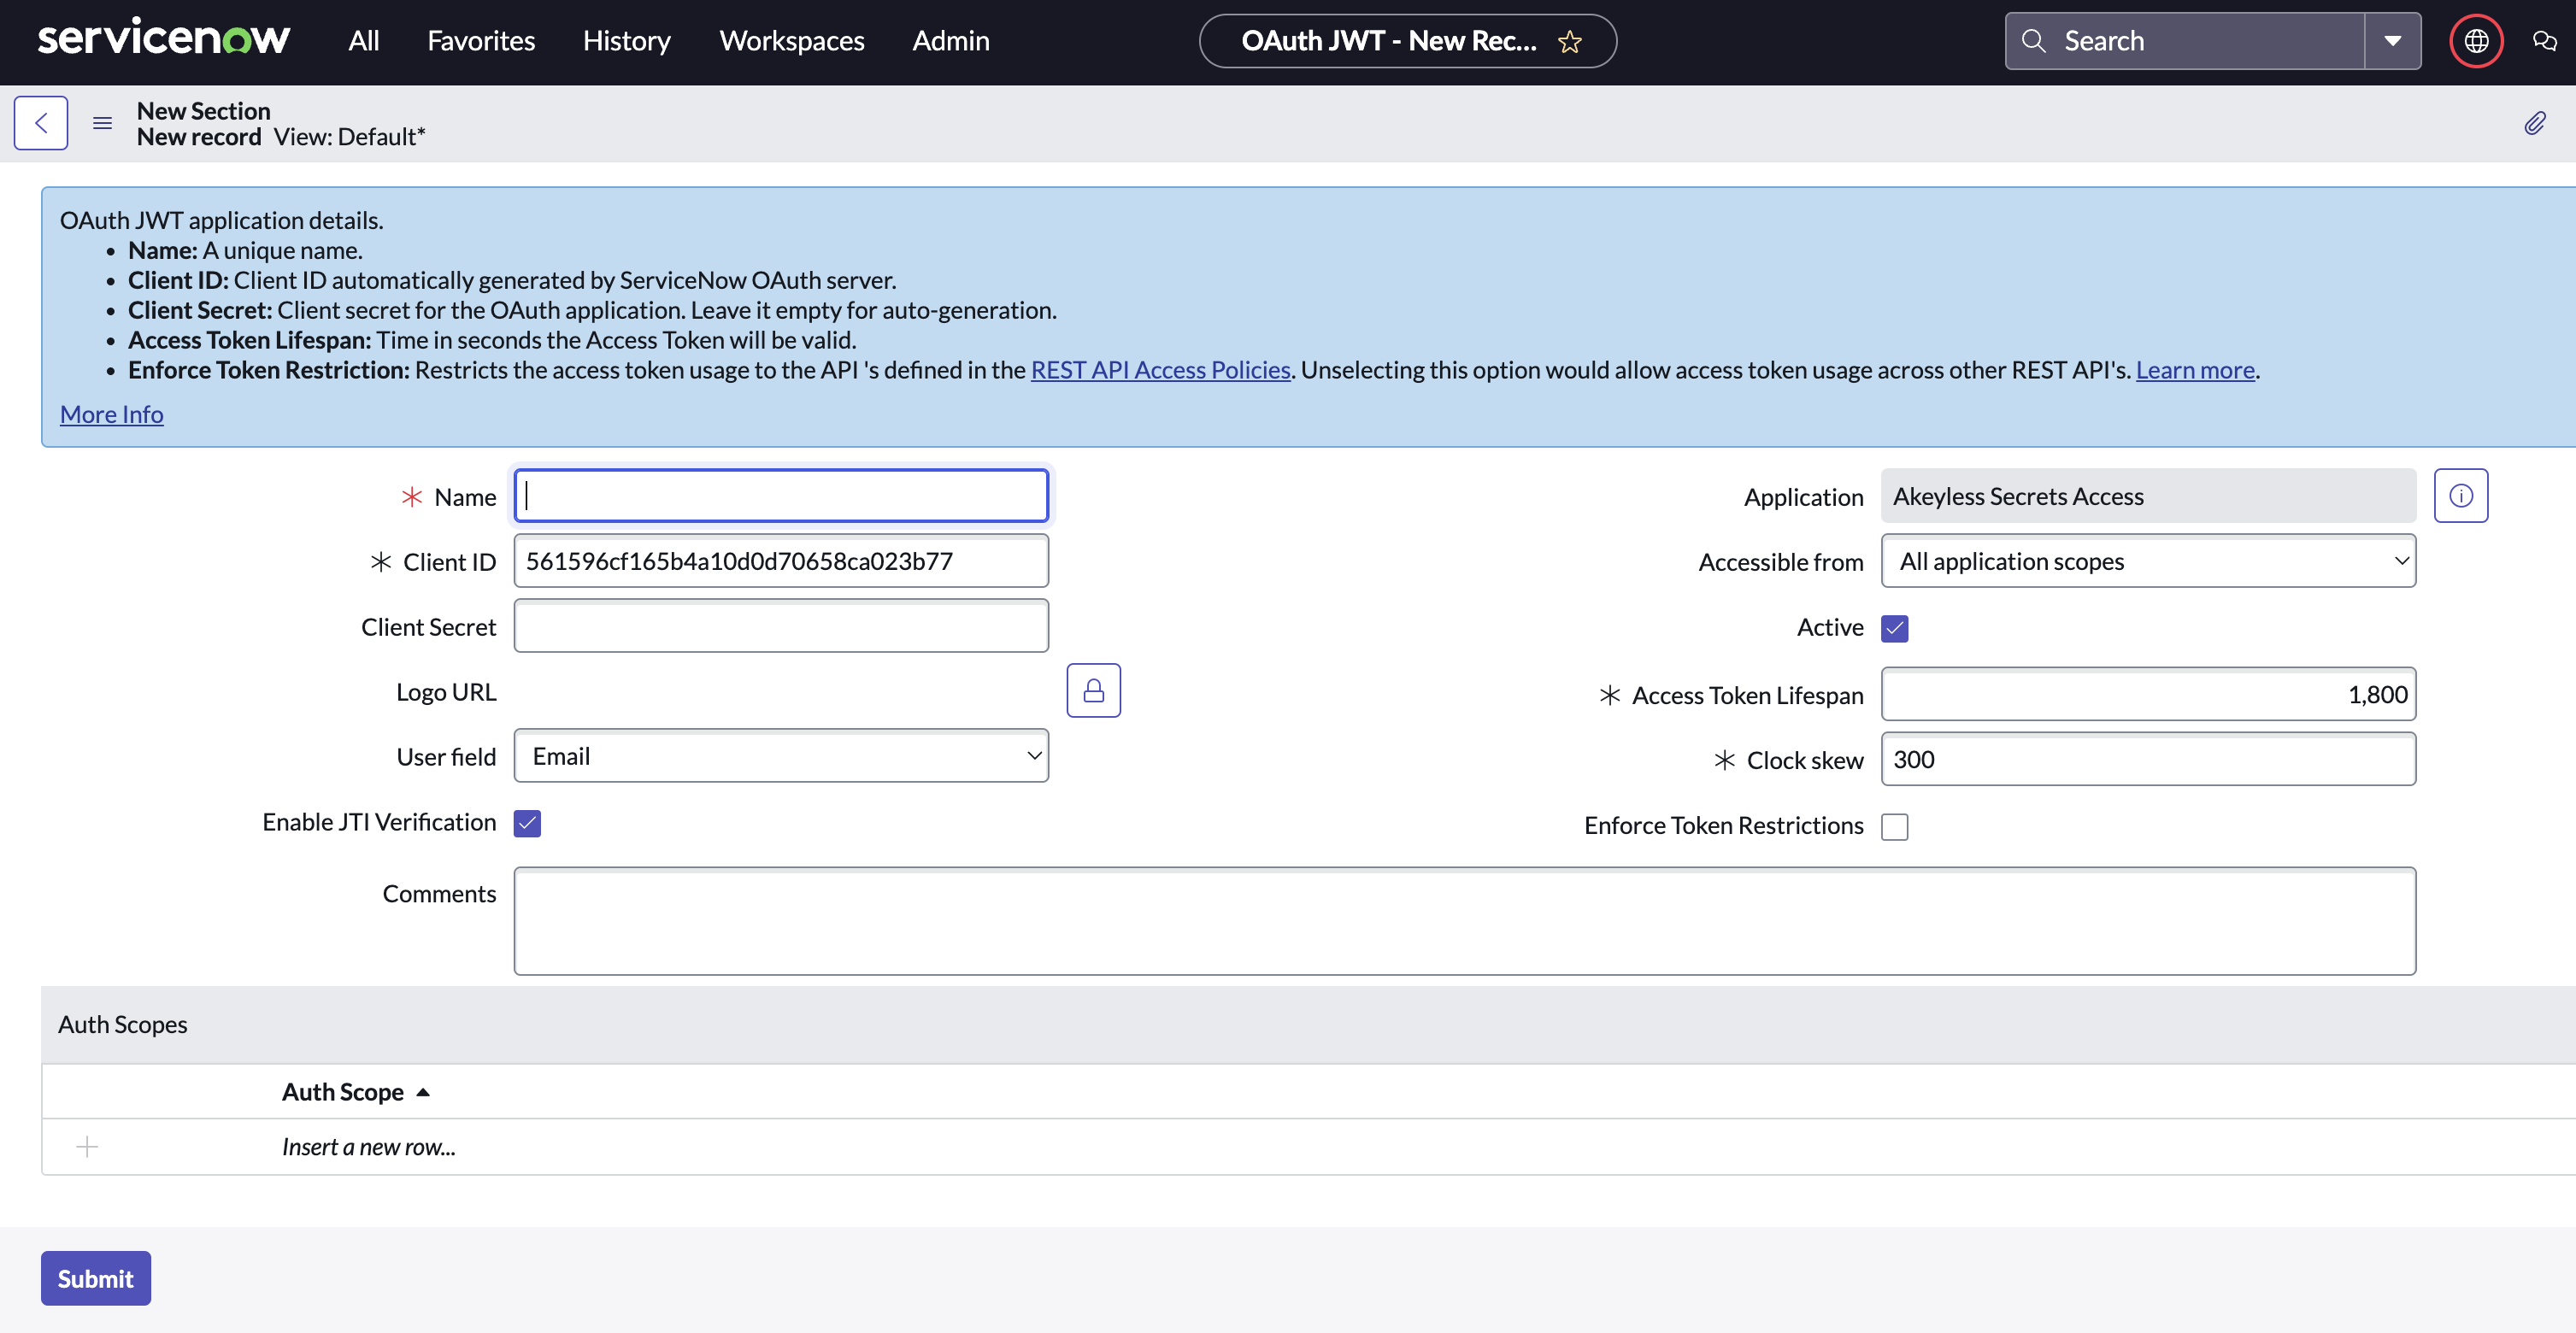
- After created, copy the Client ID and the Client Secret.
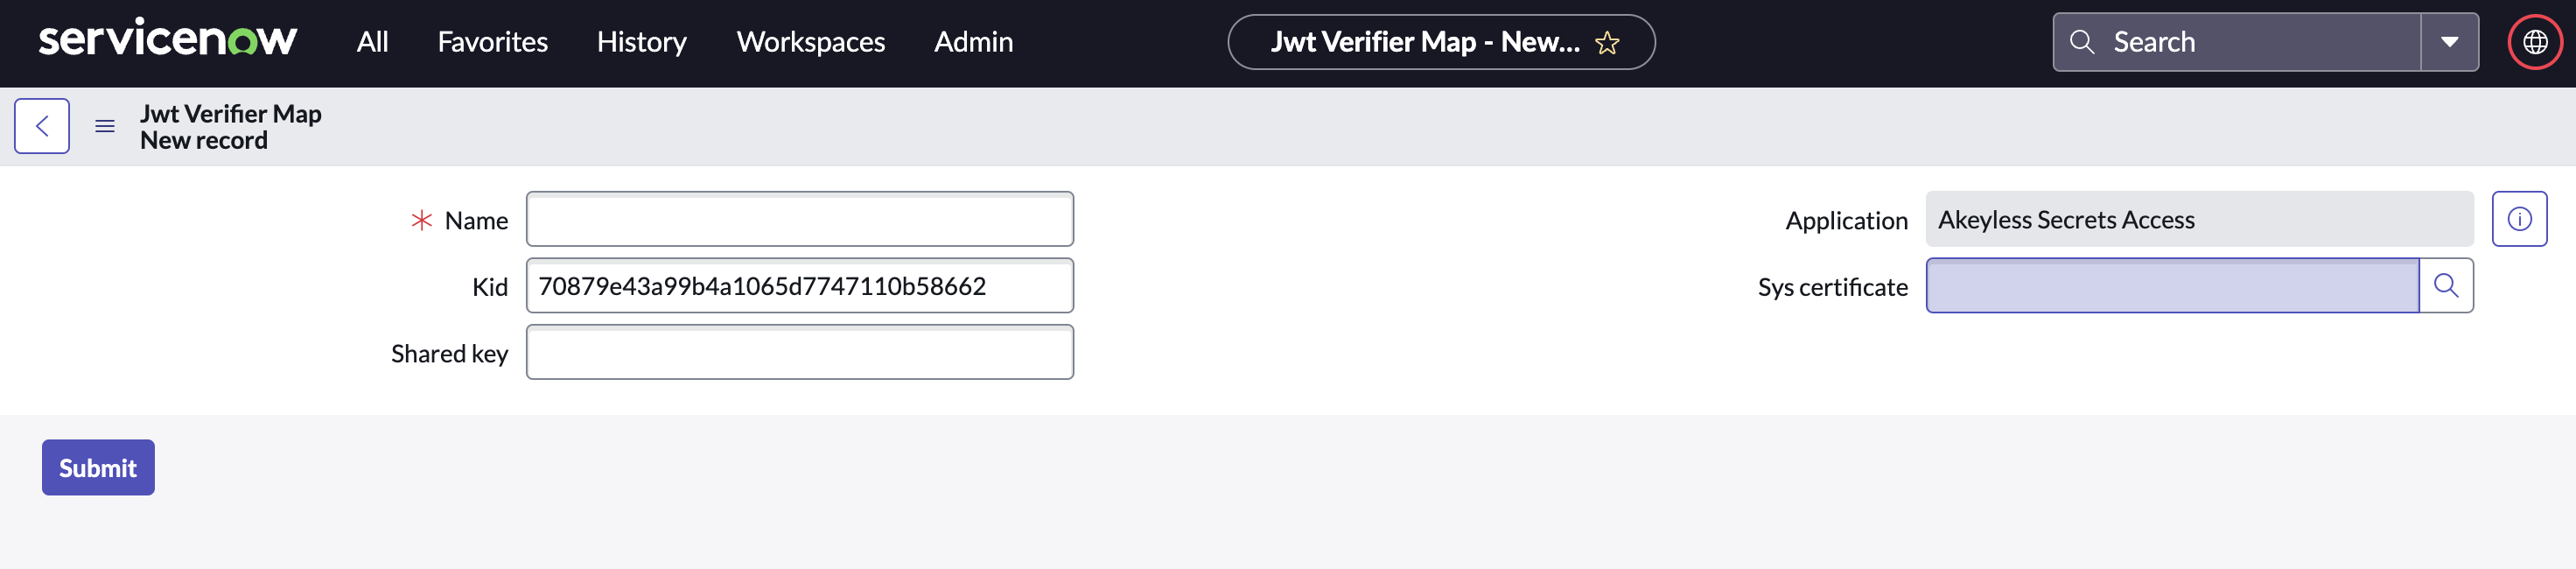
- Scroll down to “JWT Verifier Maps”. Select New.
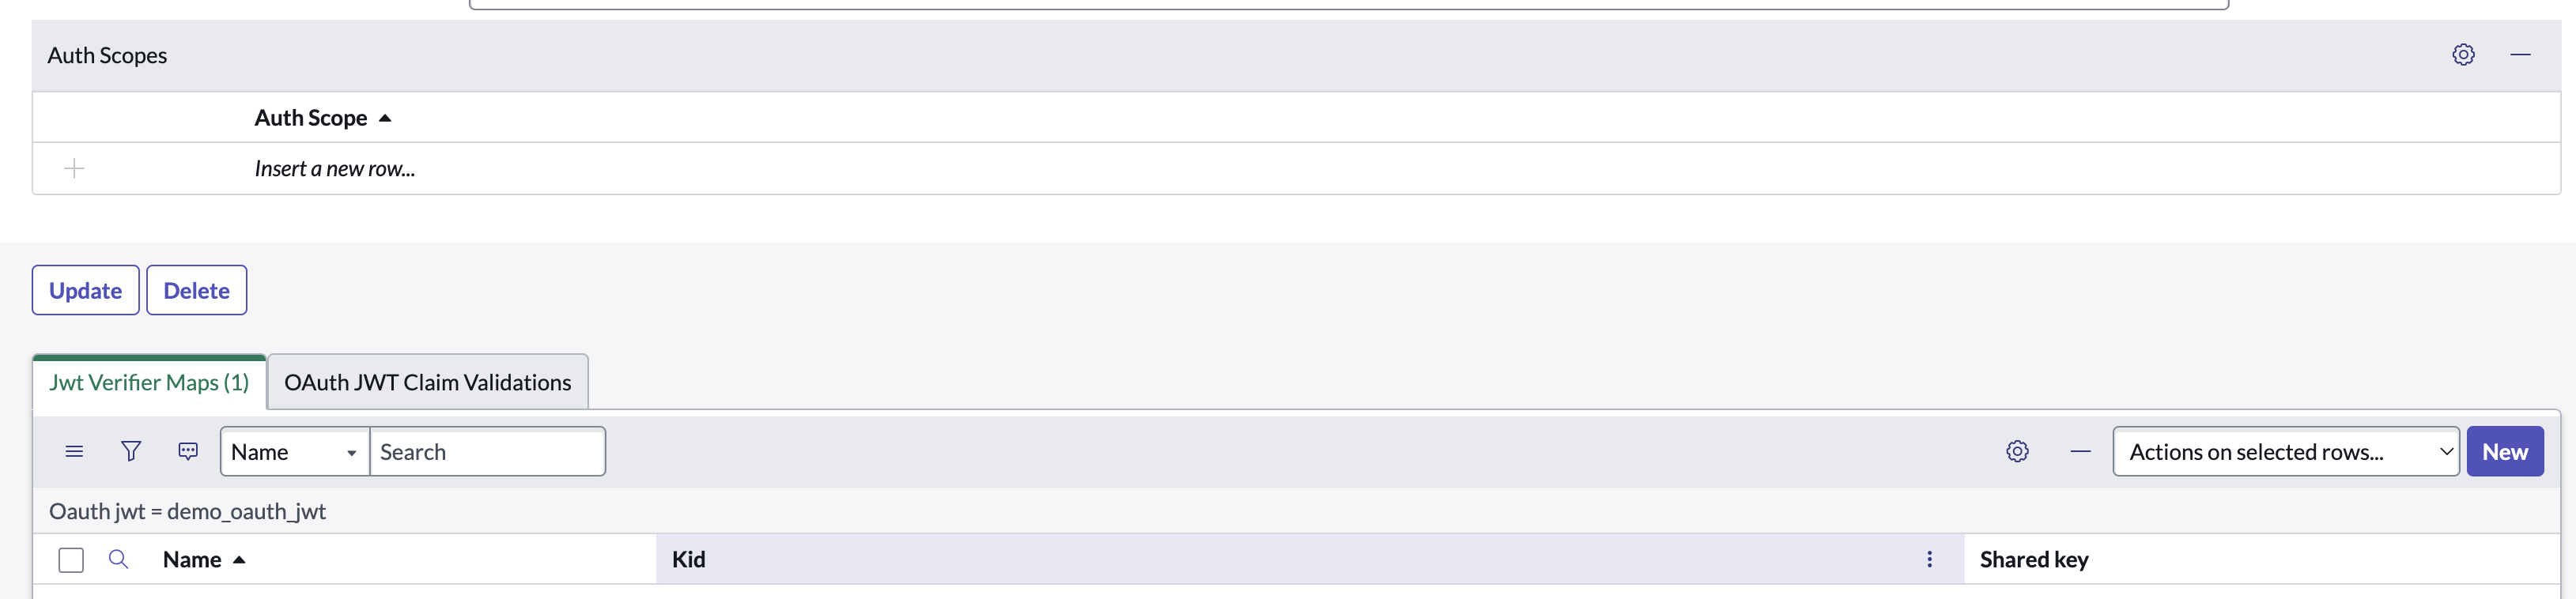
- Insert name, find the certificate in “Sys certificate“ list, and Submit.
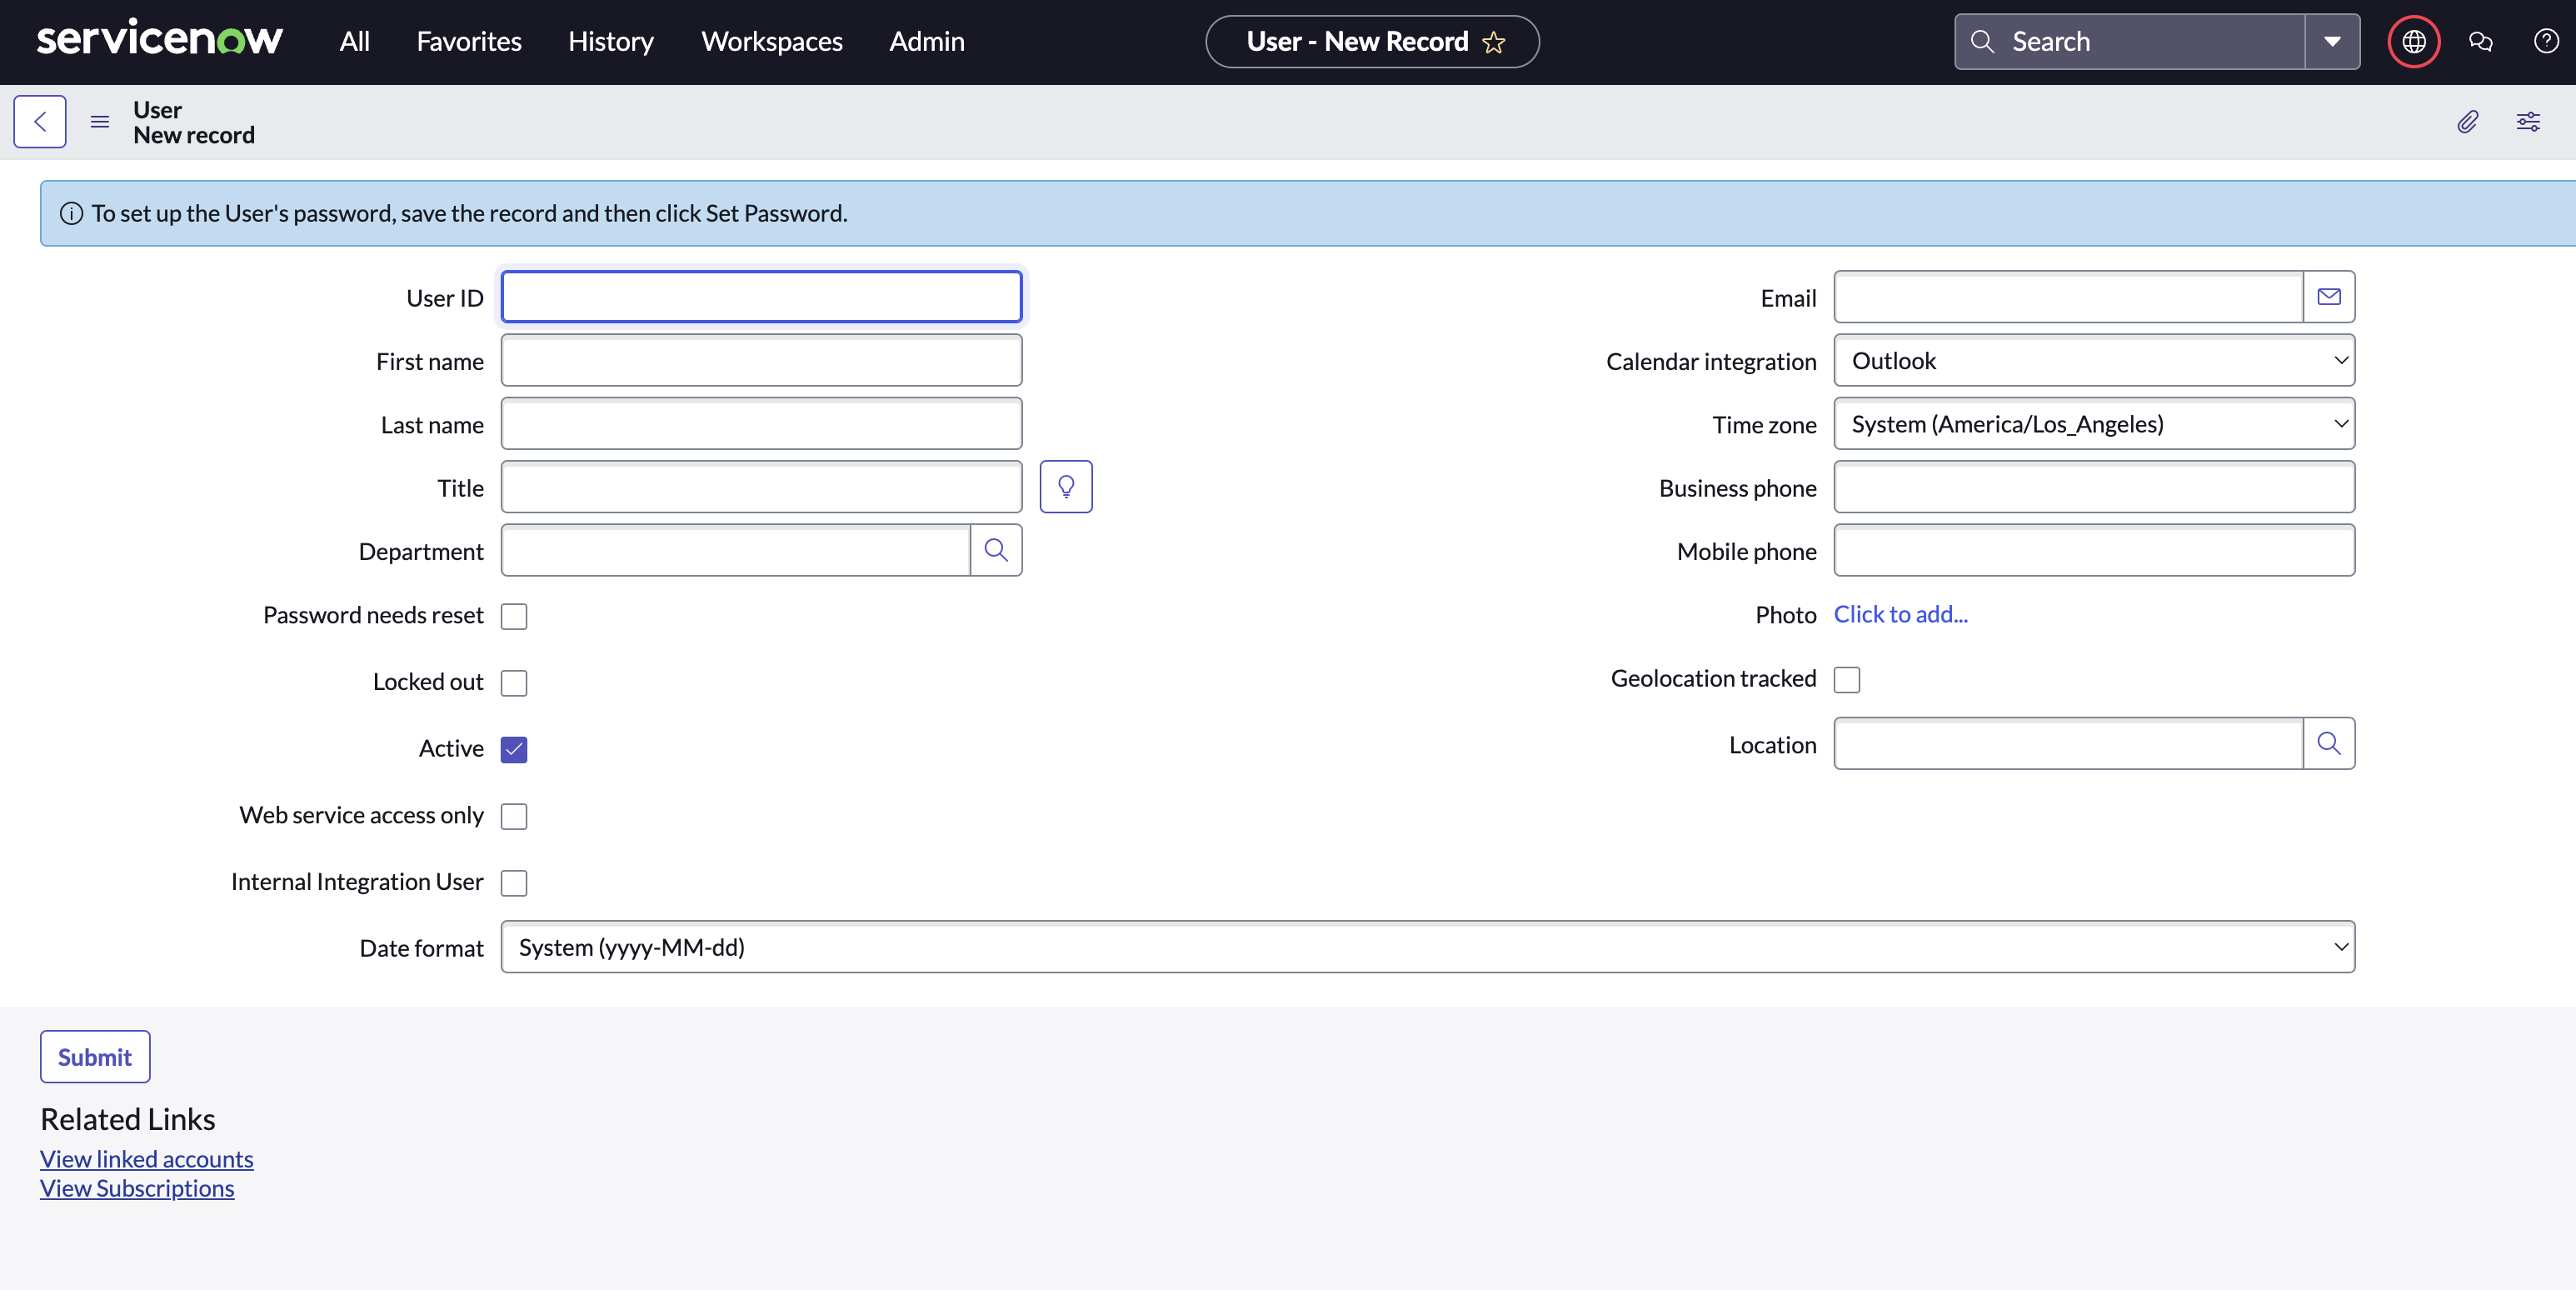
- Create user with Akeyless role:
- Create user in “Users” table:
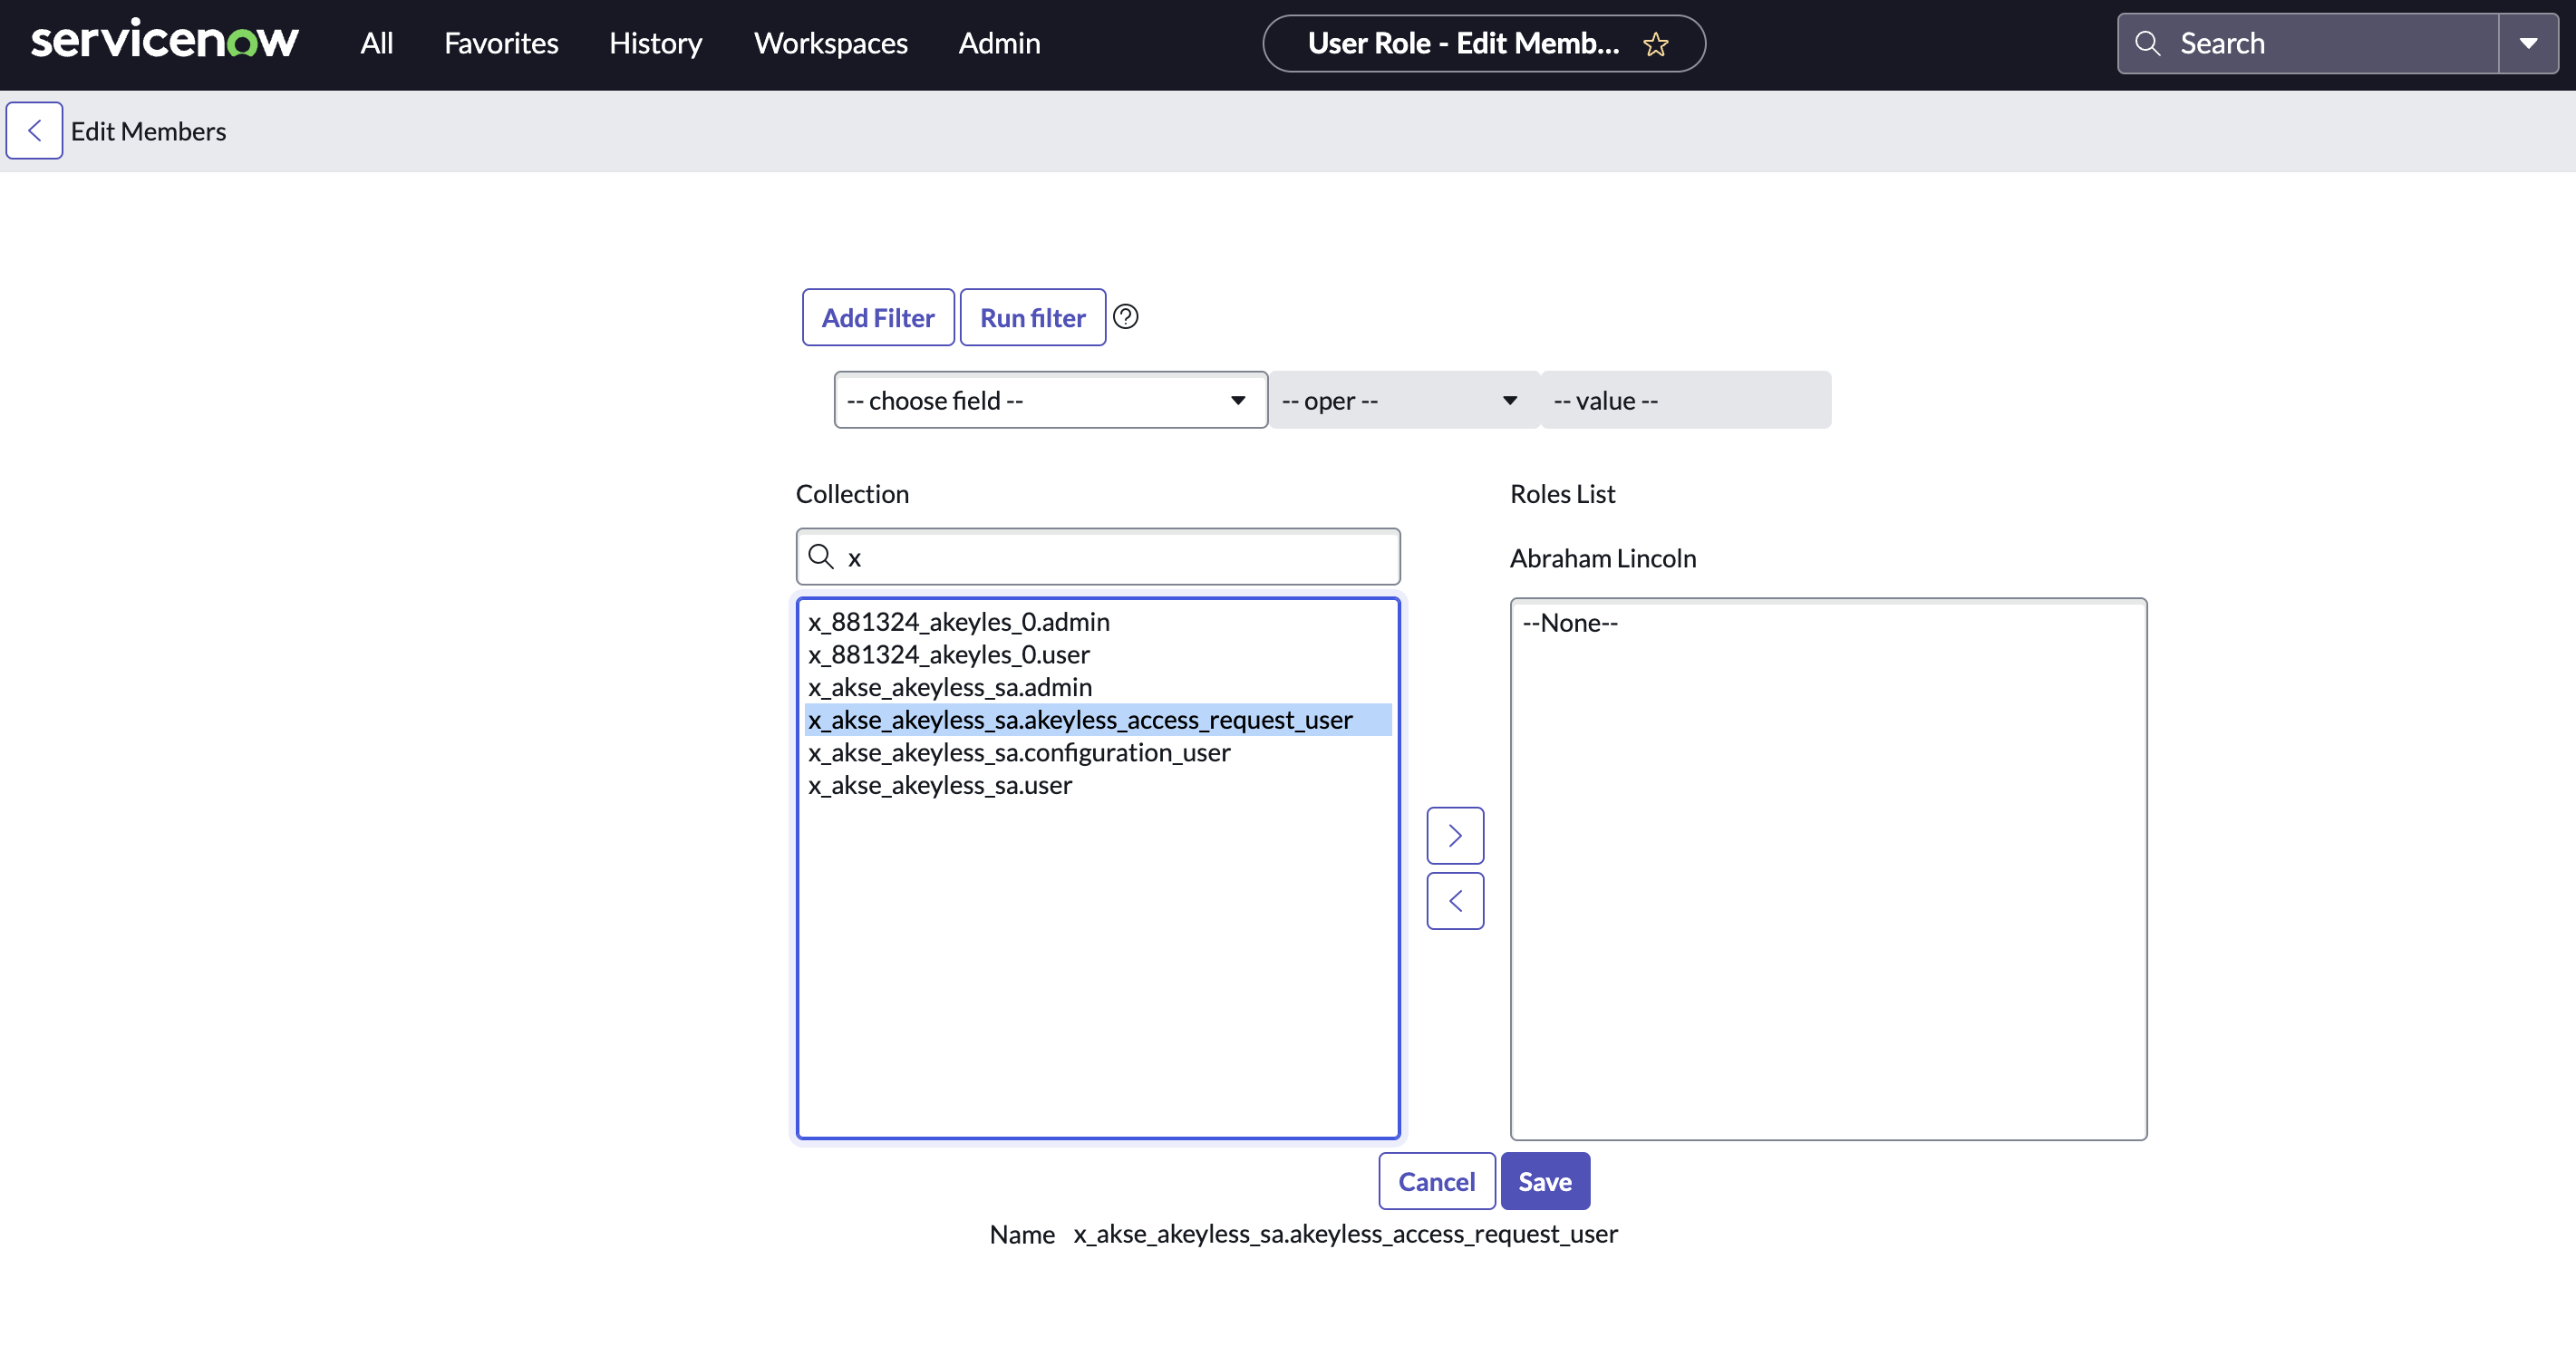
- Scroll down to Roles and select Edit:
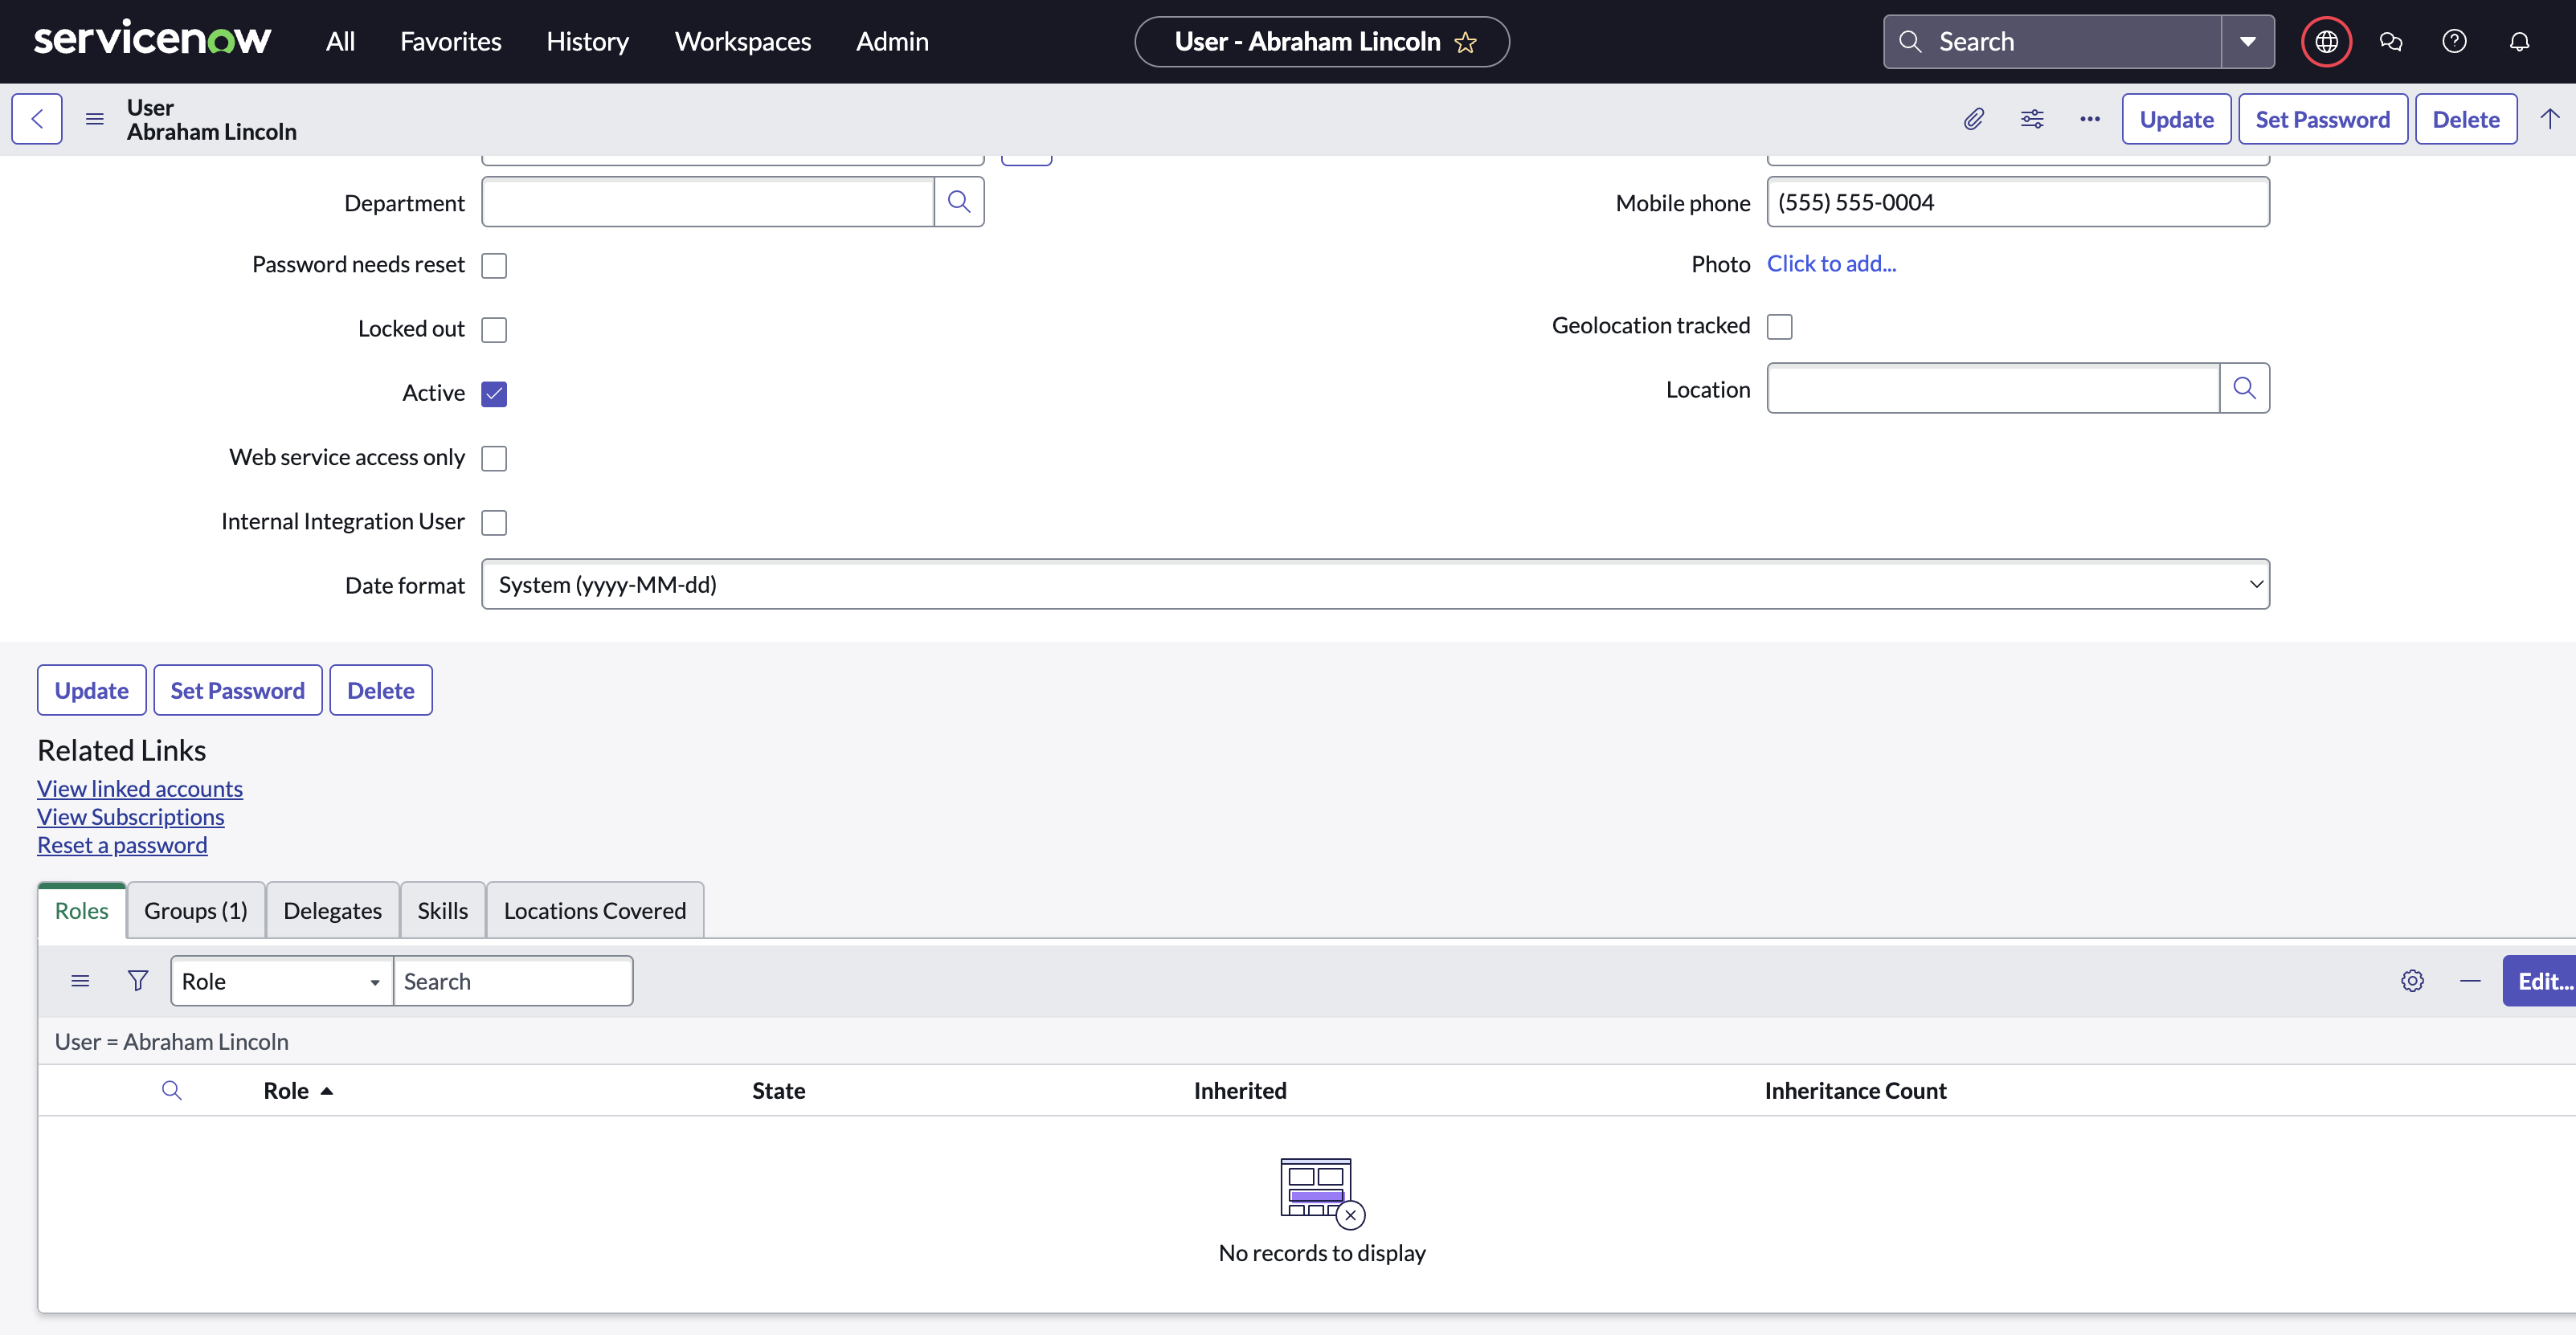
- Pick role
x_akse_akeyless_sa_akeyless_access_requestfrom the collection, and Save:
- Configure ServiceNow Event Forwarder in Akeyless:
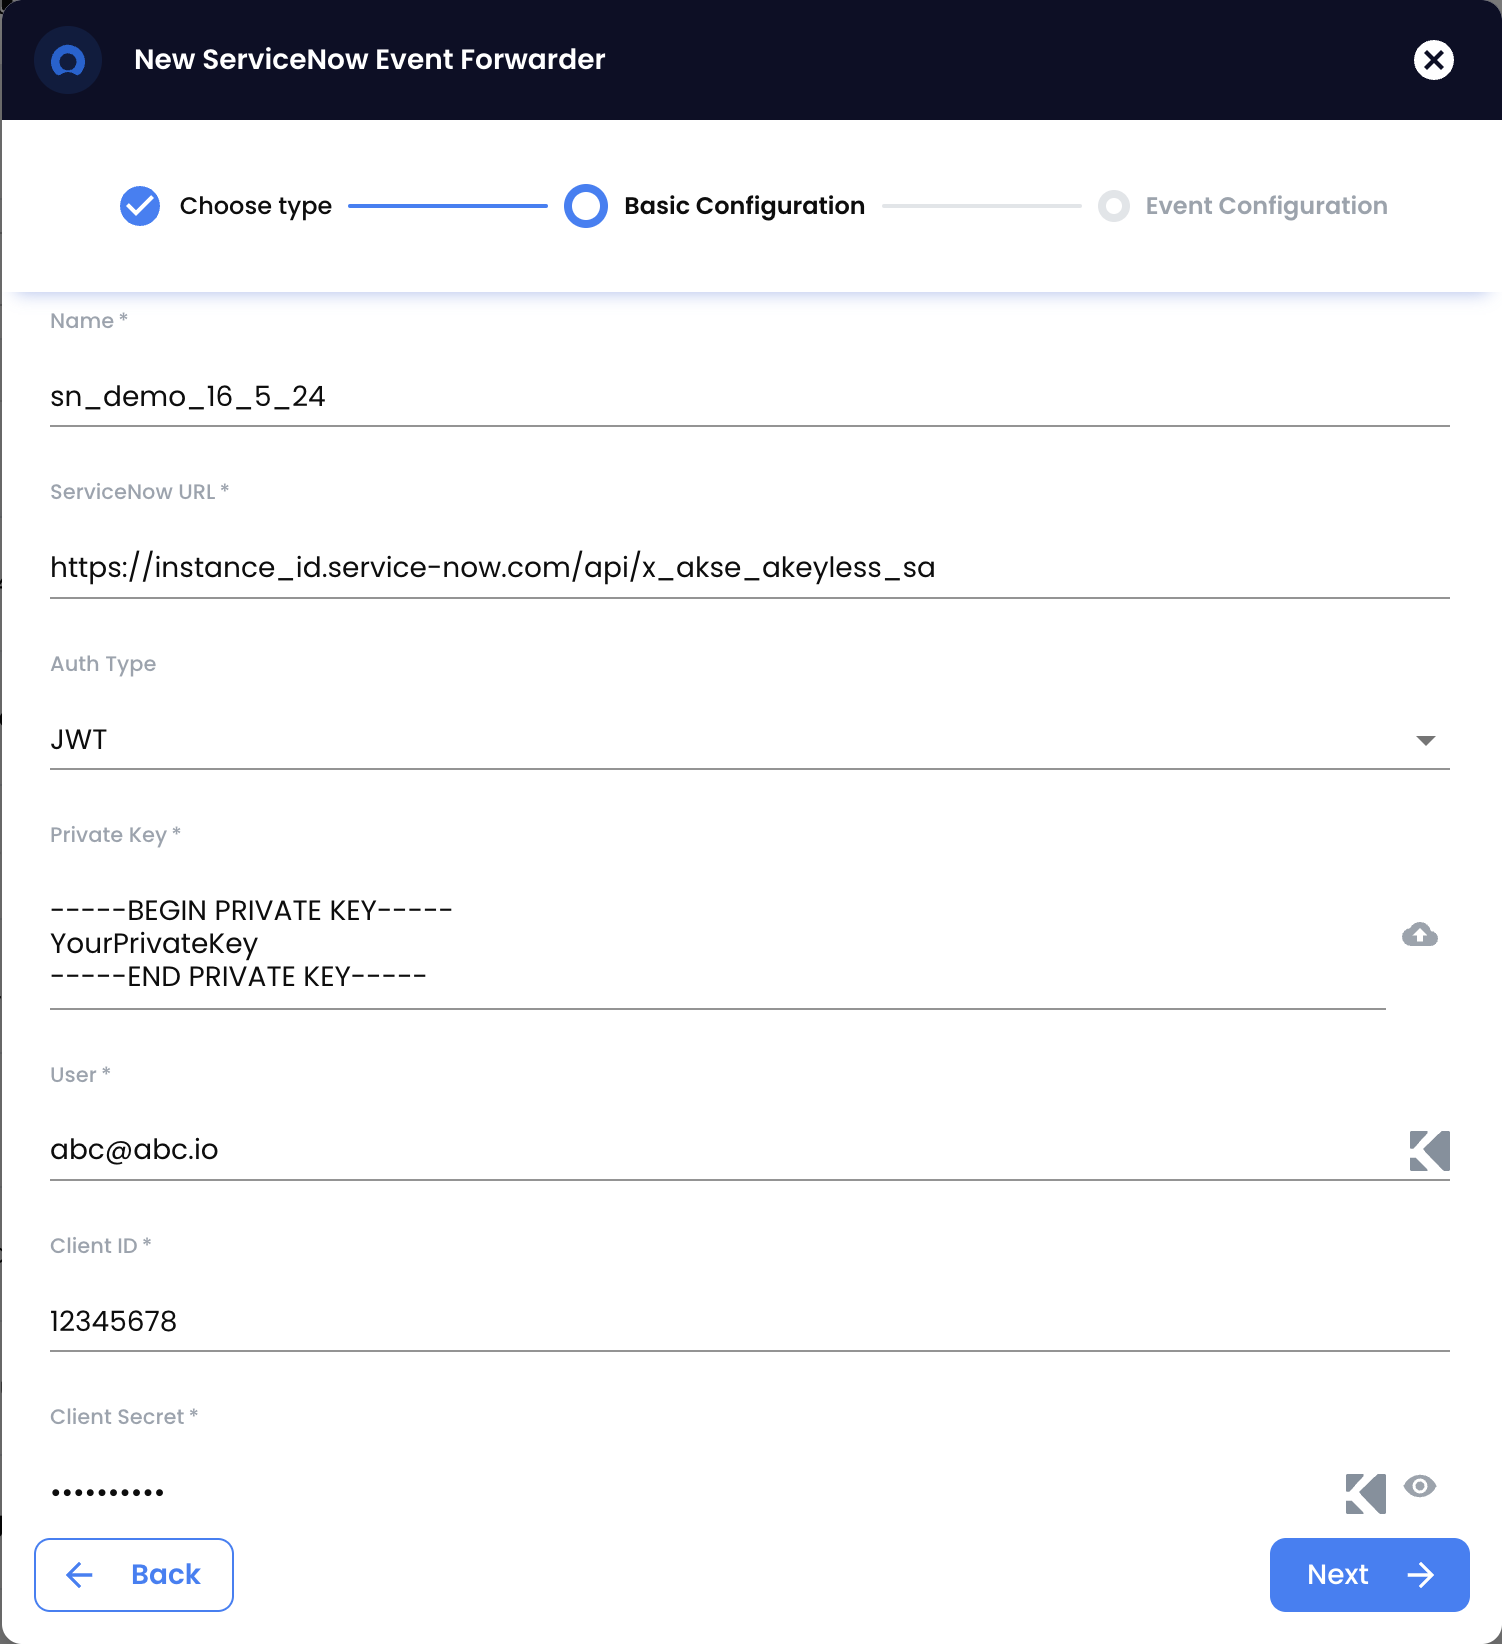
- Create new event forwarder:
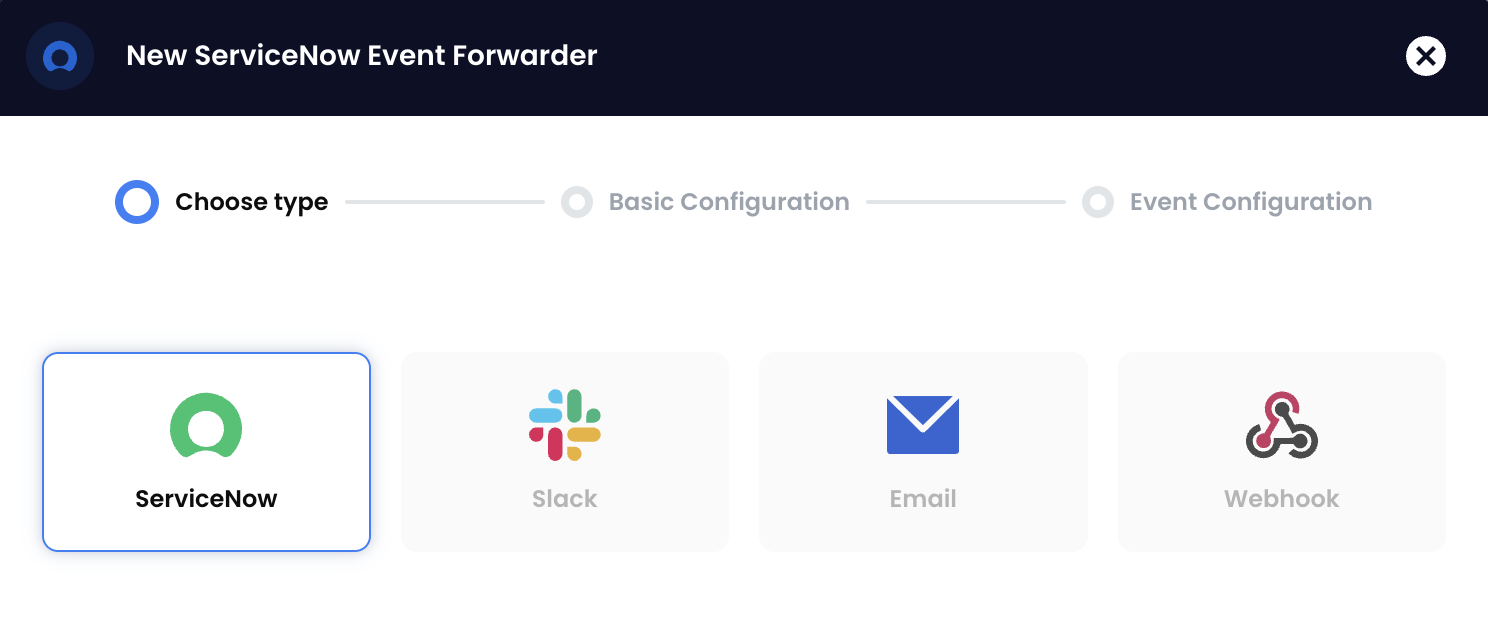
Insert the details. It is recommended to choose Auth type “JWT”. Insert the private key used to sign the certificate. Insert the user created in ServiceNow. Insert the client-id and client-secret from the OAuth Application in ServiceNow.
Approving Access Request by way of ServiceNow Instance
- Locate
akeyless_access_requesttable in ServiceNow instance "All" menu- Click on "All" and enter
akeyless_access_requestin the search field - Click on the table name
- Click on "All" and enter

- Once an access request is created by way of Akeyless system a new record will appear

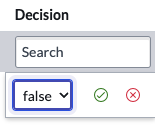
- Admin users of the ServiceNow instance can approve or decline the access request by updating the
Decisionfield.
- Upon approval within the ServiceNow Akeyless app, a request is sent to Akeyless systems to generate temporary access for the specific item.
Notifications
Admins and users (requestors) can receive notifications when certain actions are performed on the akeyless_access_request table in the ServiceNow instance.
Admins can receive notifications when a new access request record is created, while users (requestors) can receive notifications when their access request is approved.
These notifications can be configured based on specific actions, such as when a new record is added or when a record is updated by an admin user of the ServiceNow instance.
Refer to the ServiceNow documentation on push notifications.
Updated 4 months ago