Quick Start
This quick start guide is intended to get you started with deploying a Gateway (with Remote Access) using the most basic, required parameters and a clean Kubernetes cluster. Within just a few minutes you will see how easy it is to complete the Gateway deployment and secure your user and machine access. You will also be able to use just-in-time credentials with remote access to log into your various applications and services.
Akeyless Gateway can be deployed on a Kubernetes cluster using the Helm package manager with or without Remote Access. This can also be deployed using Docker Compose, but this guide will focus on Kubernetes.
Akeyless provides a Helm chart to bootstrap the Akeyless Gateway deployment. In Kubernetes deployments, the configuration process takes place before the actual installation.
SecurityPlease note that this guide was tested with AWS EKS and not secured with TLS. We highly suggest you do not use this in a production environment or with real credentials.
Prerequisites
- A Kubernetes Cluster
- Helm Installed
- kubectl installed
- Minimum 1 vCPU available with 2 GB RAM per resource
- The following ports need to be open on the cluster:
| Service | Port |
|---|---|
| Gateway Configuration Manager | 8000 |
| SSH Access | 22 |
First things firstBefore we get started, you will need an Authentication Method with an Access Role and an SSH Certificate Issuer. If you already have both, skip to the Remote Access Configuration section.
Create Your Authentication Method
Authentication noteFor the purposes of this guide, we are using an API Key. However, for security reasons, it is advised to use a more secure authentication method.
To create your API Key follow the below CLI commands:
-
Create an API Key authentication method with the CLI, run the following command:
akeyless auth-method create api-key --name MyFirstAPIKey -
Configure your CLI to work with the API Key by running the following command:
akeyless configure --profile default --access-id <Your API Key Auth AccessID> --access-key <Your API Key>
Create Your Access Role
Follow this tutorial to create an Access Role and associate your Authentication Method or you can follow the below CLI commands:
-
Create a new access role:
akeyless create-role --name MyFirstRole -
Set the role with access to all Items under /path/to/folder/ with Read and List permissions:
akeyless set-role-rule --role-name MyFirstRole --path "/path/to/folder/\*" --capability read --capability list -
Also, set the role with access to Targets:
akeyless set-role-rule --role-name MyFirstRole --path "/path/to/folder/\*" --rule-type target-rule --capability read --capability list -
Associate the Authentication Method with the Role:
akeyless assoc-role-am --role-name MyFirstRole --am-name MyFirstAPIKey
Now you have an Authentication Method with the right access to deploy the Gateway.
Create Your SSH Certificate Issuer
Follow the below commands:
-
Create a new RSA DFC Key in your Akeyless account:
akeyless create-dfc-key -n MyRSAKey -a RSA2048 -
Create the SSH Certificate Issuer:
akeyless create-ssh-cert-issuer --name your-ssh-cert-issuer-name --signer-key-name MyRSAKey --allowed-users 'ubuntu' --ttl 300
SSH connection noteThis is the bare minimum in order to have a required SSH Certificate Issuer and access the Remote Access Portal. For more details on connecting to a resource by way of SSH, please see the docs here.
Configuration
Add the Akeyless Helm Repo
Add the following repository to your Helm repository list:
helm repo add akeyless https://akeylesslabs.github.io/helm-charts
helm repo update
Configure the Helm Chart
Here you will find the bare minimum values you will need in your Helm chart to get up and running.
You can download the chart and open it in your favorite editor.
Below is an explanation of the minimum required fields by section. Find them in the file and edit them as per the instructions.
Global Section
############
## Global ##
############

akeylessGatewayAuth:
  gatewayAccessId: <your_access_id>
  gatewayAccessType: access_key
  gatewayCredentialsExistingSecret: akeyless-auth
gatewayAccessId: For this quick start, we will use the API Key authentication method. Add your API Key's Access ID.
gatewayAccessType: This is already set to access_key for API Key authentication.
gatewayCredentialsExistingSecret: The value is already set to akeyless-auth. A Kubernetes Secret is required for the deployment. In order to create this, follow the steps described in API Key Authentication in the Akeyless Gateway chart.
Gateway Section
There is no need to change anything here. Note that the Gateway deployment creates two pods (replicas) in the cluster by default. You can customize that by changing the replicaCount variable.
Remote Access Section
######################################################
## Default values for akeyless-secure-remote-access ##
######################################################
sra:
  # Enable secure-remote-access. Valid values: true/false.
  enabled: true

    sshConfig:
    replicaCount: 1

    config:
      CAPublicKey: "ssh-rsa AAAAB3NzaC1yc2EAAAADAQABAAABAQDAPzDVmeABzsGd0lEl9m2fdgmCzOLVmEGcLxNkn..."
To configure Remote Access, follow these steps:
sra: Set the enabled field to true. Note that the Remote Access deployment creates two more pods in the cluster, one for Web and one for SSH.
CAPublicKey: For this to work properly, you are also required to provide the matching public key of the key you used to create the SSH Certificate Issuer in Akeyless. More info can be found here. Add the ssh-rsa value.
Deployment
Deploy the Helm Chart
Once you have finished those steps, run the following command to create your deployment:
helm install quick-start-gw akeyless/akeyless-gateway -f values.yamlVerify Deployment Success
Run kubectl get pods -w to check that your pods are in Running state and that the Gateway and Remote Access services are available.
Then run kubectl get services and look for the EXTERNAL-IP of the service starting with quick-start-gw. Copy the EXTERNAL-IP and paste that into your browser with port 8000/console (for example, http://<Your-Akeyless-GW-URL:8000/console>). If you get the login page, you have successfully deployed the Gateway!
Gateway URLs
For the Gateway, you can access the following:
- The Gateway's Internal Console is located at
http://<Your-Akeyless-GW-URL:8000/console>. The internal console means you are working from inside the Gateway and talking directly with the SaaS. If you are usinghttps://console.akeyless.io, you will not be able to interact with this Gateway as it is not secured with TLS.
Remote Access URLs
For Remote Access, you can access the following:
-
The Remote Access Internal Web Portal is located at
http://<Your-Akeyless-GW-URL:8000>/sra/portal
-
Remote Access can also be accessed using our public URL:
https://zerotrust.akeyless.io. If you are using the public URL for RDP, Web, or similar sessions, you will be required to add your Web URL endpoint:http://<Your-Akeyless-GW-URL:8000>/sra/web-client
Testing Out Remote Access
Here we will lay out the steps to get a SAML user to access the Remote Access Portal.
-
Firstly, you need to make sure you have your SAML application set up, for example, an Okta account set up with the Akeyless application configured. You will also need to retrieve your Metadata URL for this.
-
Next, run the following command to create your SAML Auth Method and make sure to input your Kubernetes Service External-IP address:
akeyless auth-method create saml --name mySamlAuth --unique-identifier email --idp-metadata-url <your-okta-metadata-url> --allowed-redirect-uri https://console.akeyless.io/login-saml, http://127.0.0.1>:*, http://<EXTERNAL-IP-of-K8s-Service>:* -
Create a role with access to Items with List permissions only. And set Secure Remote Access with Allow Access permissions.
akeyless set-role-rule --role-name MySamlRole --path "/*" --capability listakeyless set-role-rule --role-name MySamlRole --path "/\*" --rule-type sra-rule --capability allow_access -
Associate your Auth Method as follows:
akeyless assoc-role-am --role-name MySamlRole --am-name MySamlAuth -
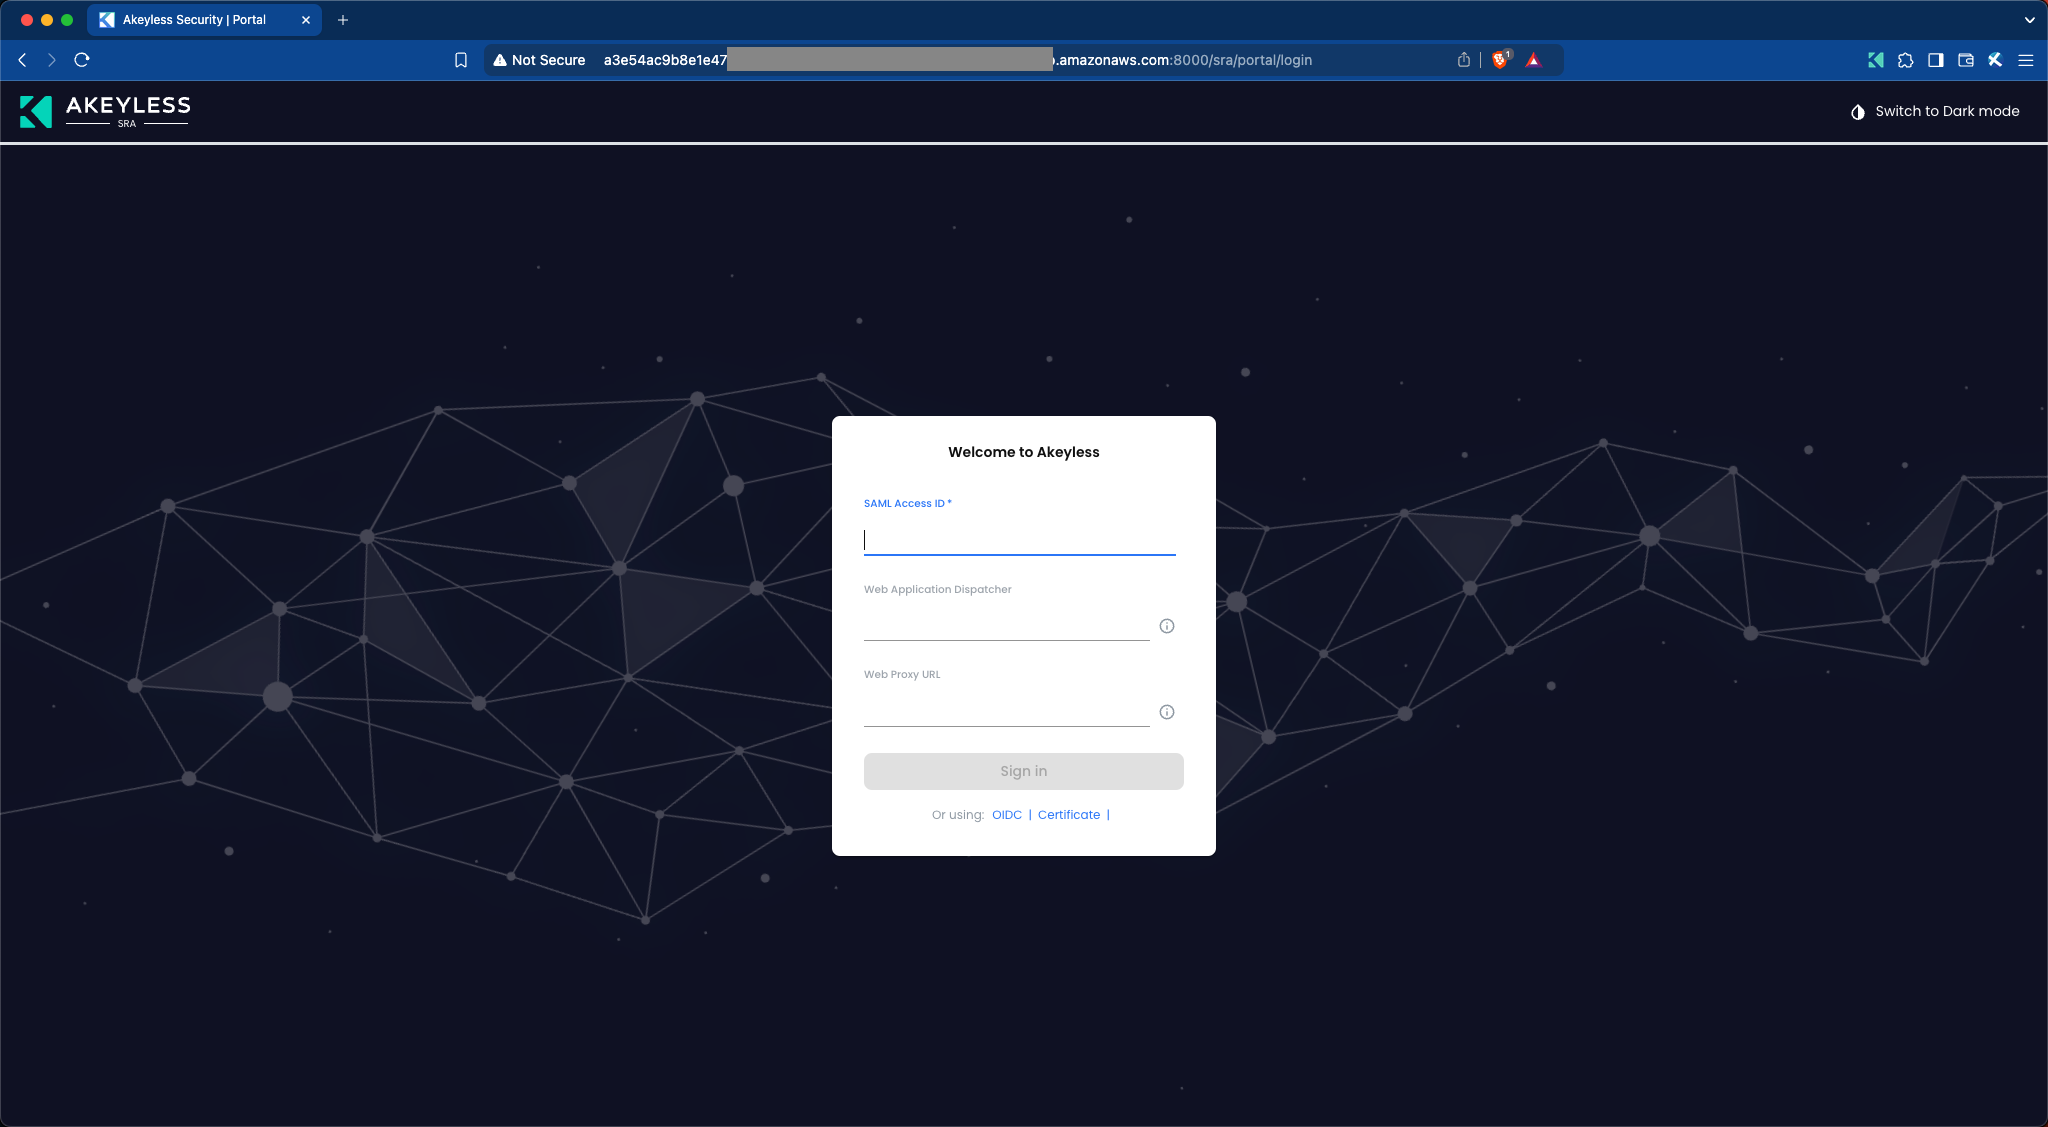
Next, open your browser and go to your Remote Access internal endpoint:
http://<Your-Akeyless-GW-URL:8000>/sra/portal -
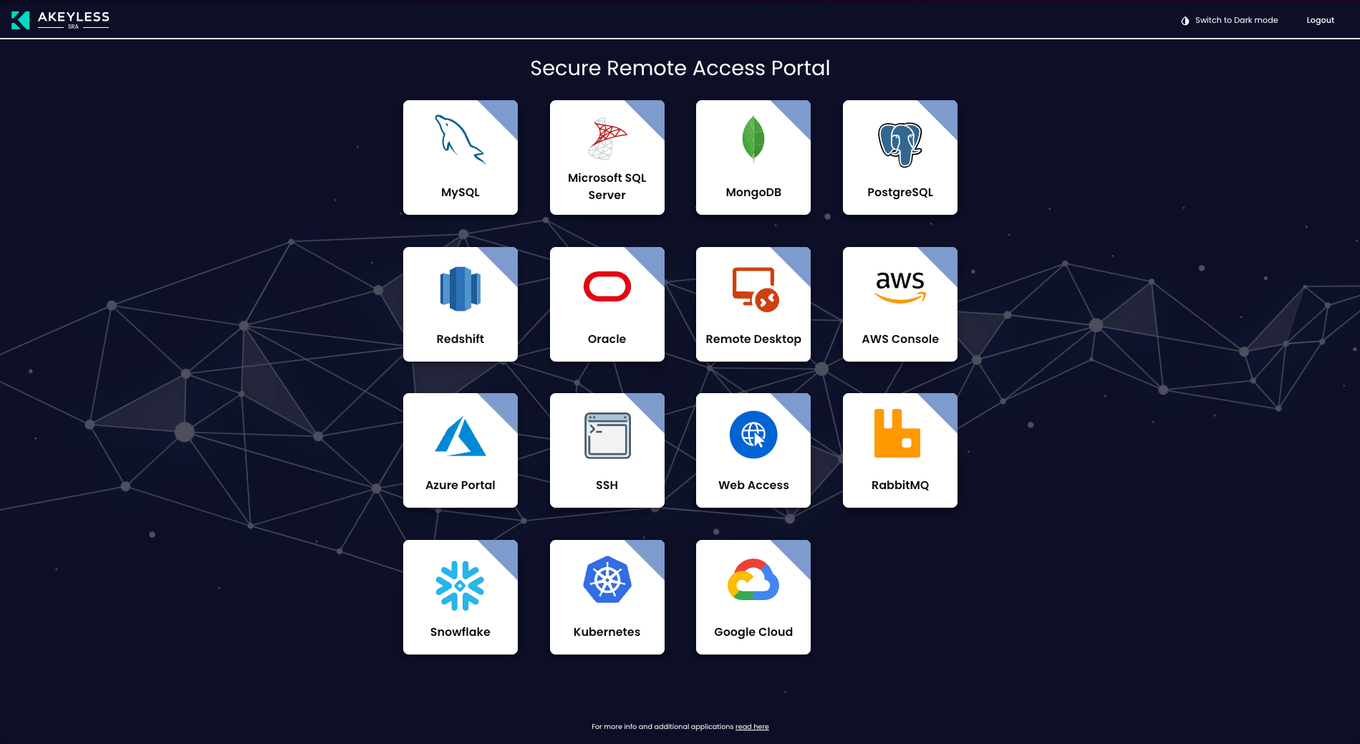
Enter your SAML AccessID and click “Sign In”. You will be redirected to your SAML service login page to log in and then when you finish that will redirect you to a page with various resources you can set at a later time (refer to the following image). Congrats!

Next Steps
With a Gateway deployed, you can now test out using just-in-time Dynamic Secrets for various applications and services by setting up Targets. If you are also using Remote Access, you can also set up Remote Access on those Targets and log into those Resources securely from anywhere by reading the docs.
Updated about 11 hours ago
