CSV Password Importer
The "CSV Password Import" feature allows users to seamlessly import passwords from a CSV file directly through the web extension. This feature supports a straightforward import process, enabling users to efficiently upload password data either to personal or corporate areas within the Password Manager.
How to Use the CSV Password Import Feature
Step 1: Access the Web Extension Settings
- Open the web extension from your browser toolbar.
- Navigate to the 'Settings' option within the extension menu.
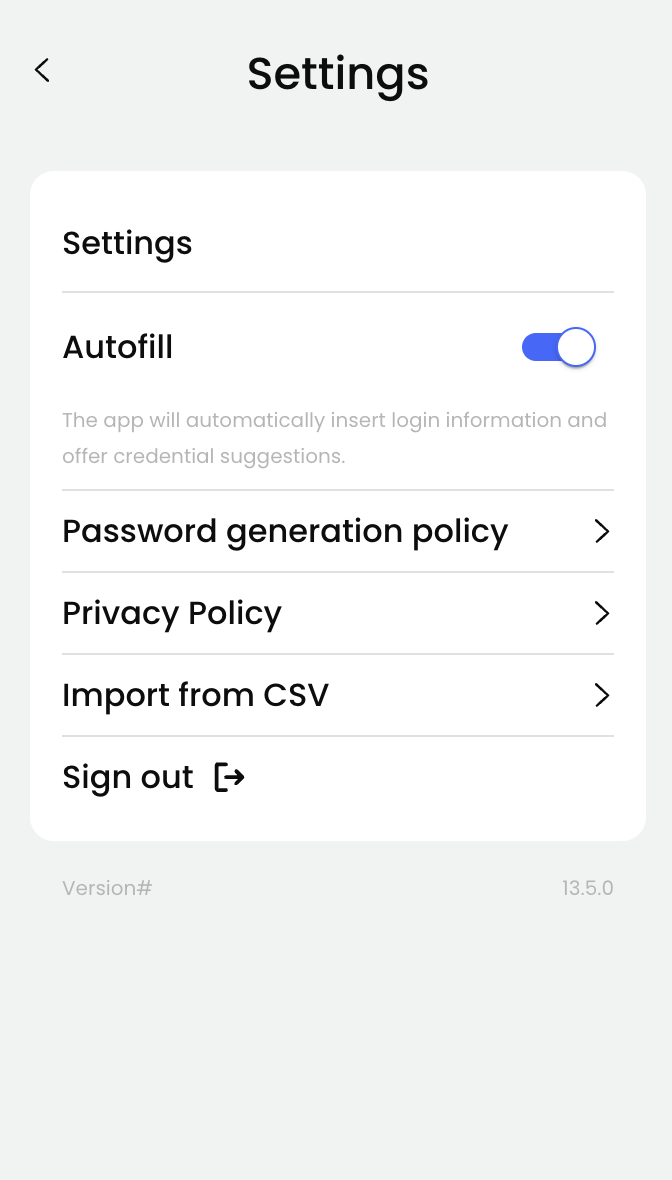
Step 2: Initiate the Import Process
- In the Settings menu, locate and click on the "Import from CSV" button to start the import procedure.
Step 3: Define CSV File Format
- Ensure your CSV file is prepared according to the required format. The standard format should include columns such as 'Account Name', 'Username', 'Password', and other necessary details.
Step 4: Select the CSV File
- Click on the file selection button to browse and choose the desired CSV file from your local storage.
Step 5: Choose Import Location
- Select where the passwords will be imported: choose either the 'Personal' or 'Corporate' areas within the Password Manager.
Step 6: Create a Dedicated Folder
- Specify if you wish to create a dedicated folder within the target location by entering a folder name in the 'Target Folder Field'.
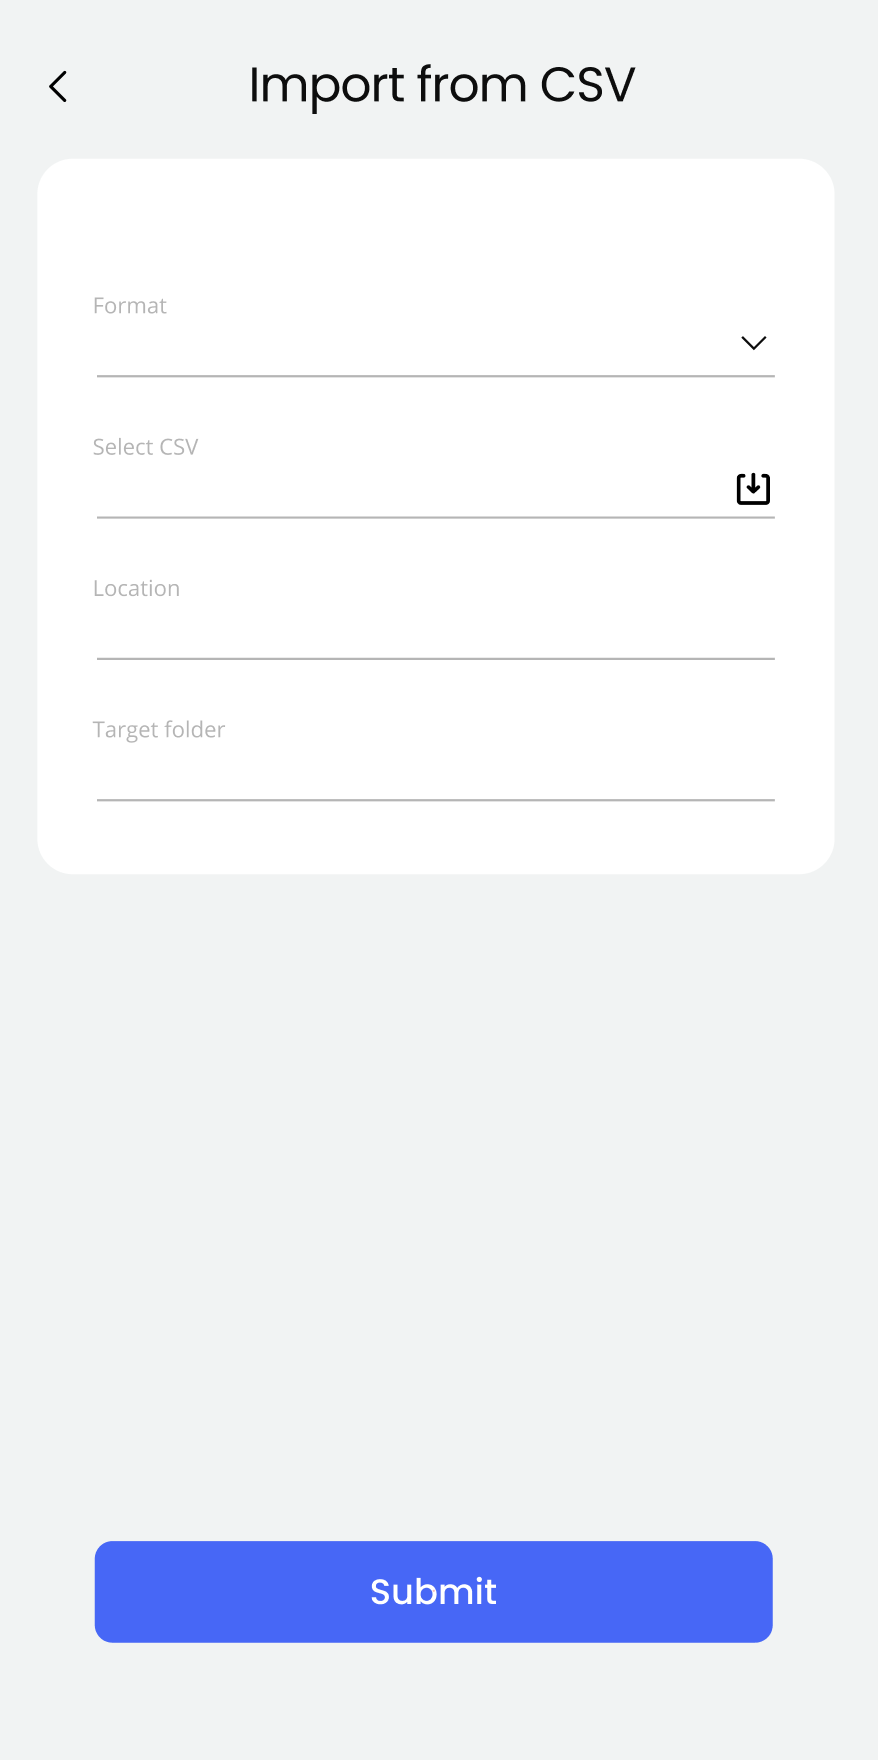
Step 7: Submit the Import
- Once all settings are configured and the file is ready, click the 'Submit' button to finalize the import process.

Updated 6 months ago
Did this page help you?