Google - OIDC
To use Google as an IdP to authenticate the Akeyless Platform by way of OIDC, follow the steps below.
Critical:
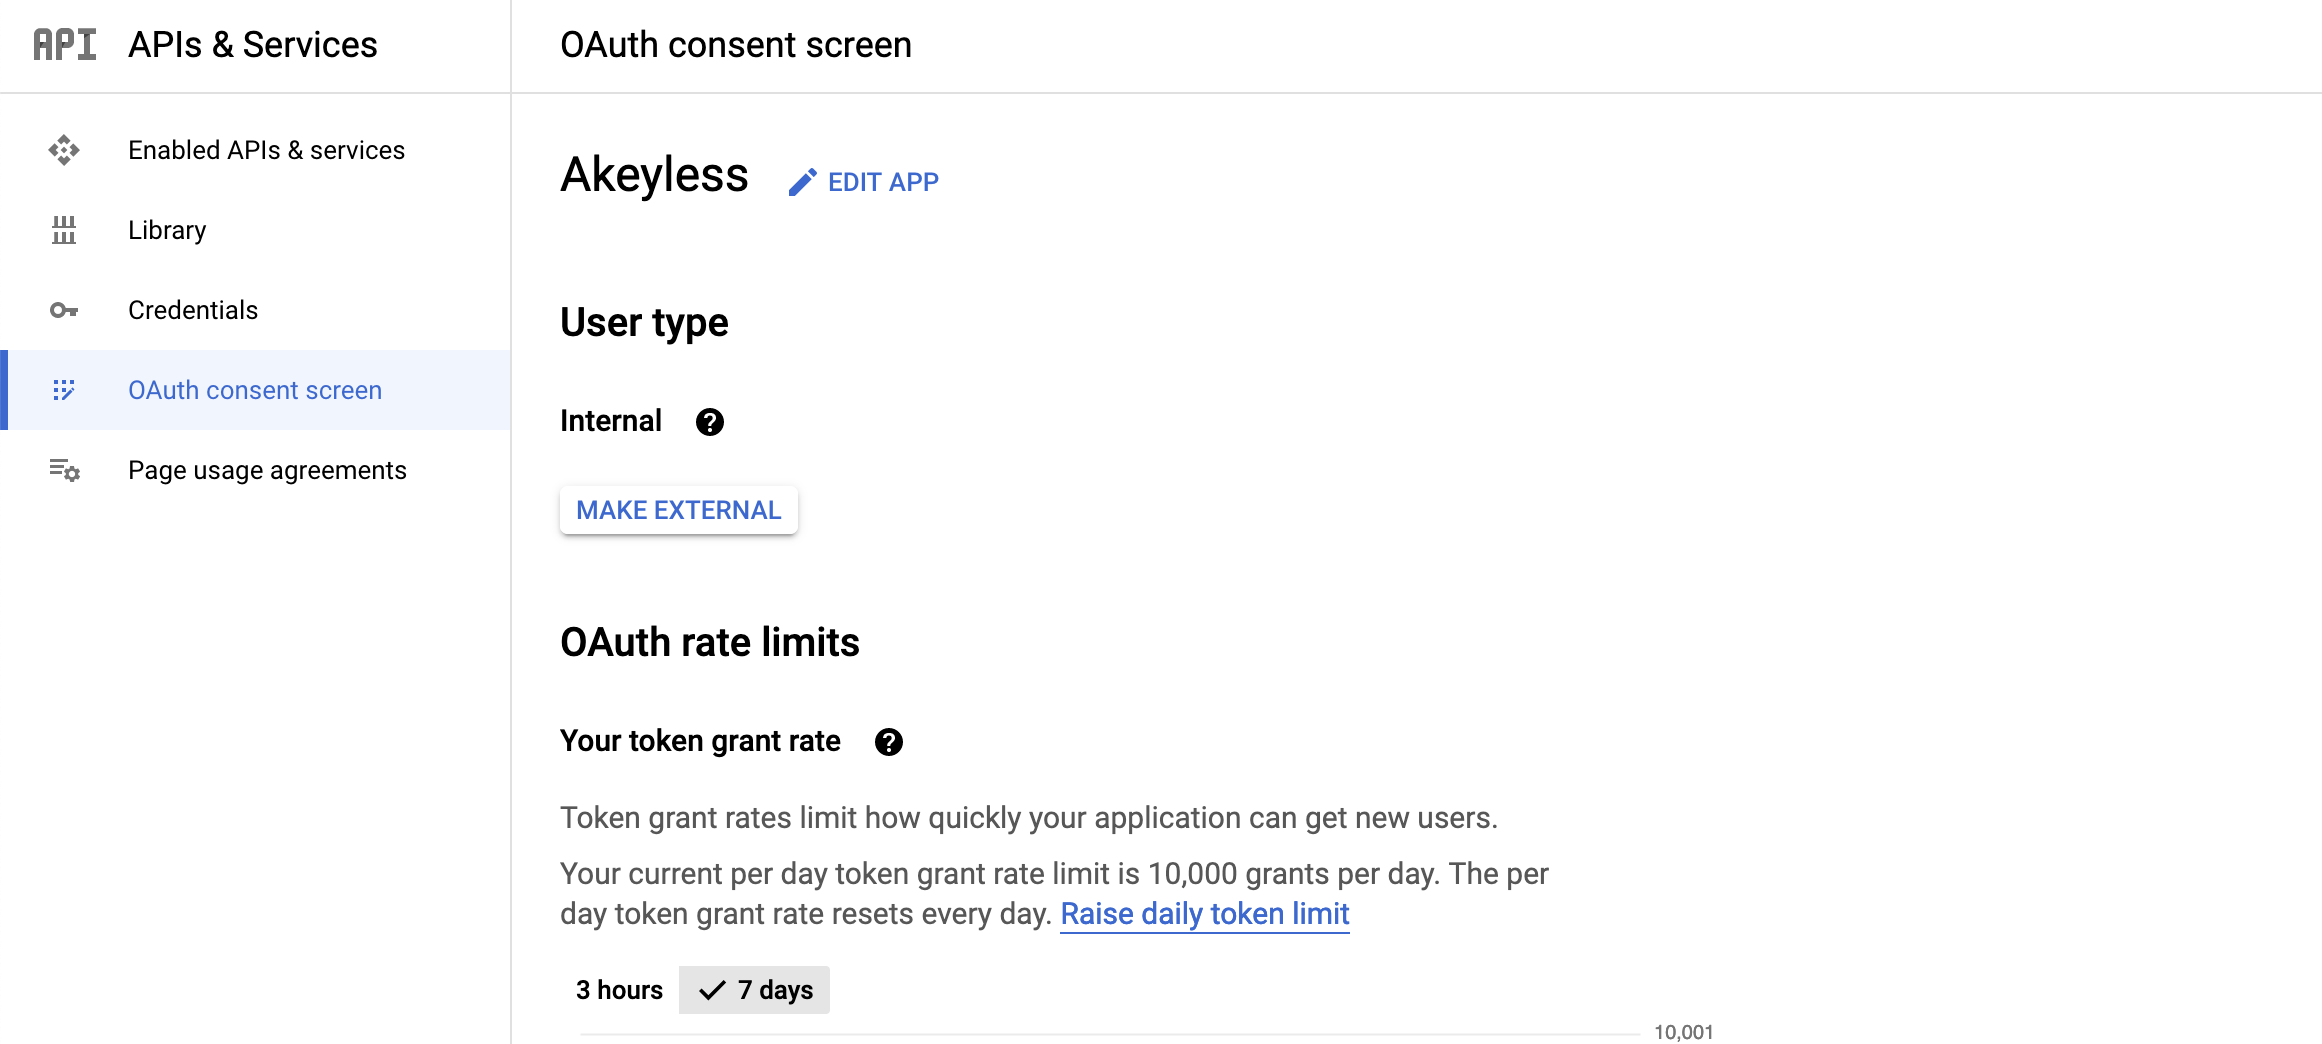
Ensure your OAuth consent configuration includes only authorized domains of your organization, and that the User type is set to Internal only.
To set your OAuth consent screen with User type internal, open your OAuth consent settings and ensure the following are set for User type:
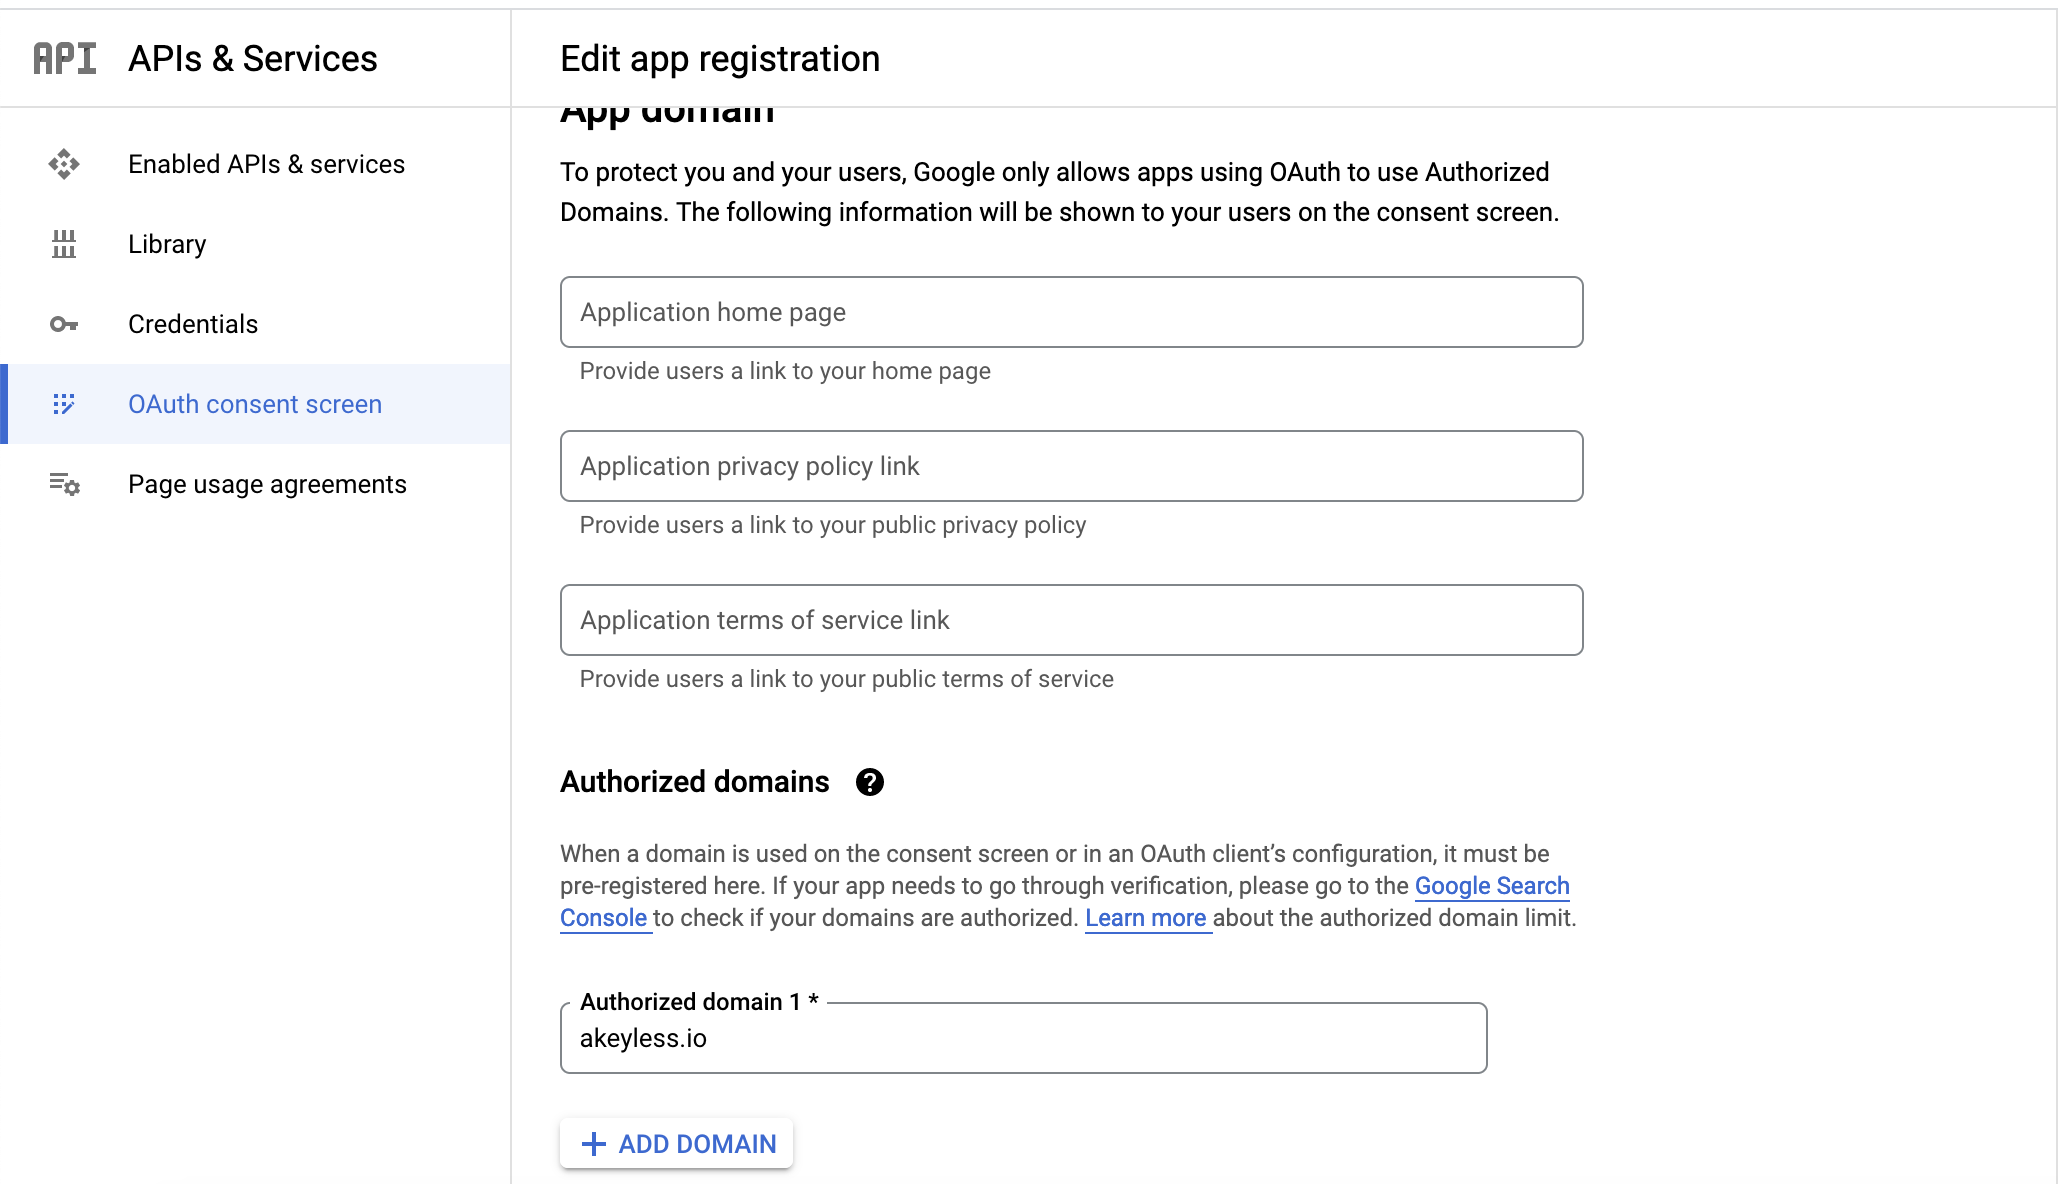
And for Authorized domains:
Create an OAuth Client ID
-
Visit the Google API Console.
-
Go to Credentials > Create Credentials > OAuth Client ID.
-
For the Application Type select Web Application, for the Authorized redirect URIs set
https://auth.akeyless.io/oidc/callbackand click Create.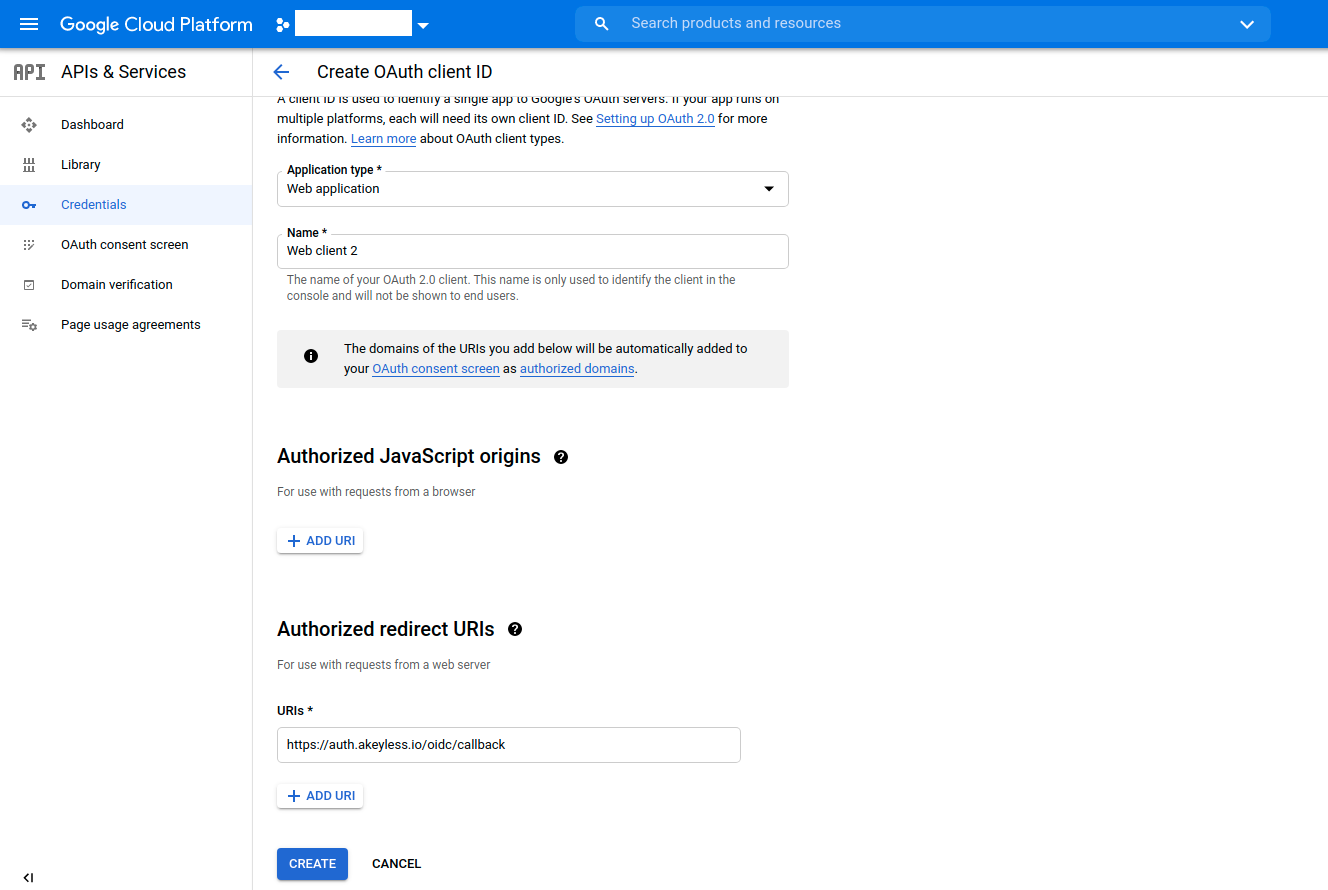
-
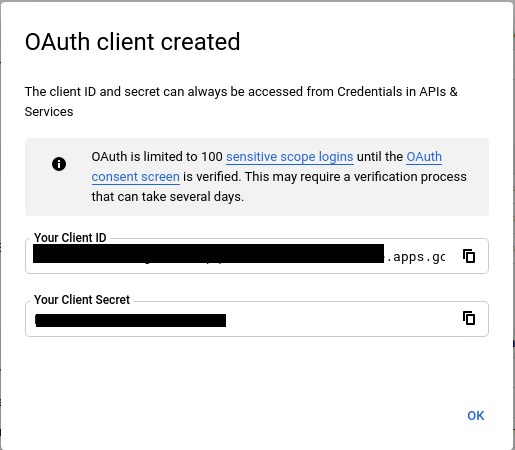
Once the OAuth Client ID has been created, you need to obtain the Client ID and Client secret:
-
To bind the OAuth Client ID with your Akeyless Platform account, create an OIDC Authentication Method using either CLI or UI, as described below.
Create an OIDC Authentication Method with the CLI
akeyless auth-method create oidc --name 'Google-OIDC' --issuer https://accounts.google.com --client-id {your-client-id} --client-secret {your-client-secret} --unique-identifier {your-unique-identifier (for example, 'email' or 'username')}Log in With OIDC Using the CLI
-
Configure a new profile with your Access ID from the previous step and OIDC type (if no profile name is provided, the default will be configured):
akeyless configure --access-id <your-access-id> --access-type oidc --profile 'google-oidc' -
Now, you can run any Akeyless CLI command and be authenticated with Google:
akeyless list-items --profile google-oidc
Updated 5 months ago