Portal Login and Target Discovery
Use this page to sign in to the Secure Remote Access (SRA) portal and discover authorized targets by type.
The Secure Remote Access Portal is available through the main console at http://Your-Akeyless-Gateway-URL:8000/sra/portal or through the public SaaS console at https://zerotrust.akeyless.io.
All Akeyless-supported resource types can be accessed using the SRA Portal, CLI, or the Desktop Application.
Currently, the SRA Portal supports the following authentication methods:
Tip (Allowed redirect URL): If you are using SAML or OIDC auth methods, ensure your Gateway URL is trusted.
Connect from the Secure Remote Access Portal
- Open the SRA Portal:
http://Your-Akeyless-Gateway-URL:8000/sra/portal - Select the relevant authentication method. The default is SAML. Enter your SAML Access ID, or choose a different method.
- If you are also working with Zero Trust Web Access, set the Web Application Dispatcher with the external URL of your dispatcher service on port
9000. If you are working with Secure Proxy, also set the Web Proxy URL using port19414. For instructions on how to retrieve these URLs from your cluster, see Get the Dispatcher Service URL. - Click the Generate SAML Bookmark URL to create a link to the completed form. The link is copied to your clipboard for you to save in a convenient place, such as your browser bookmarks, and use in the future to automatically complete the login details.
- Click Sign in.
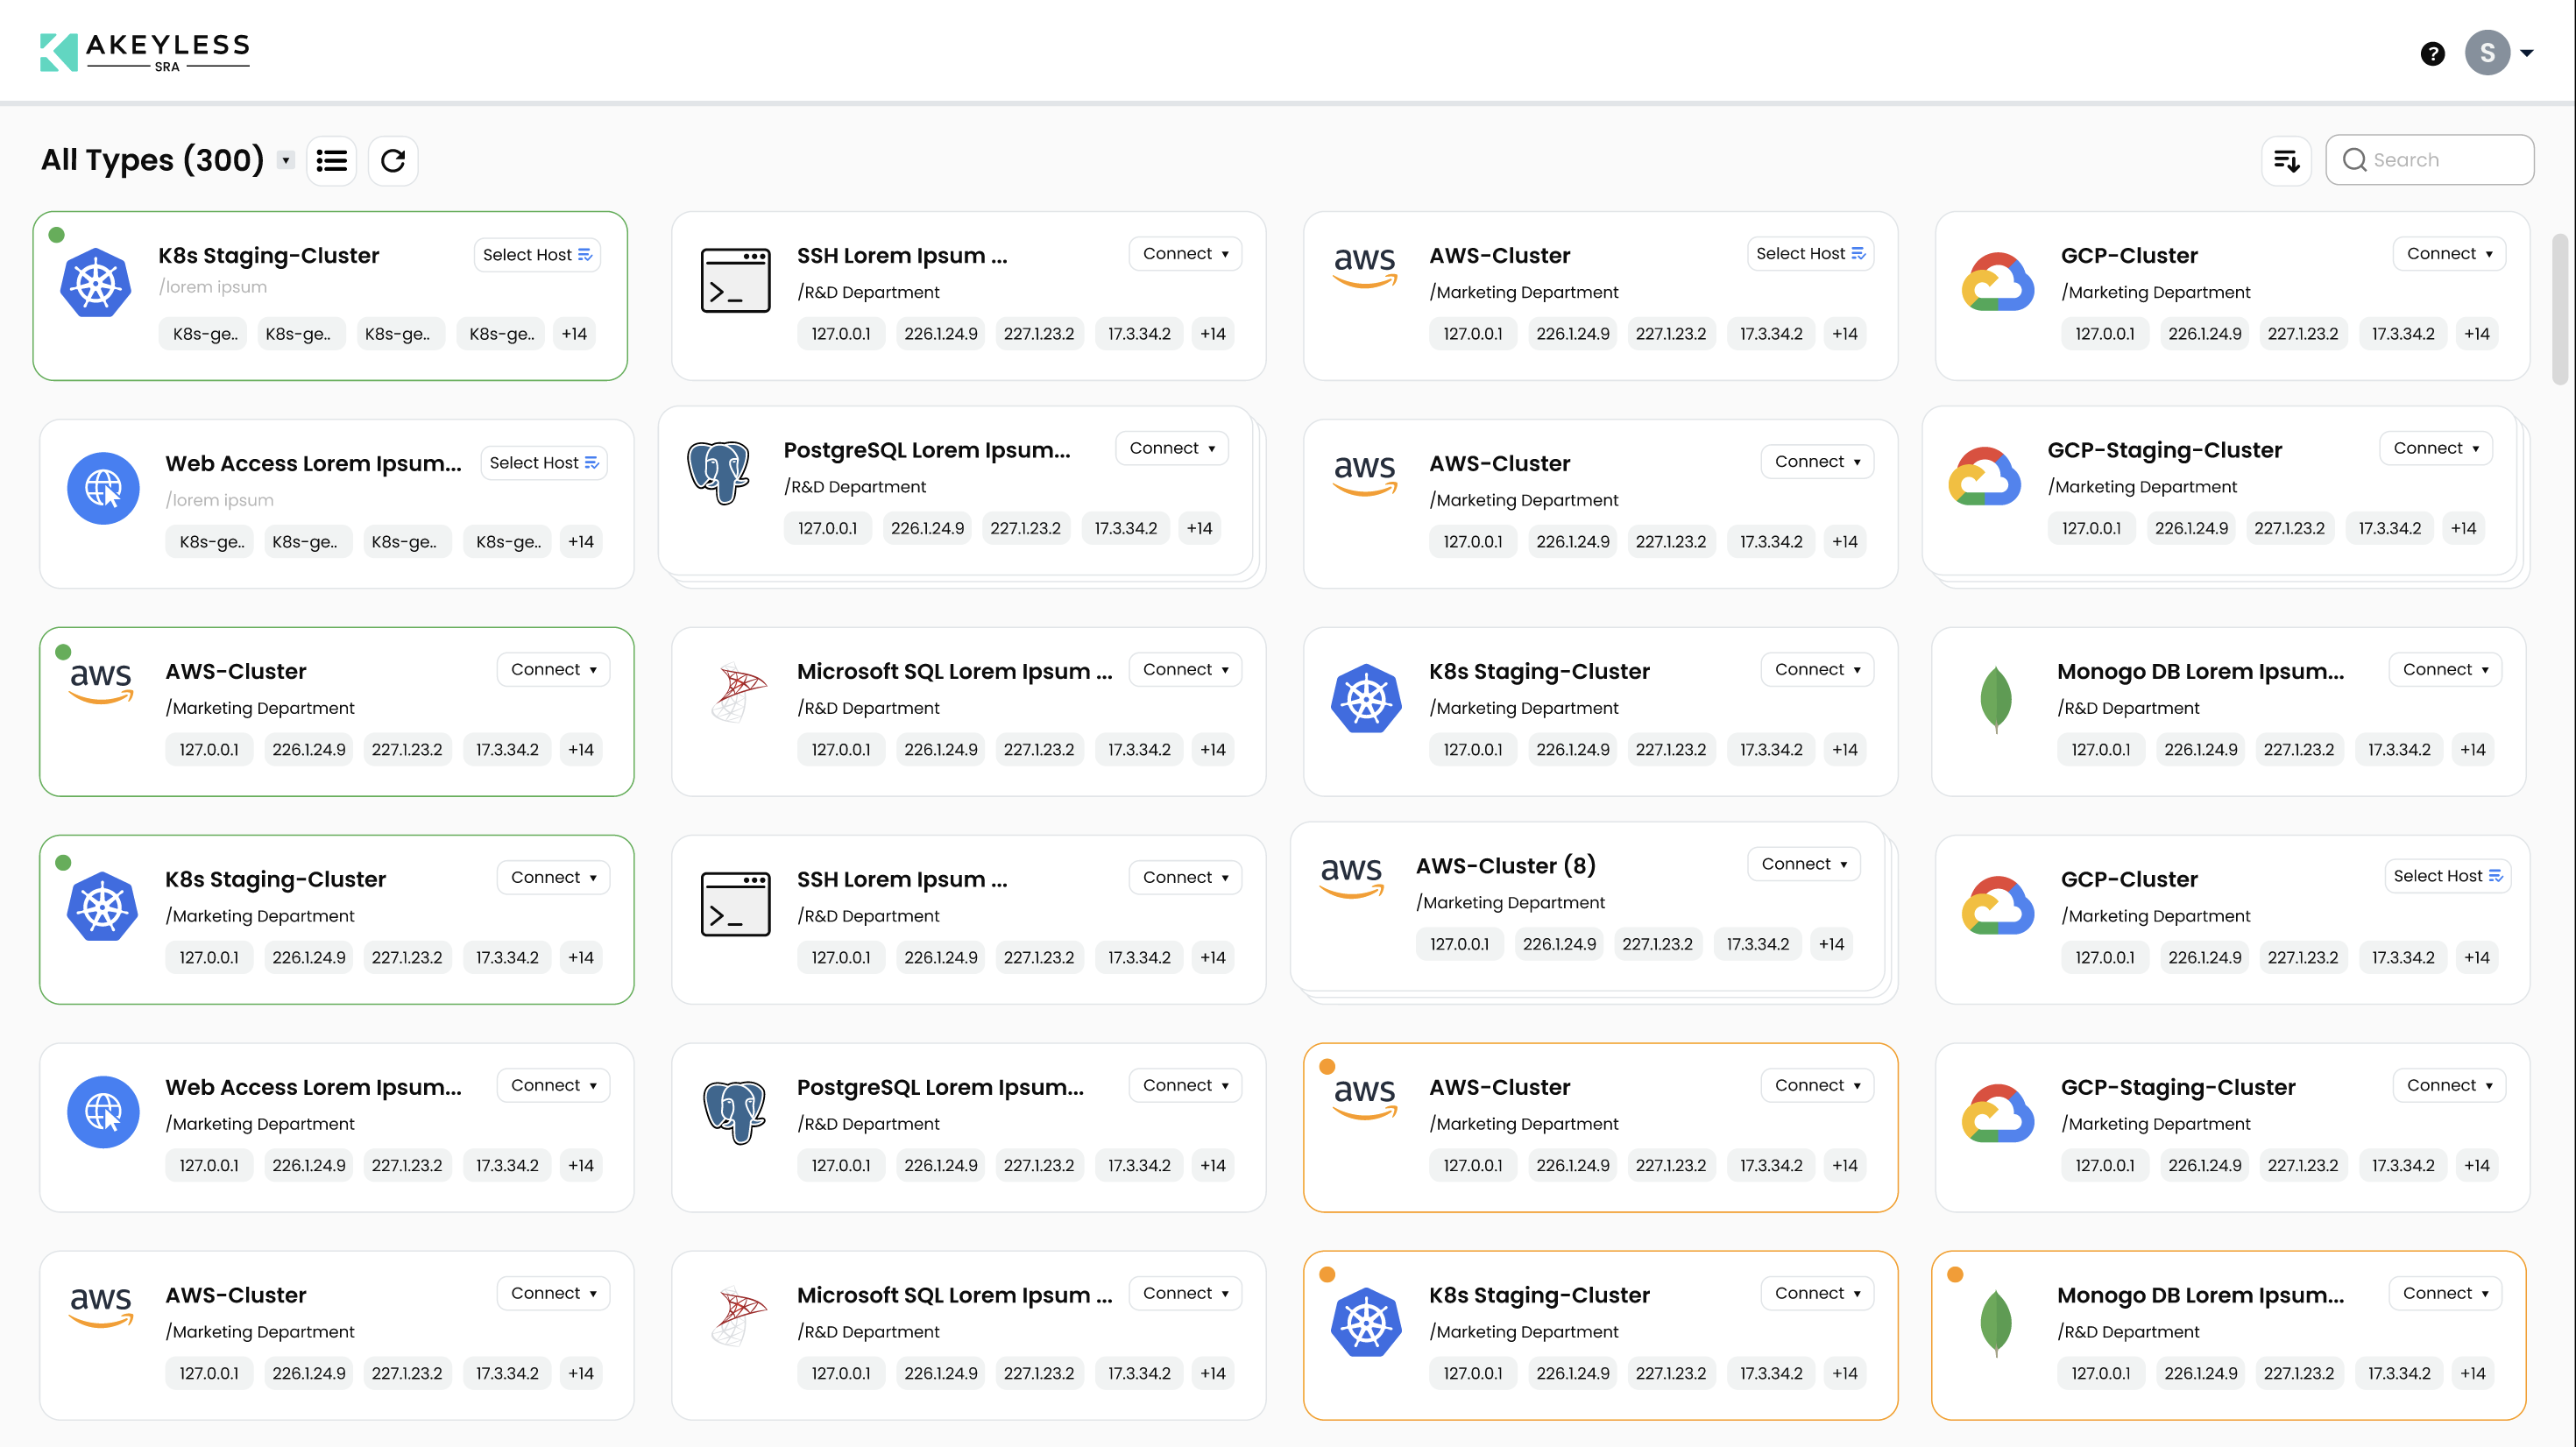
The portal shows all resource types that your identity is authorized to access.
Target Discovery in the Portal
After login, use the portal list view to discover targets by access mode and resource type.
Recommended discovery workflow:
- Identify the relevant resource type (for example SSH, database, RDP, or web application).
- Use portal search and visible filters to narrow large target inventories.
- Launch directly when policy allows, or move to the request flow when approval is required.
For approval-gated flows, see Request Access and Approval Flow.
Access Request Flow
From Gateway 4.53.0 and later, the portal supports Secure Remote Access request flows, and approvers can process those requests through the Event Center.
Use this flow to track request progress and quickly identify whether an SRA access request still requires approver action.
For setup and permissions, see Request Access and RBAC.
Switch the Portal Theme
Use the theme switch button on the right side of the portal header to toggle between light and dark mode.
- Open the Secure Remote Access Portal and sign in.
- In the portal header, select Switch to Dark mode or Switch to Light mode.
- The portal updates immediately after the switch.
Clipboard Behavior for Long Text
Portal copy actions use browser clipboard APIs.
In the frontend implementation, copy operations call the browser clipboard API with a fallback copy method. The implementation does not define a fixed character limit for copied text.
For long text payloads in active SRA sessions, behavior can vary by browser and session components.
For large payload transfers, use file transfer workflows instead of clipboard copy and paste.
Add a Custom Target for SSH or RDP
In addition to existing hosts that are part of the allowed hosts on the SSH Cert Issuer, you can add new hostnames or IP addresses on the fly by using a matching SSH Cert Issuer that can provide access.
Note (Key Features):
- On-the-Fly Connections: Users can provide a hostname or IP address for RDP or SSH sessions as needed.
- Temporary Host Addition: Hostnames added through this feature are temporary and stored in the browser’s cache.
- Edit and Delete Capability: Users can edit or remove the last added host from the list.
- In the SSH or RDP window, choose Custom Target and click the + button.
- Select the Permission Profile. For example, SSH Cert Issuer.
- Enter Hostname or IP Address.
- Select Confirm.
Users can Edit or Delete the last added host, and it will be removed from the list of hosts in the portal.
Updated about 1 month ago