
Importing from Another Password Manager
Bring credentials across from another password manager or browser. Ten sources are supported,
each with its own export instructions built into the console.
Select Import in the top toolbar.
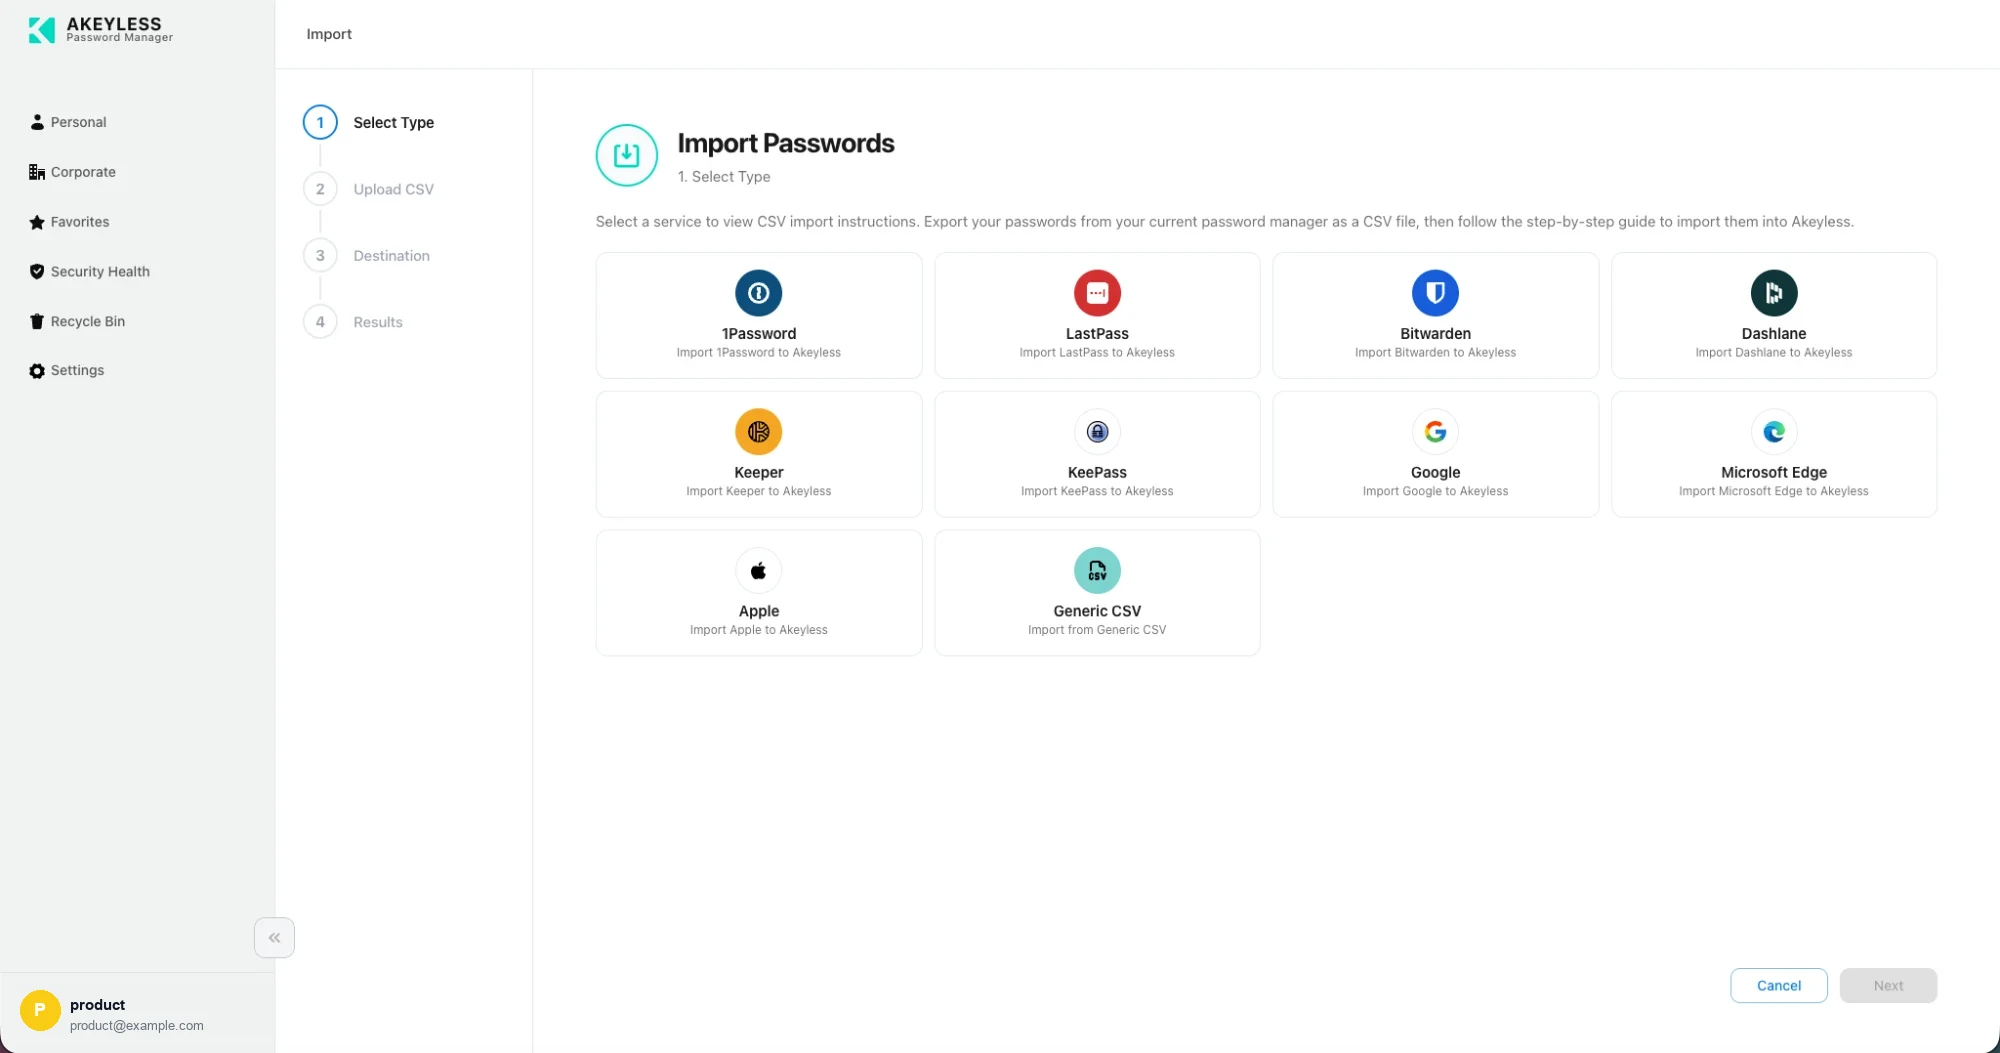
Ten import sources
A four-step wizard
| Step | What happens |
|---|---|
| 1. Select Type | Choose the password manager you are moving from |
| 2. Upload CSV | Read the export instructions, then upload the file |
| 3. Destination & metadata | Choose Personal or Corporate, the folder, and any tags |
| 4. Import progress & report | Watch it run, then read what succeeded and what did not |
The rail on the left tracks your position, and you can step back without losing what you
entered.
Supported sources
| Source | How to export |
|---|---|
| 1Password | Desktop app → Export; instructions at 1Password Support |
| LastPass | the LastPass vault → Advanced Options → Export → confirm by email → re-enter your password |
| Bitwarden | Vault → Tools → Export vault; instructions at Bitwarden Help |
| Dashlane | Desktop app → My Account → Export data |
| Keeper | Vault → Export; instructions at Keeper Documentation |
| KeePass | File → Export → CSV File… (UTF-8 recommended) |
passwords.google.com → gear icon → Export | |
| Microsoft Edge | edge://settings/passwords → Saved passwords → ⋯ → Export passwords |
| Apple | iPhone and Mac instructions at Apple Support |
| Generic CSV | Any CSV with the columns below |
Generic CSV format
Columns: name, url, username, password, description (also accepted as note or notes).
| Behavior | Detail |
|---|---|
| Column order | Any — headers are detected automatically |
| Delimiter | Detected automatically |
| Encoding | UTF-8 preferred; common Western European (Latin) encodings also decode |
| Extra columns | Ignored rather than rejected |
KeePass default columns
A default KeePass export produces Account, Login Name, Password, Web Site, Comments.
These are recognized without renaming anything.
Step 3 — destination
Unlike the extension, the console lets you choose the destination before the import runs:
| Choice | Notes |
|---|---|
| Personal or Corporate | Corporate is offered only where your permissions allow it |
Folder path | Imported items land here rather than at the root |
Tags | Applied to everything imported, which makes the batch easy to find or undo later |
Tag the batch. Applying a tag like
imported-2026-10means you can filter to exactly
what the import created, review it, and bulk-delete it if something went wrong.
Step 4 — the report
Each row becomes a password item:
| CSV column | Becomes |
|---|---|
name | The item name |
username | The username |
password | The password |
url | A website URL, which drives autofill and Launch in the extension |
description / note | The item description |
The report lists what succeeded and what failed, with the row number and reason for each
failure, so no row is dropped without a record.
Afterwards
Delete the exported CSV. It contains every password you just imported, in plain text, in
yourDownloadsfolder. Empty yourTrashfolder too.
- Run Security Health — an import is the most likely moment
to discover reused and breached passwords. - Check imported items have
Website URLs, since autofill matches on them. - Delete the credentials from the old manager once you have confirmed the import.
Troubleshooting
| Problem | Cause |
|---|---|
| Rows failed | Missing name or password — the report names the row |
| Accented characters mangled | A non-UTF-8 export; re-export choosing UTF-8 |
| Nothing imported | Not a CSV, or no recognizable header row |
| Autofill ignores imported items | The rows had no url column |
Related
Updated about 17 hours ago